HomeCreating and editing virtual machines – Atman VMware Cloud
Creating and editing virtual machines – Atman VMware Cloud
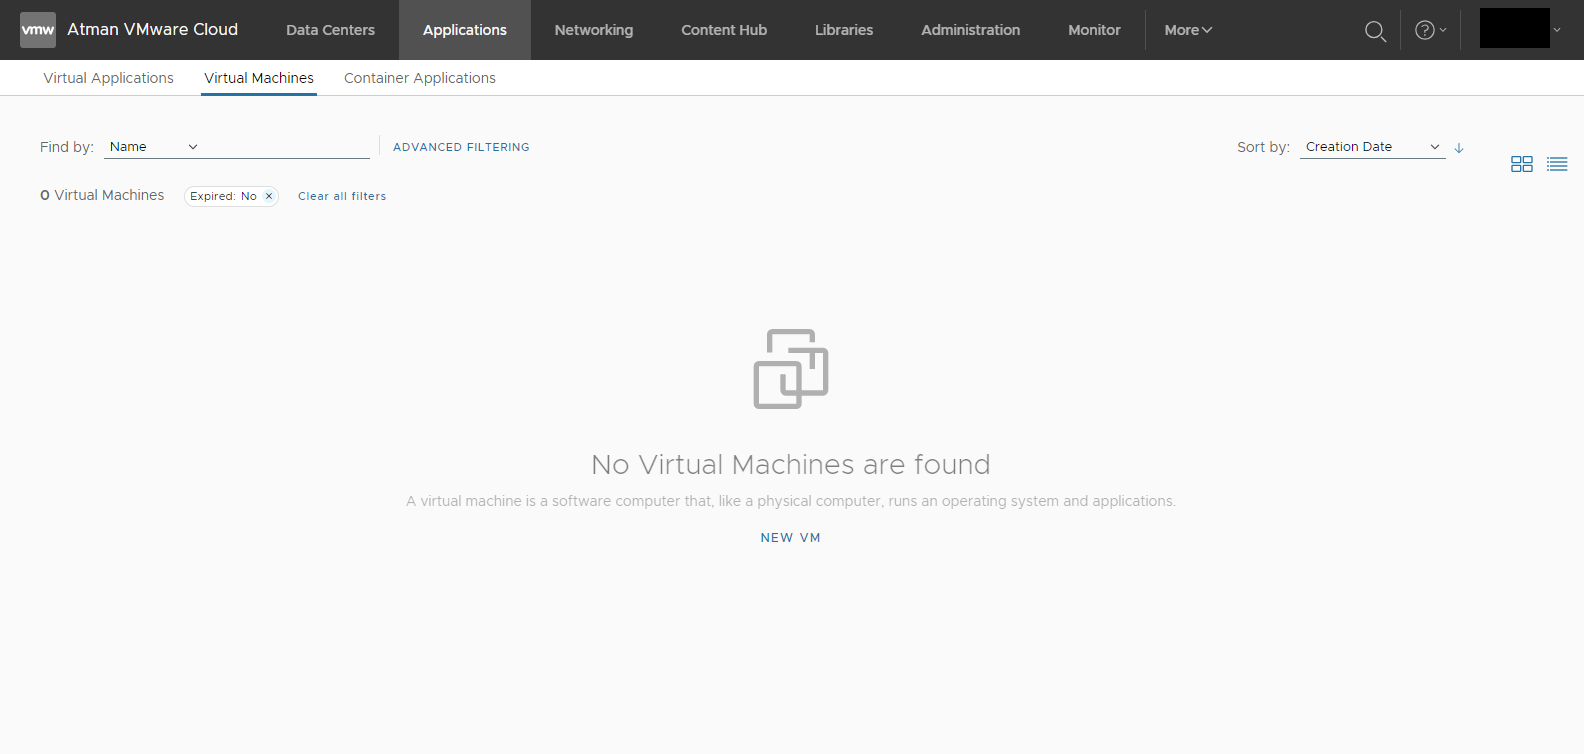
Go to the Applications tab \ Virtual Machines and select NEW VM.
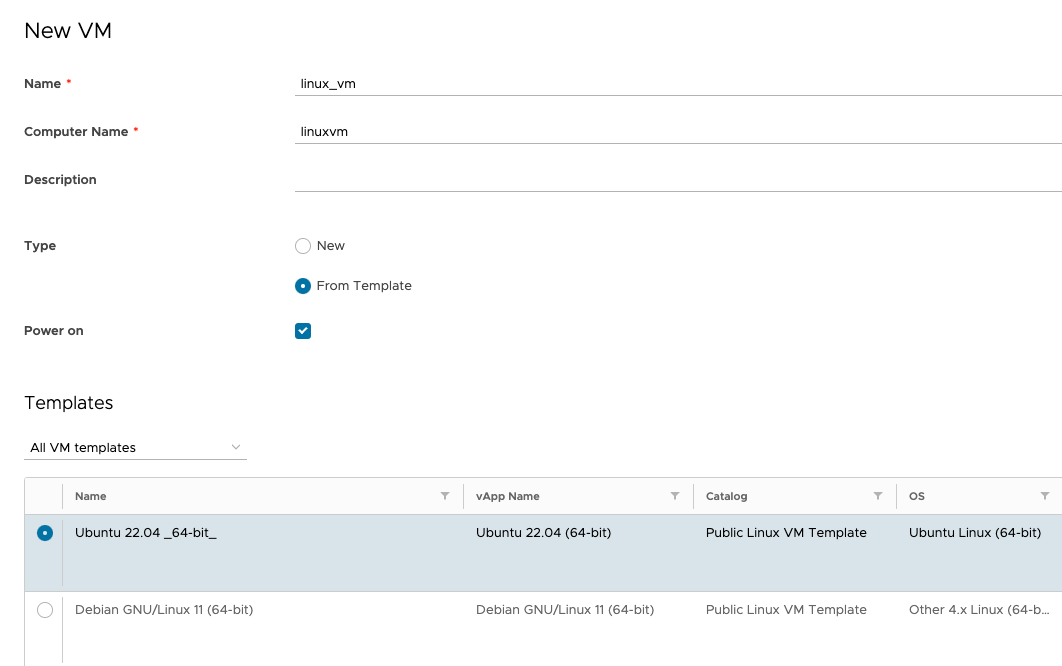
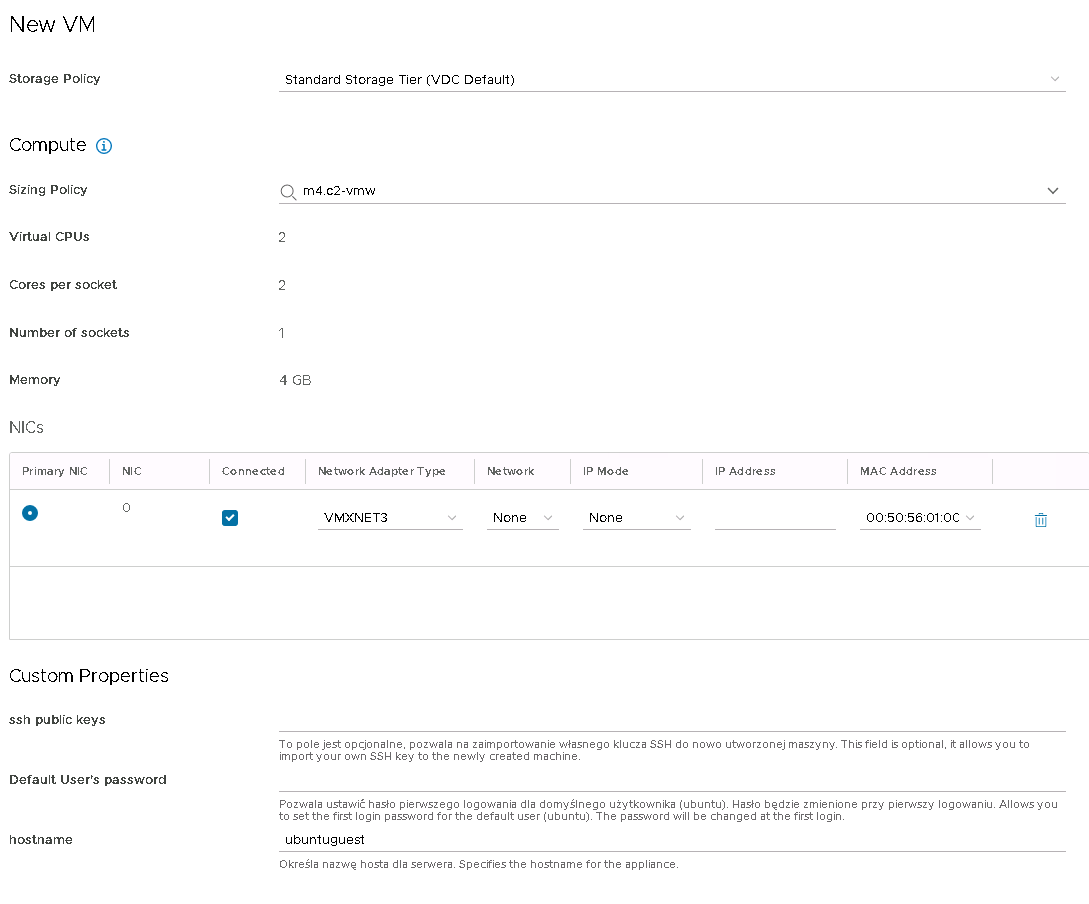
Enter the VM name and host name and select the VM template from the available directories – for example, Ubuntu 22.04. Uncheck the box if you do not want the VM to start after it is created.
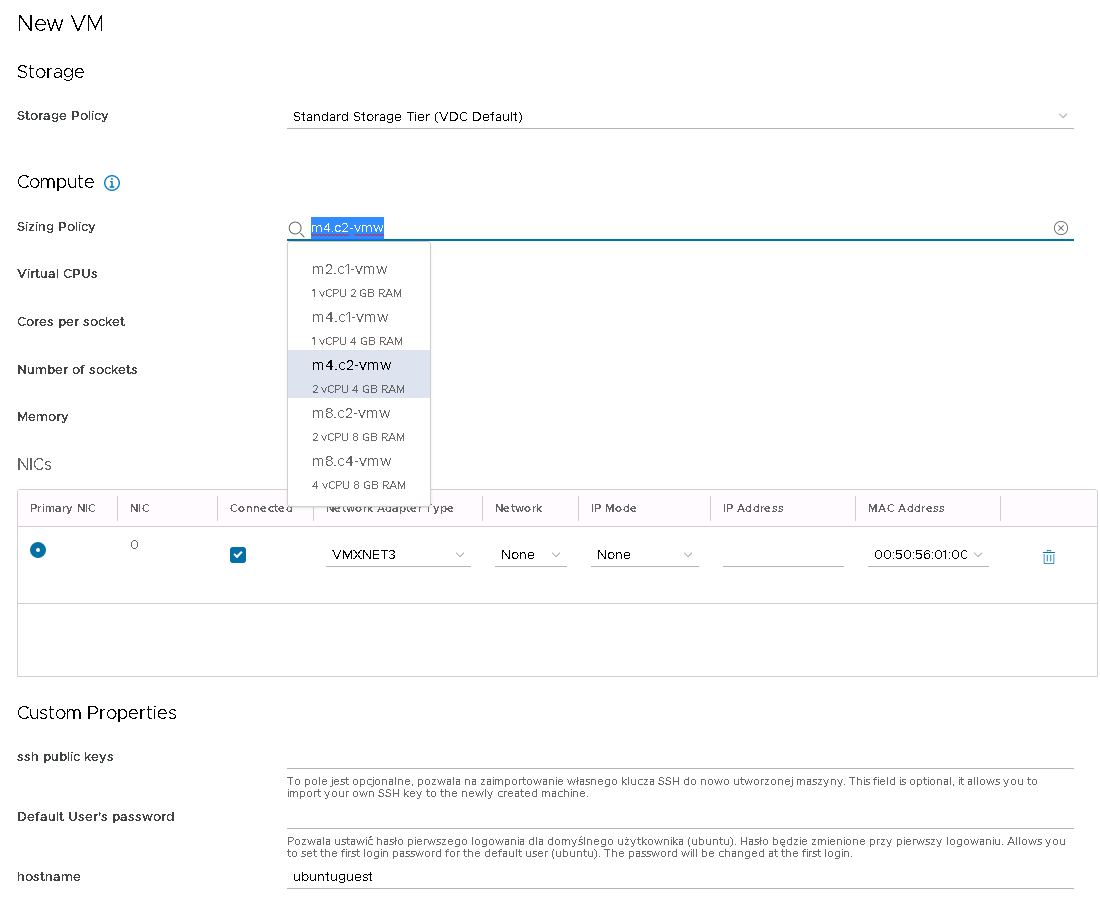
Select the Storage Policy to be used by the virtual machine and its size from the drop-down list.
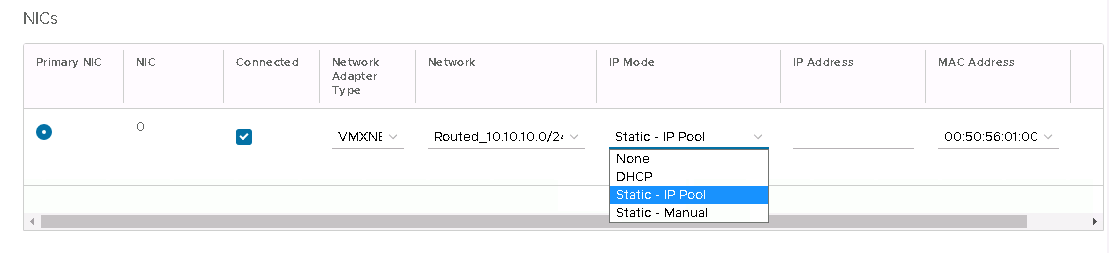
For the network interface, select the network to which the virtual machine will be connected and one of the following IP address assignment methods:
DHCP – an IP address is assigned by the DHCP service on the network,
Static IP Pool – the first free IP address is selected from the pool created on the network,
Static – Manual – allows you to assign an IP address manually
Optionally, you can use Custom Properties to import the public key of the computer from which the connection will be established, set the user password or host name.
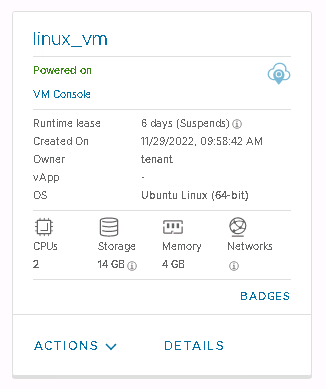
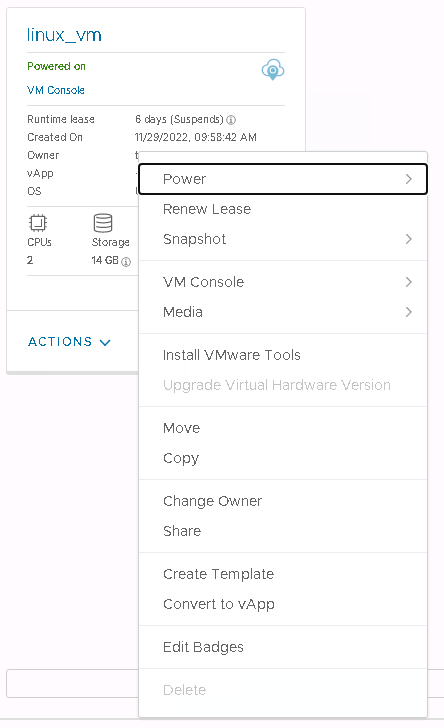
The assigned virtual machine appears in the Virtual Machines tab. Use the Actions button to perform actions on the virtual machines, such as booting, taking snapshots, etc.
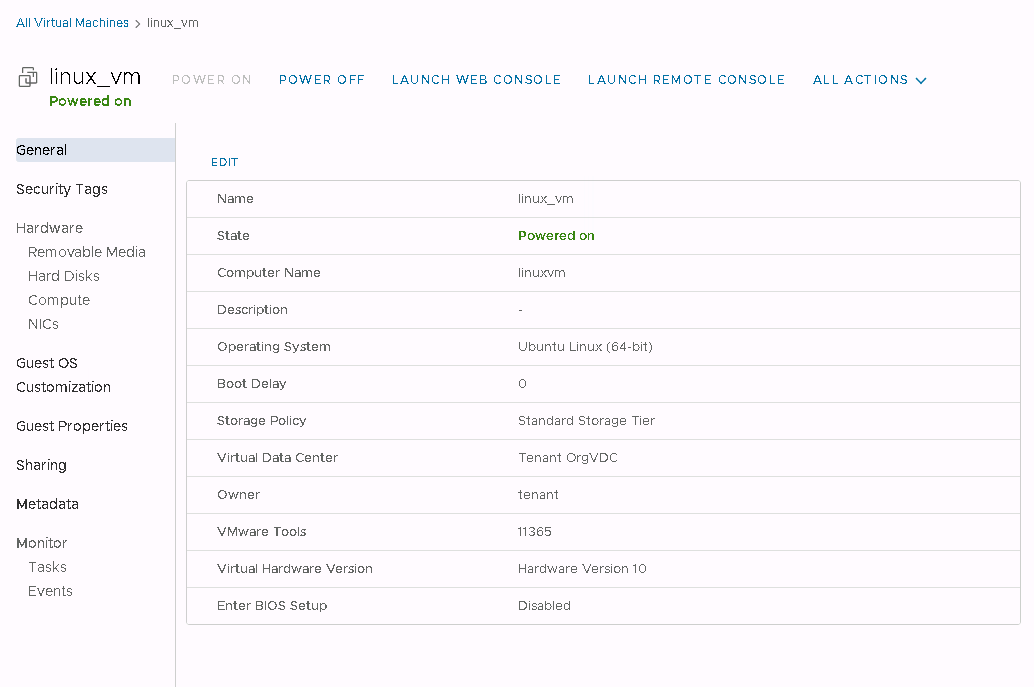
To start editing the virtual machine, press the DETAILS button. The General tab allows you to edit basic settings, such as renaming the machine, changing the Storage Policy, description, or startup delay.
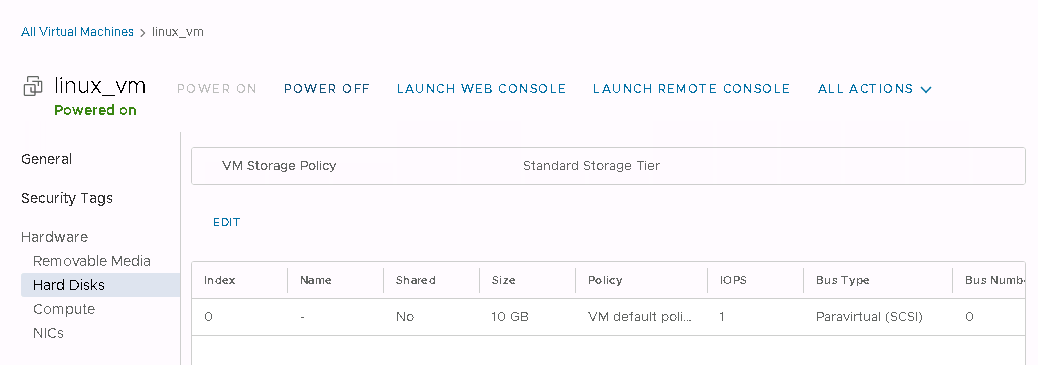
You can edit, add, or expand disks on the Hard Disks tab.
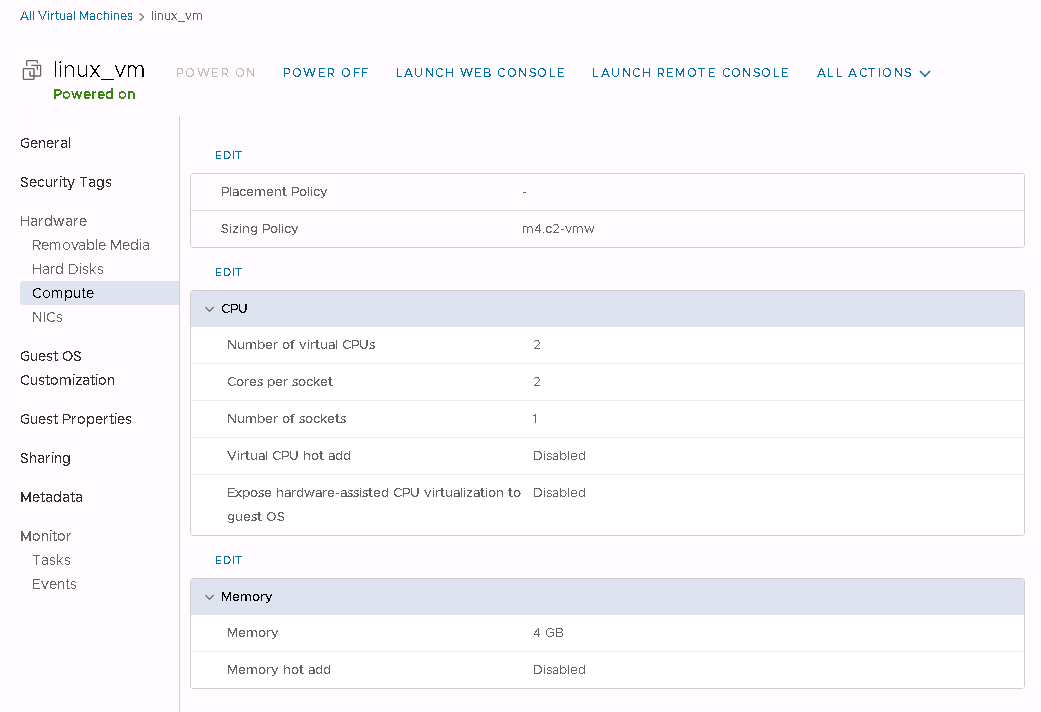
The Compute tab allows you to change the virtual machine size – the Sizing Policy. Changes should be made on a powered-off machine.
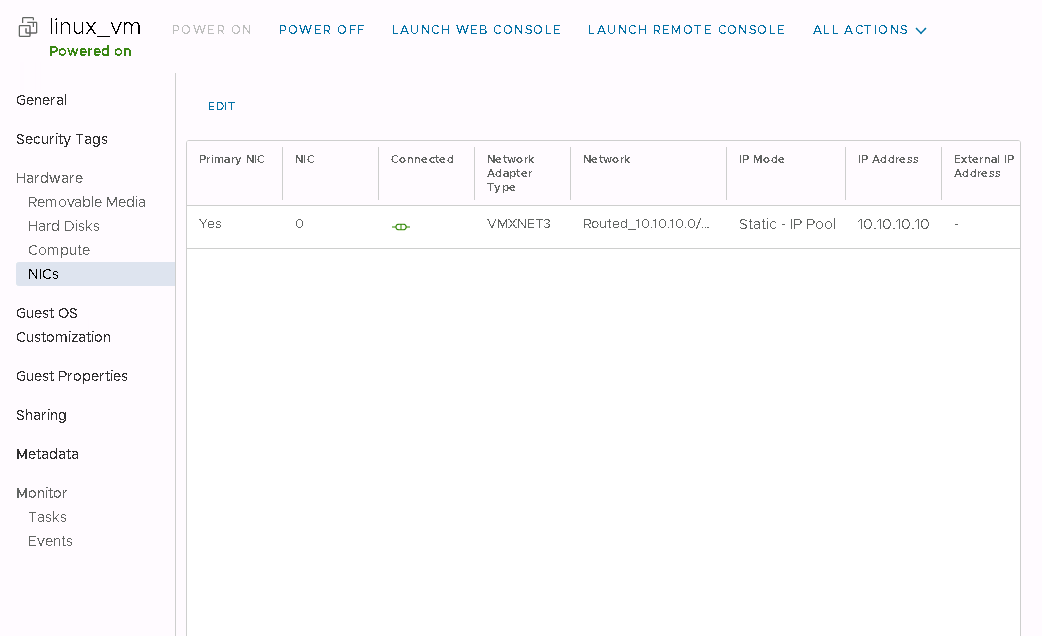
The NICs tab allows you to edit or add network interfaces.
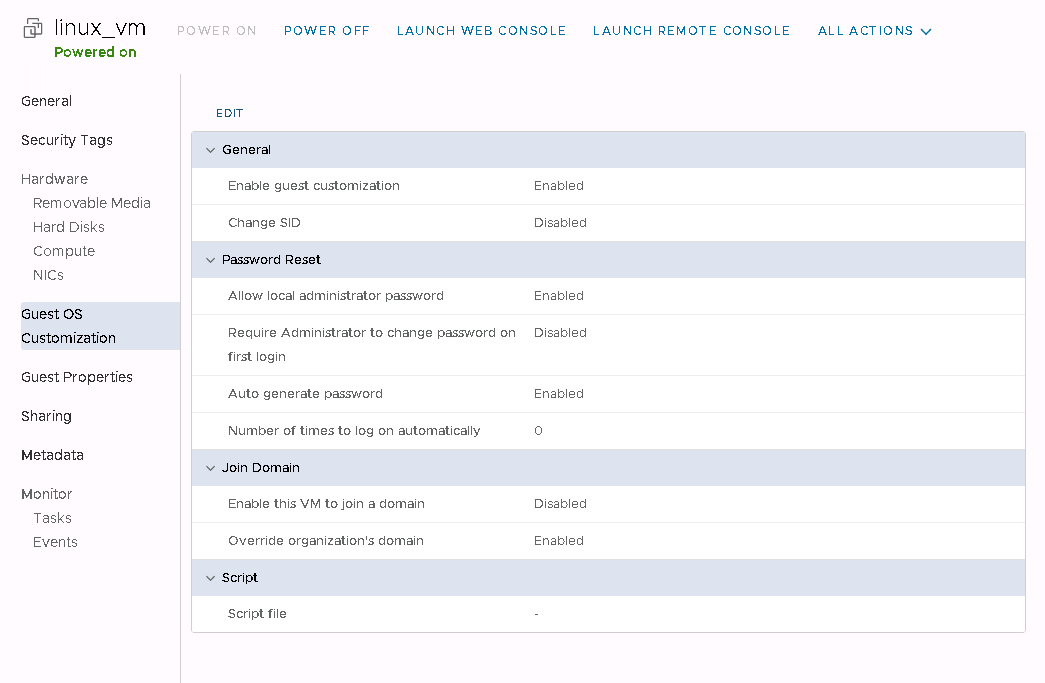
When you start the virtual machine, the Guest OS Customization process runs to prepare the virtual machine according to your settings. The random initial password for the root user can be previewed by editing these settings in the Specify Password field.