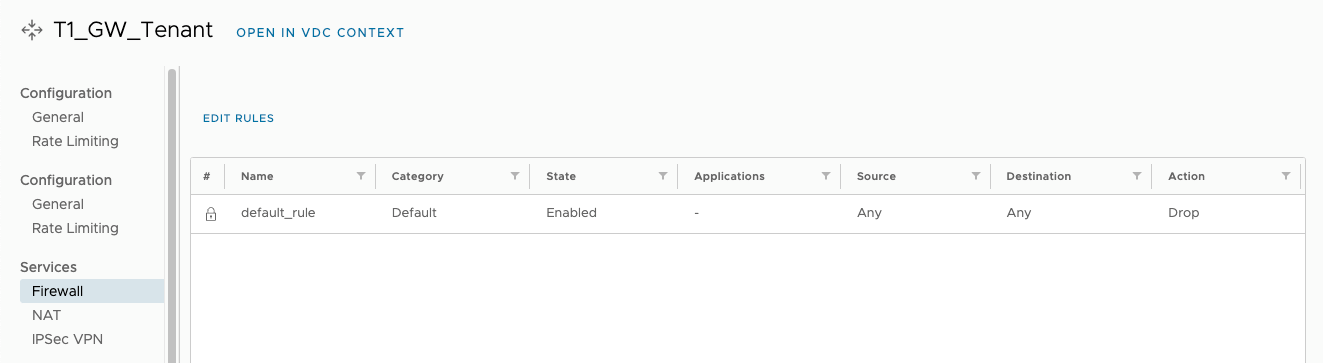
By default, the created virtual machine is subject to a default Firewall rule that blocks the North-South traffic. You must create a SNAT rule (previous item) and a firewall rule to allow the virtual machine to access the public network.
- From the T1 router, go to the Firewall tab. By default, the Any <-> Any rule with DROP action is available
- Firewall rules are created based on 2 objects:
- IP Sets – IP ranges or individual IP addresses that can be used as the source or destination of a rule
- Static Group – an indication of the virtual network, which allows you to apply the rule to all virtual machines connected to this network.
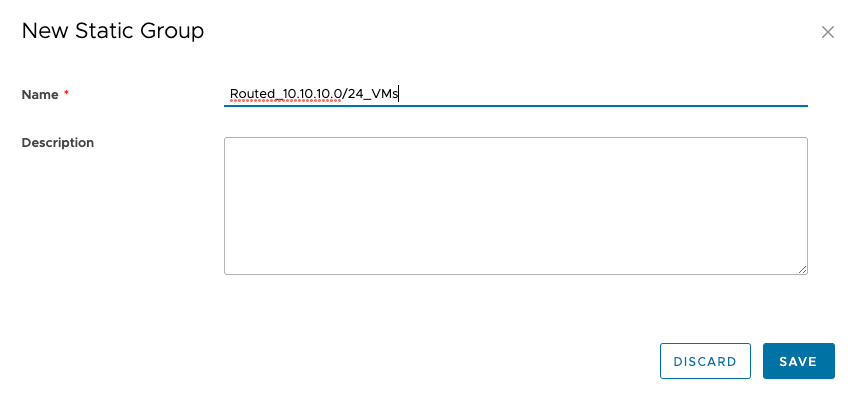
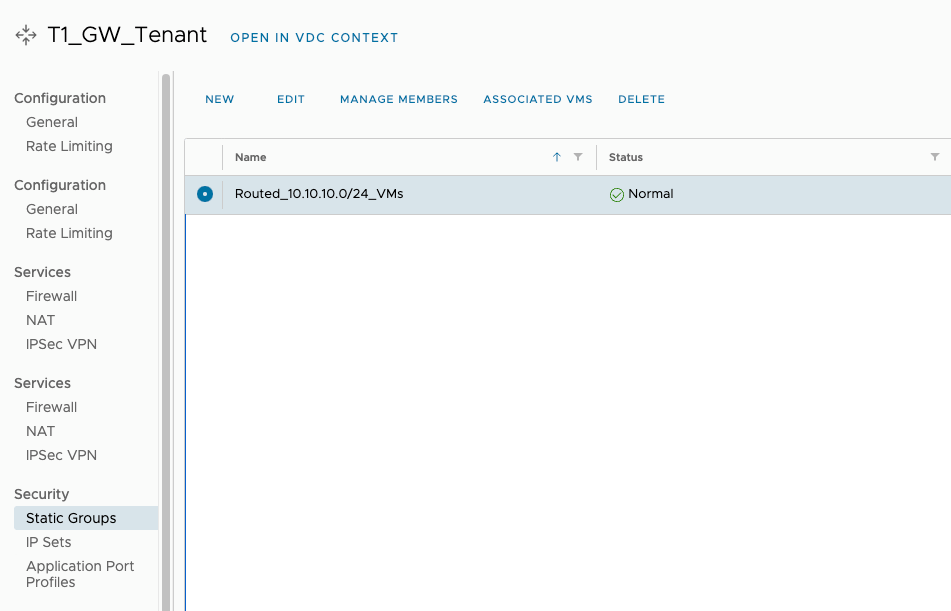
To create an association of VMs with the used routed network, go to the Security \ Static Groups tab, press the NEW button, enter the name of the Static Group and press the SAVE button.
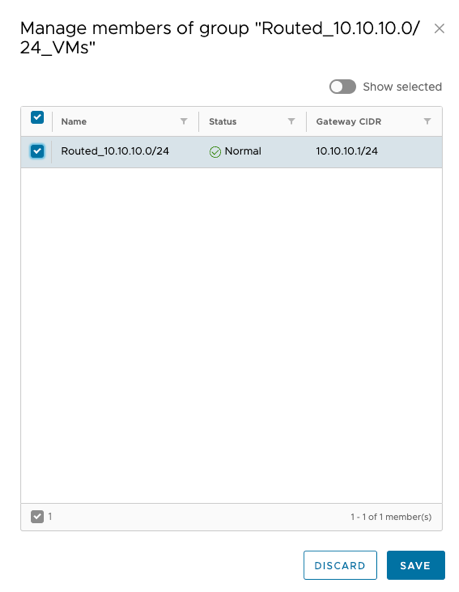
- Select the created Static Group and select Manage Members to add the network containing the VMs that should be subject to the firewall rule.
- Select the network from which the machines will be covered by the rule and click SAVE.
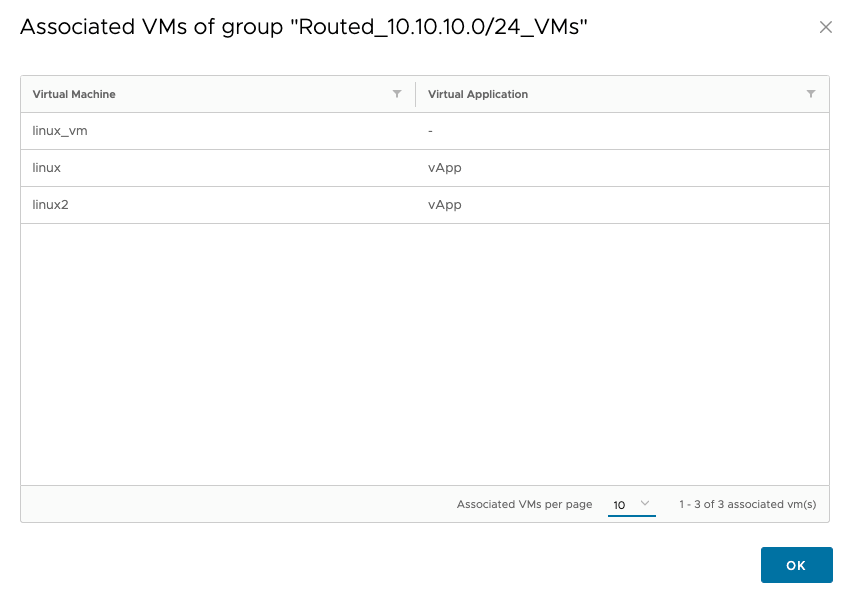
- By selecting Associated VMs, we can preview which machines are associated with the created Static Group.
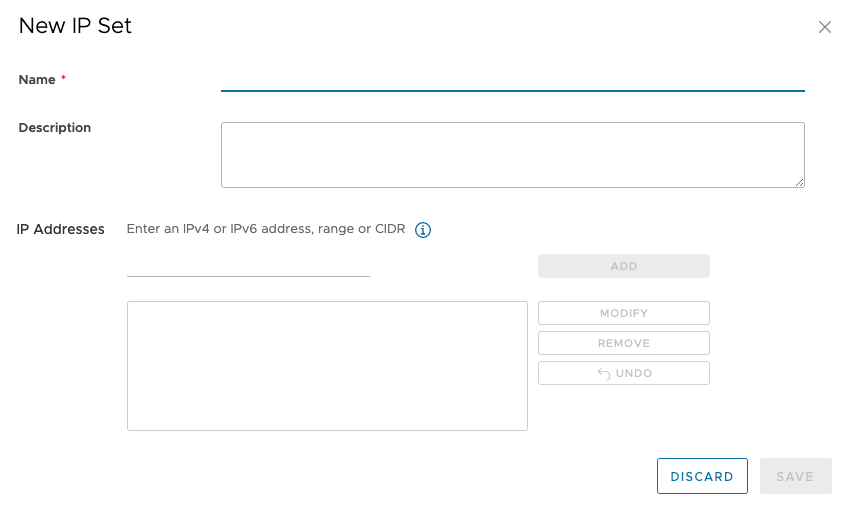
- If you want to use IP Set, select Security IP Set and click the NEW button. Then enter the name and IP address or range or CIDR to be used in this IP set and again in the firewall rule.
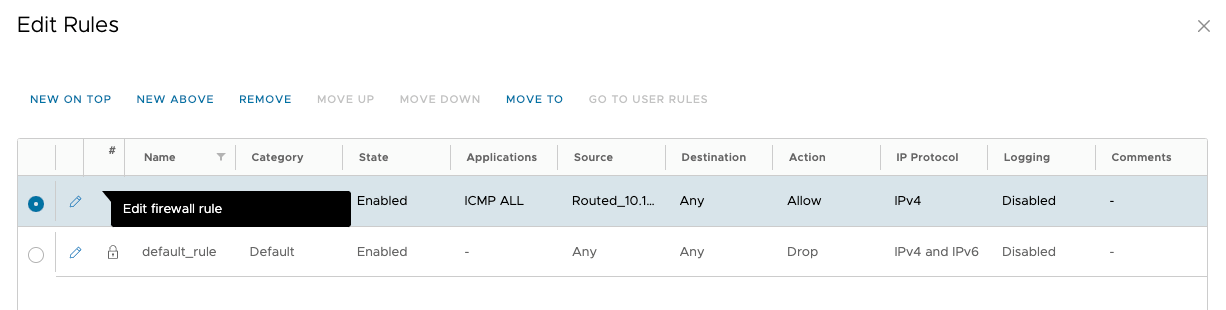
- After creating the Static Group or IP Set, go to the Firewall tab and select Edit Rules. In the next window, select NEW ON TOP to create an entry for the new Firewall rule.

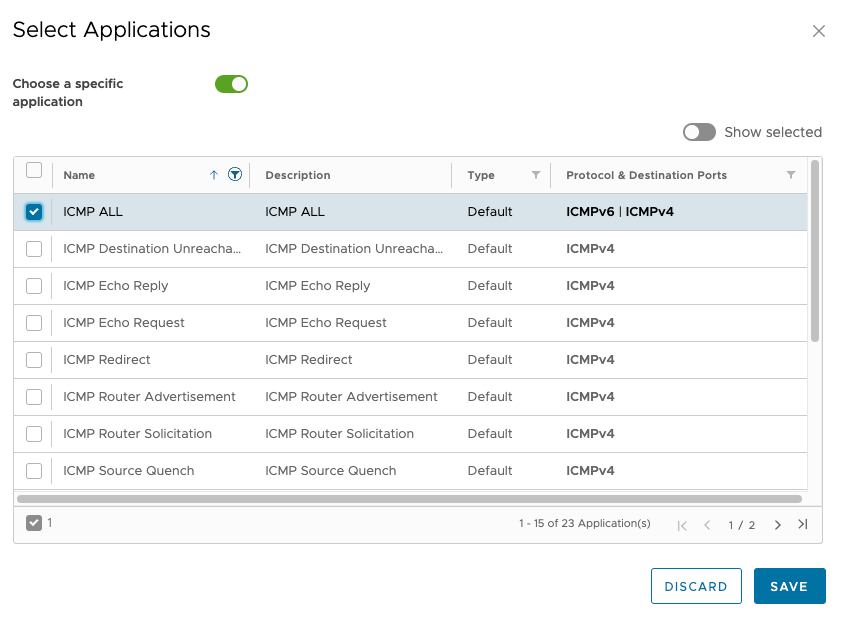
- Enter the name of the rule and use the pencil tool to select:
- Type of traffic to be allowed within the rule (Application)
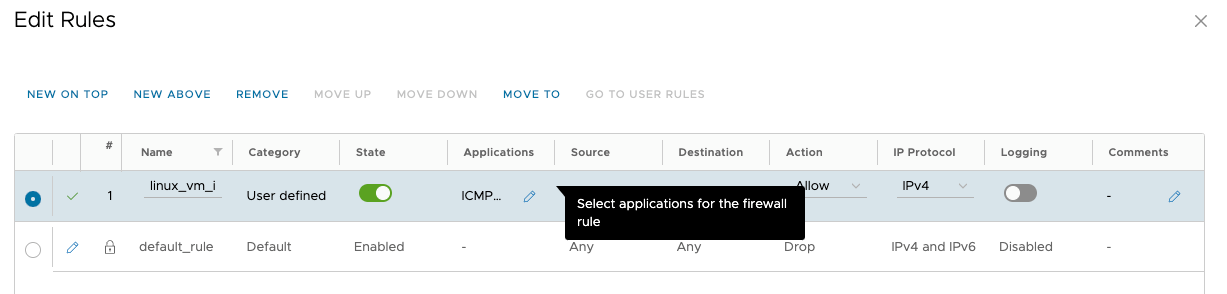
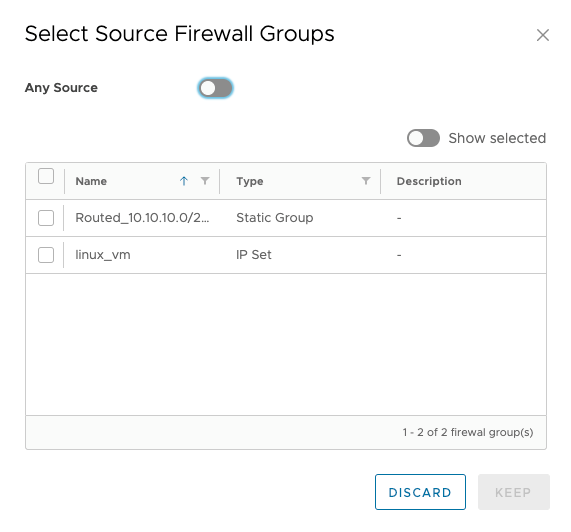
- Source as the created static group
- Destination as Any for public network access, and Action type as ALLOW.

- Type of traffic to be allowed within the rule (Application)
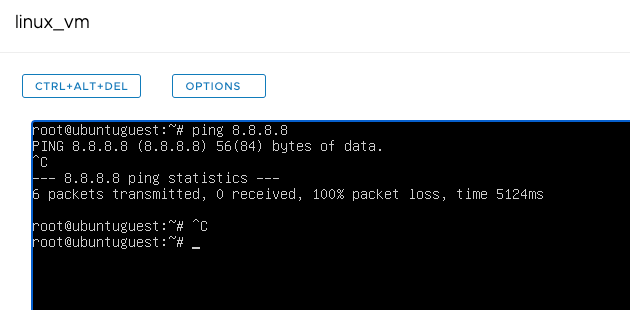
- The VM already has the ability to allow ICMP traffic to the public network, e.g. to 8.8.8.8
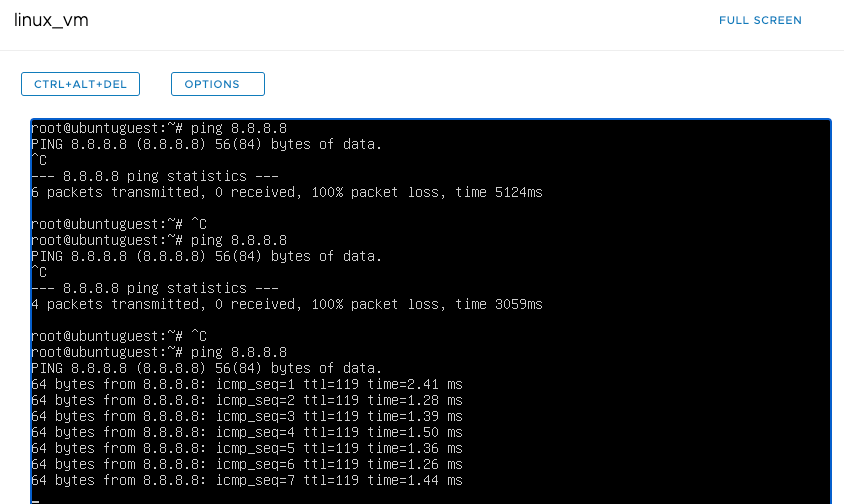
Unfortunately, the machine does not have the ability to resolve names on the public network.

- Edit the previously added rule using the pencil button.
- Select the option to edit the Applications section for the created rule.
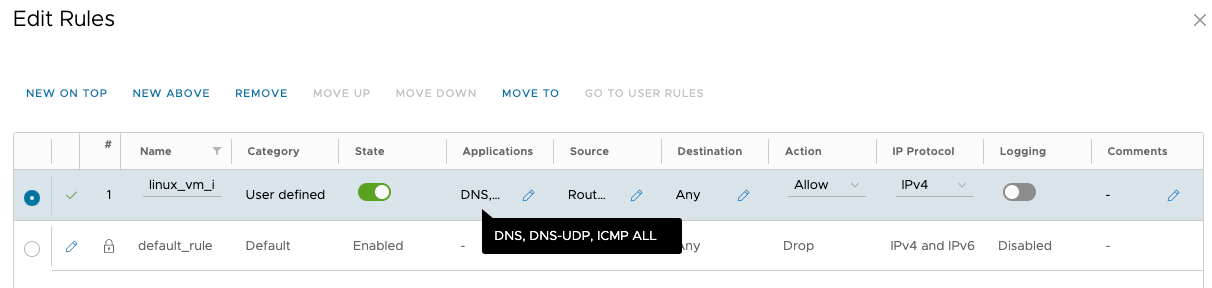
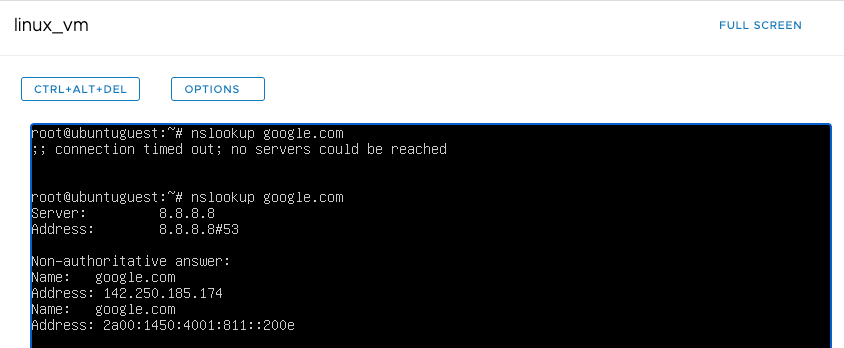
- Select the DNS traffic type and validate the firewall rule.
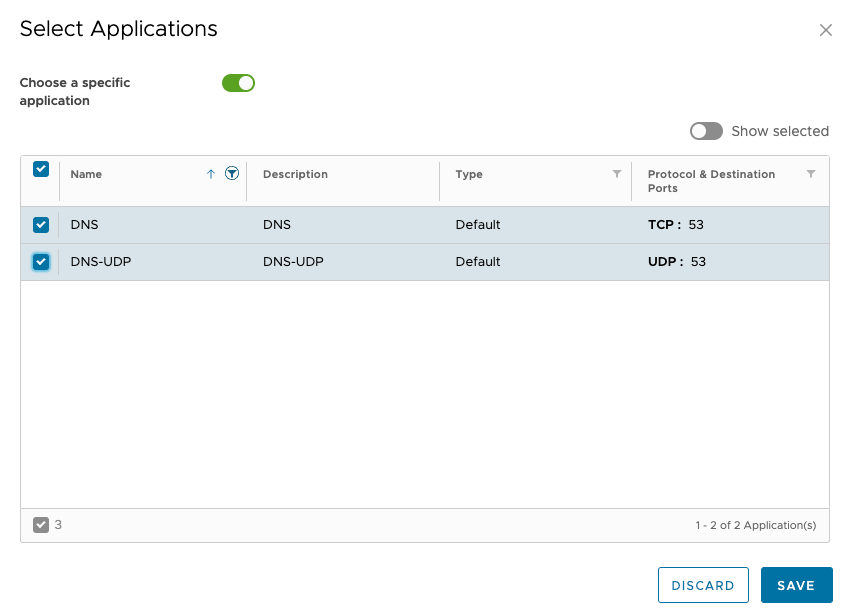
- The VM will have the ability to resolve names based on DNS on the public network (8.8.8.8).