Home Creating Routed Network – Atman VMware Cloud
- In the Tenant panel, select the Networking tab, then select Networks.
- Use the NEW button to begin the process of creating a virtual network.
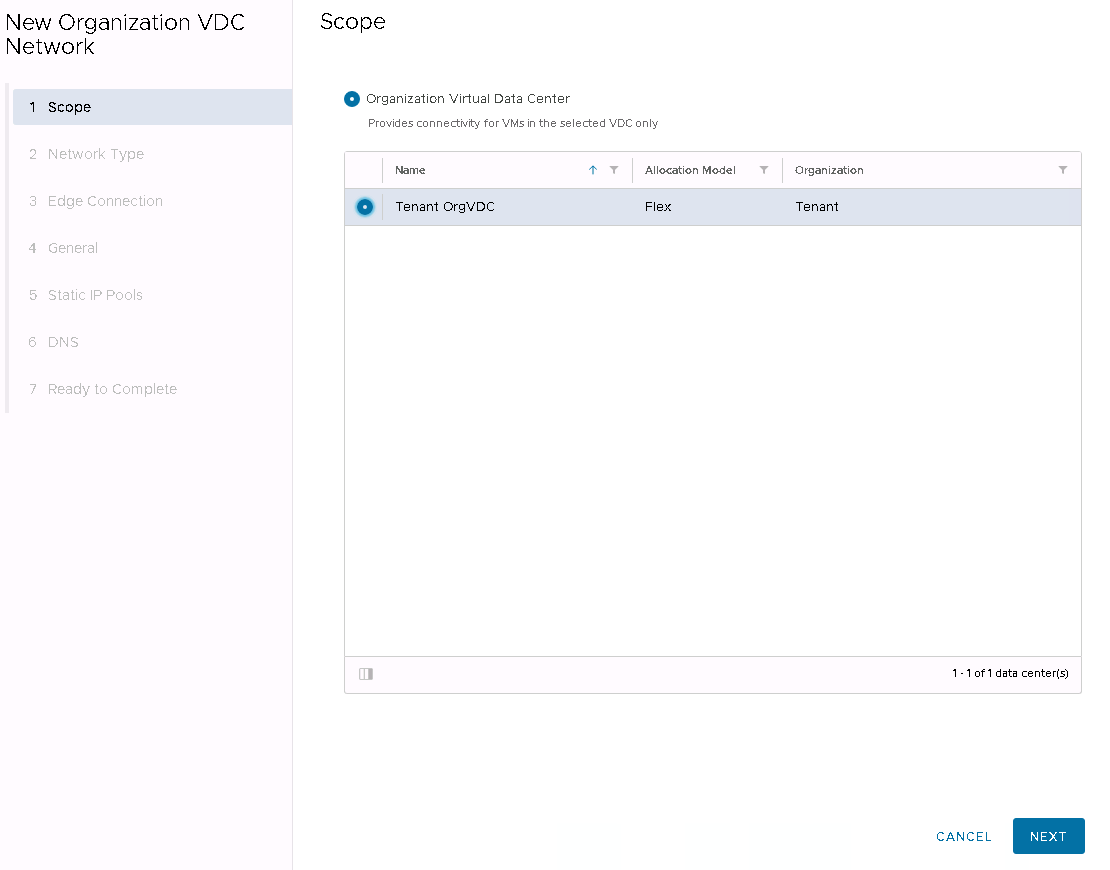
- Select the Organization Virtual Data Center in which you want to create the network.
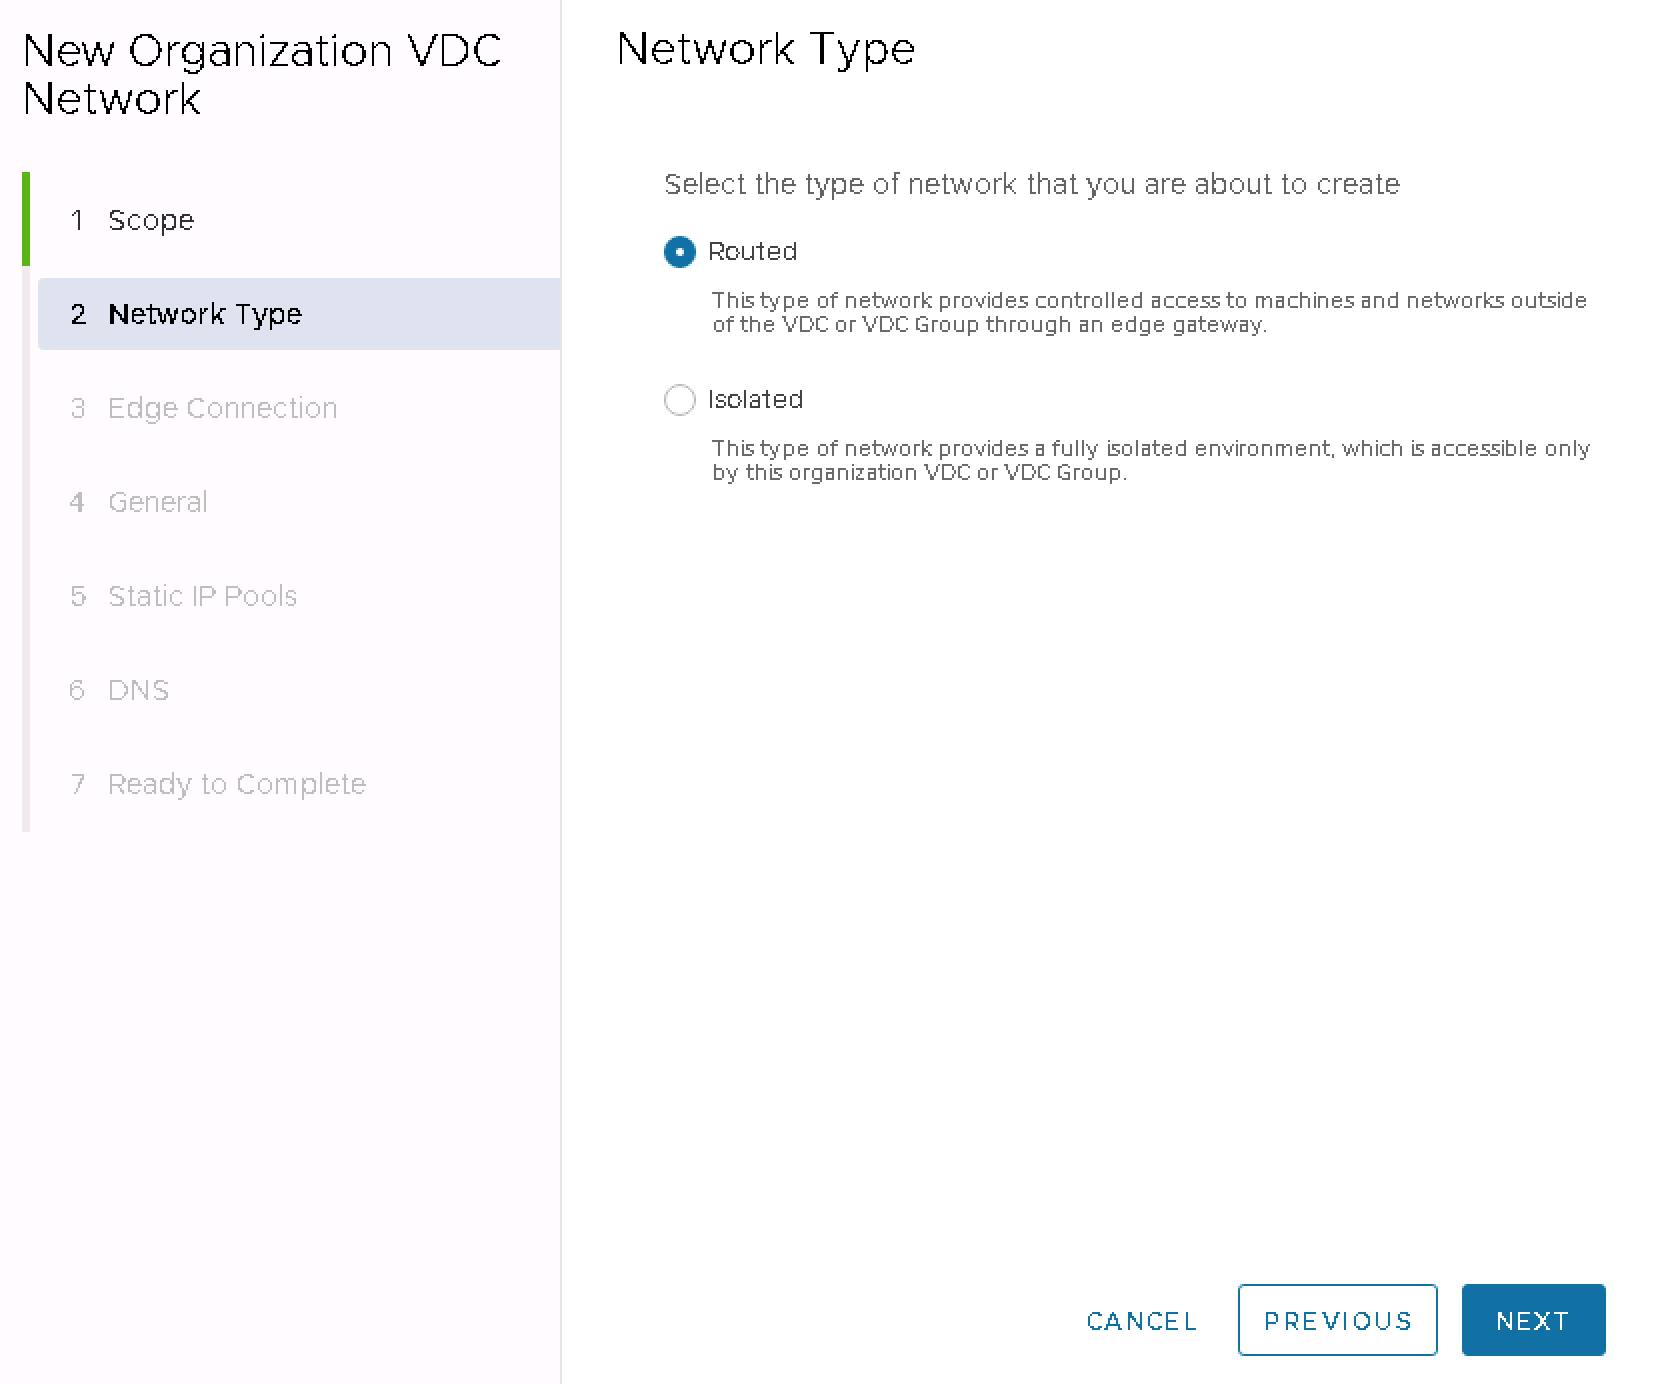
- Select the network type as Routed Network – a routed network connected to a Tenant-dedicated T1 router that provides network services.
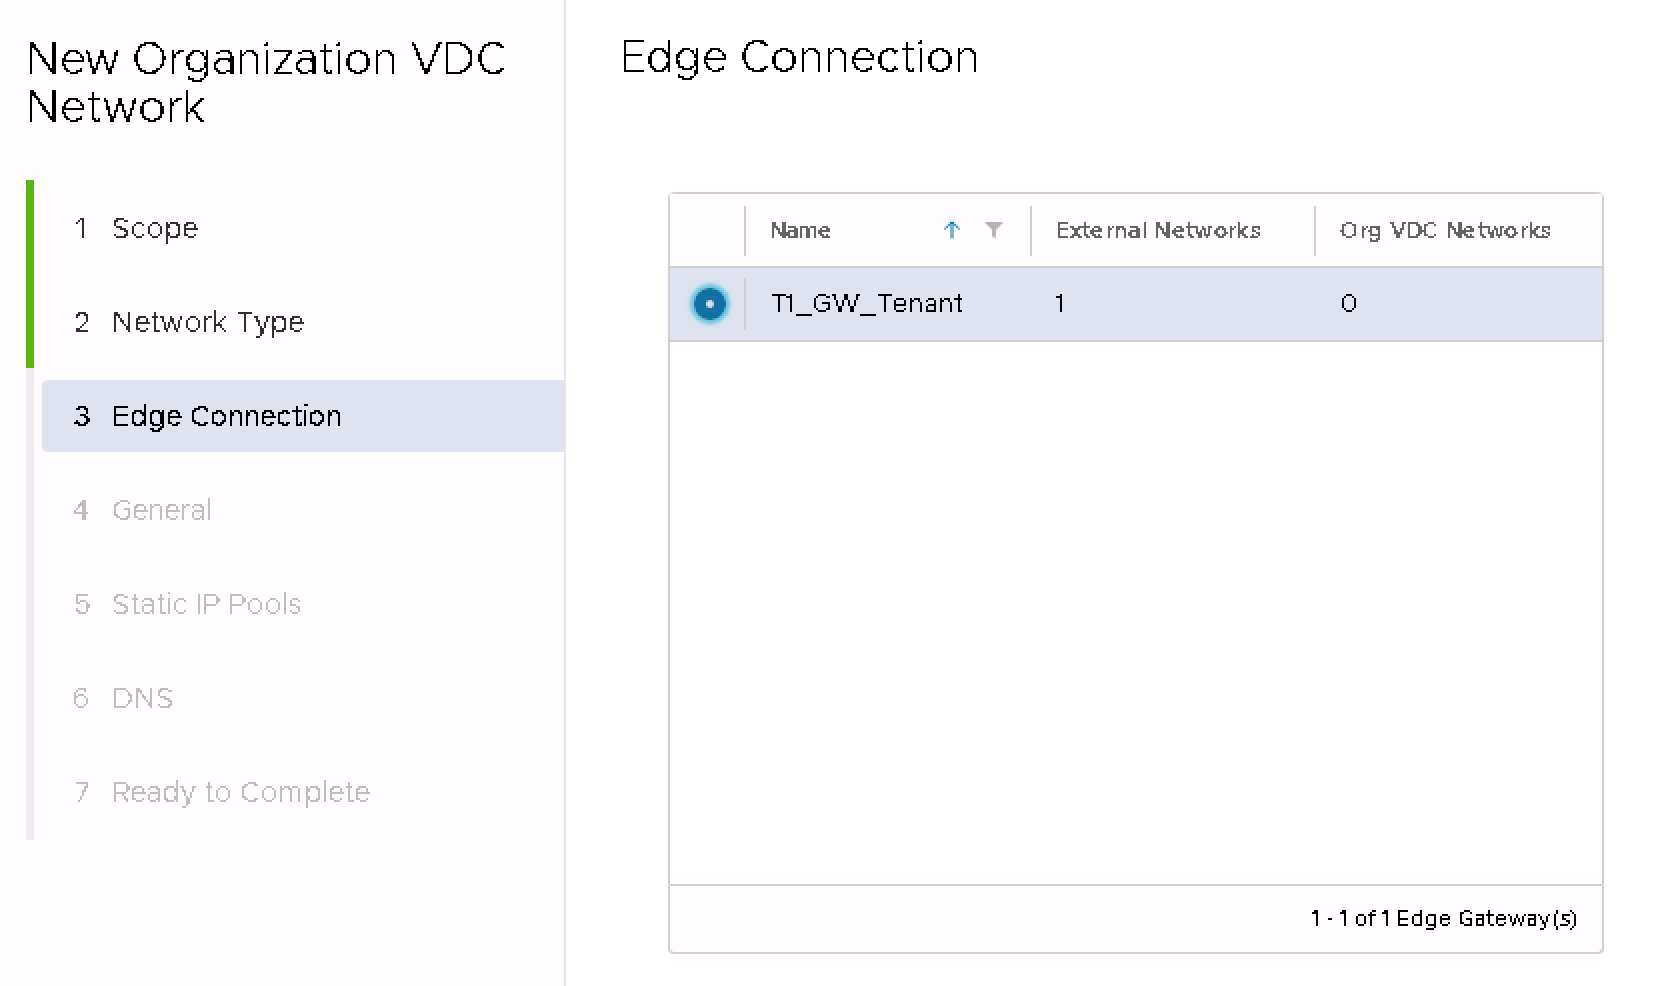
- Select the dedicated T1 router.
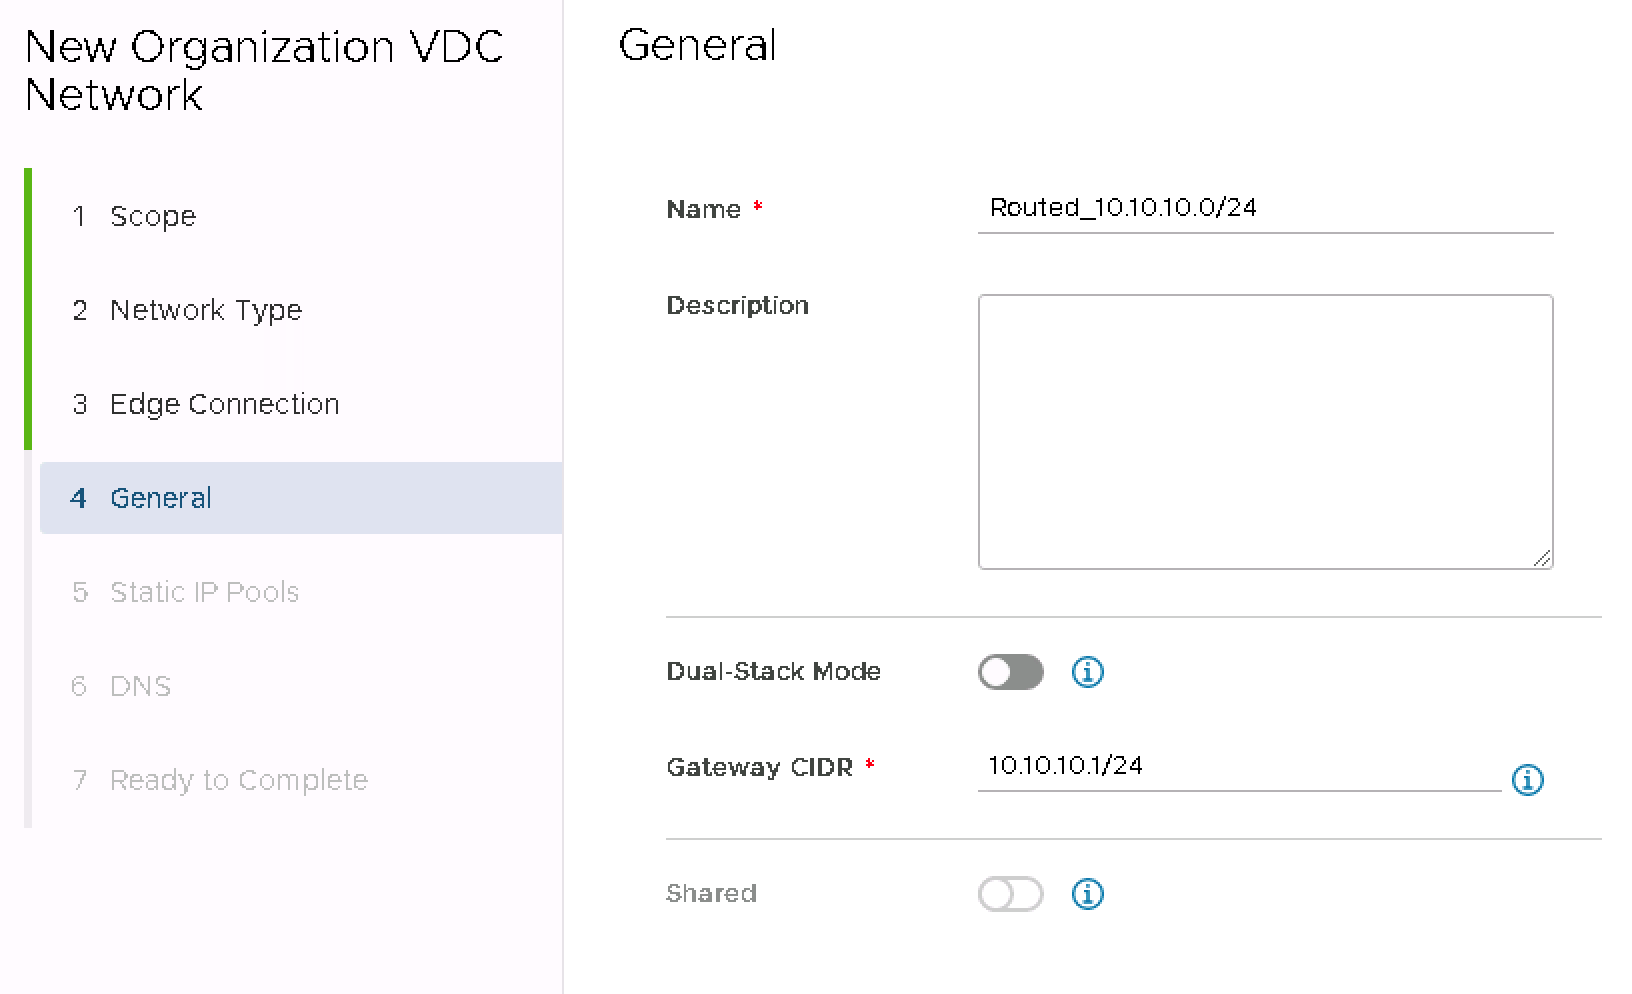
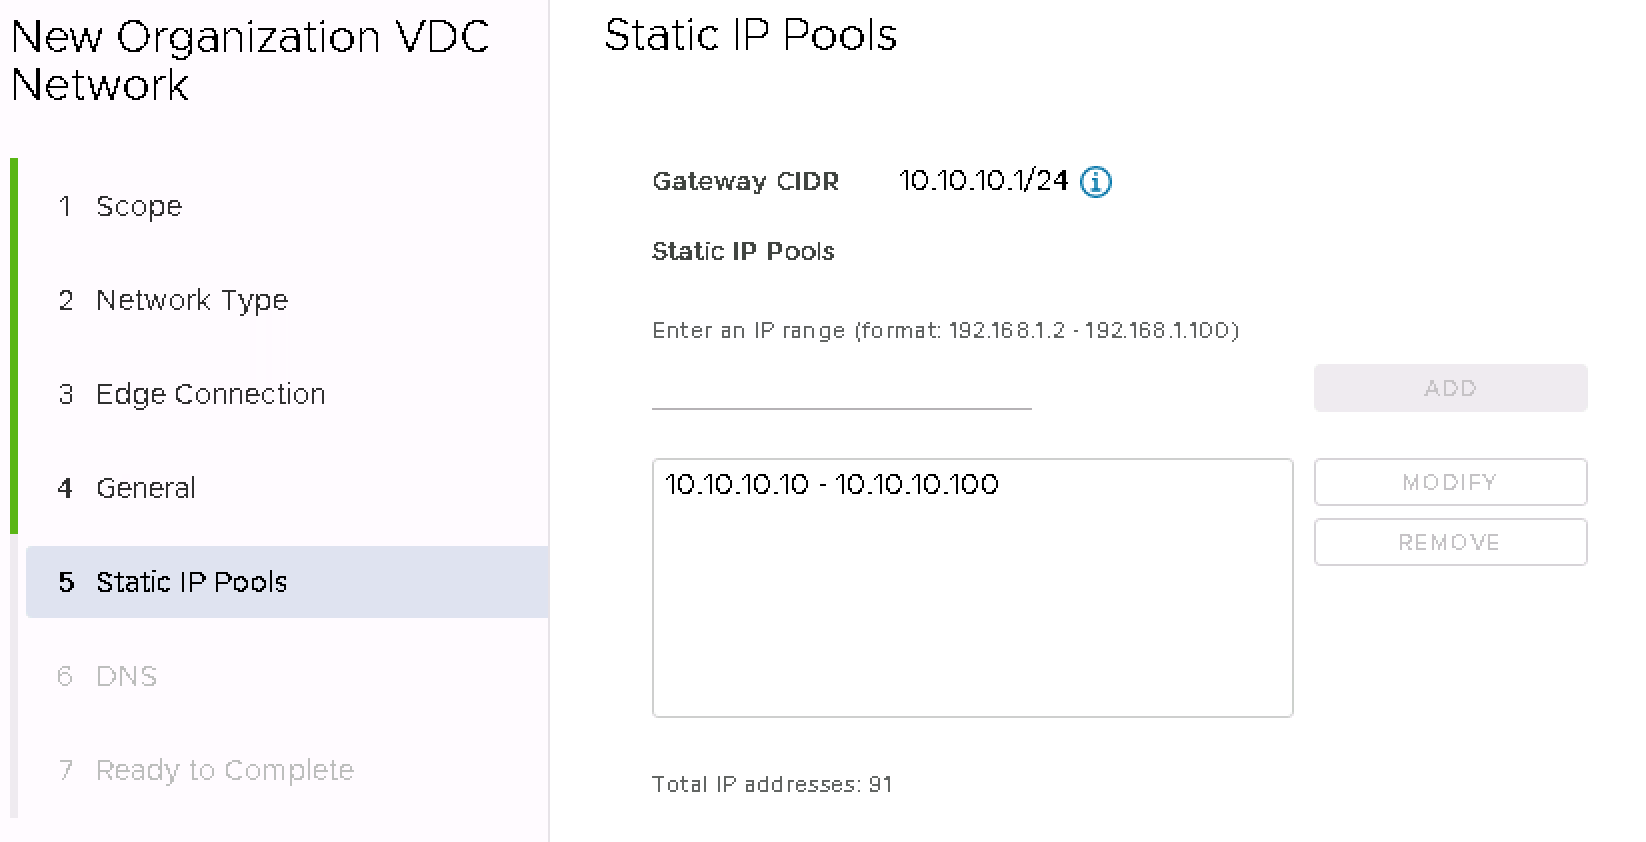
- Enter the network name, description, and CIDR in the format XX.XX.XX.1/XX, e.g., 10.10.10.1/24.
- Specify the address range, IP addresses that will be used statically when VMs are connected to this network, and add them using the ADD button.
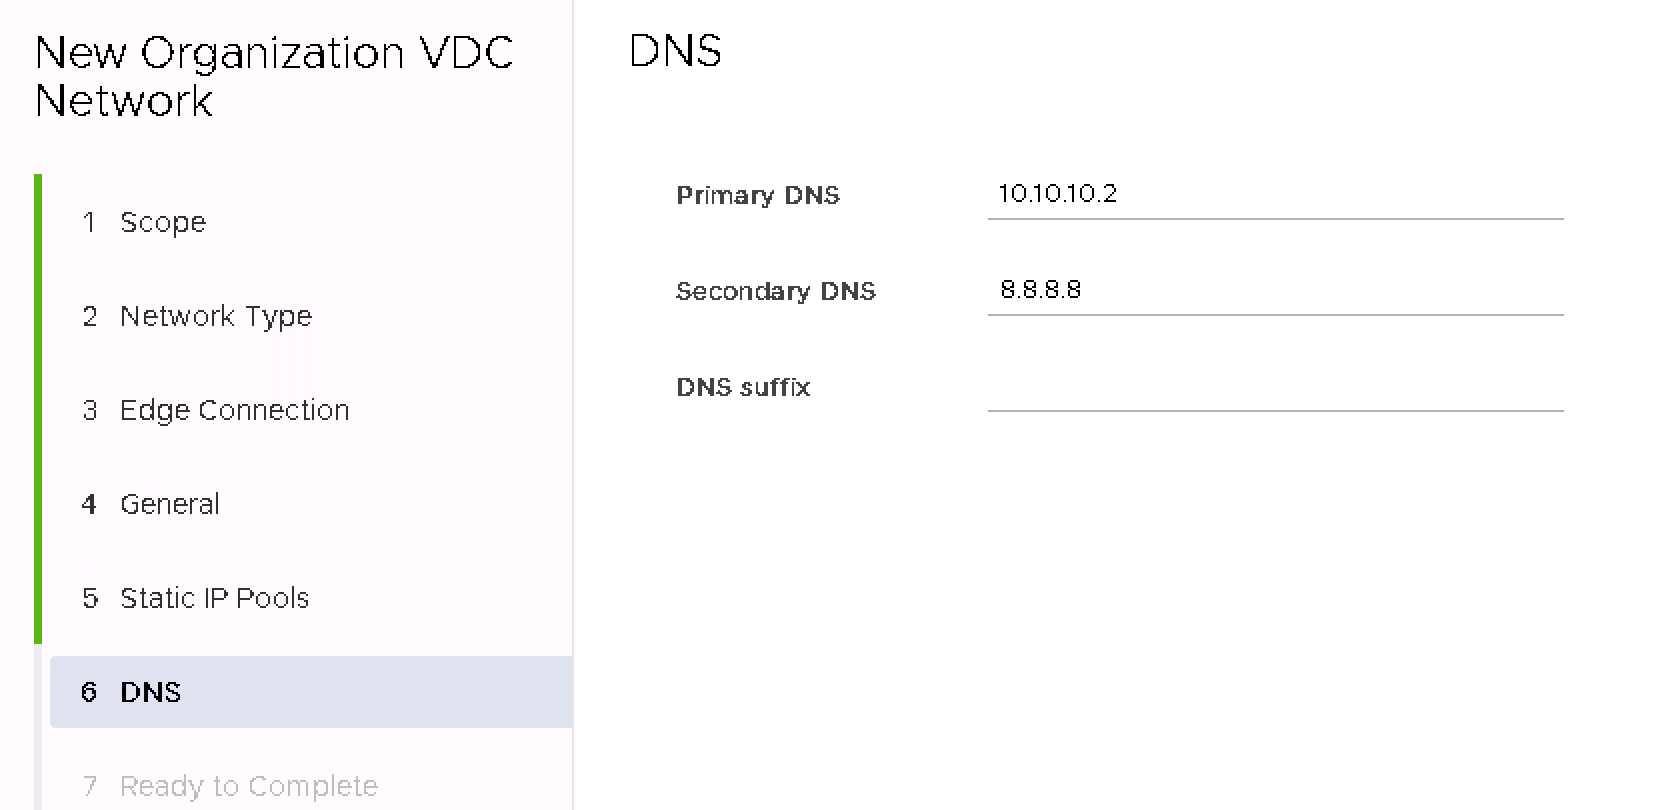
- Specify the default DNS and Suffix for the network to be created.
- Review the settings and confirm the network creation.
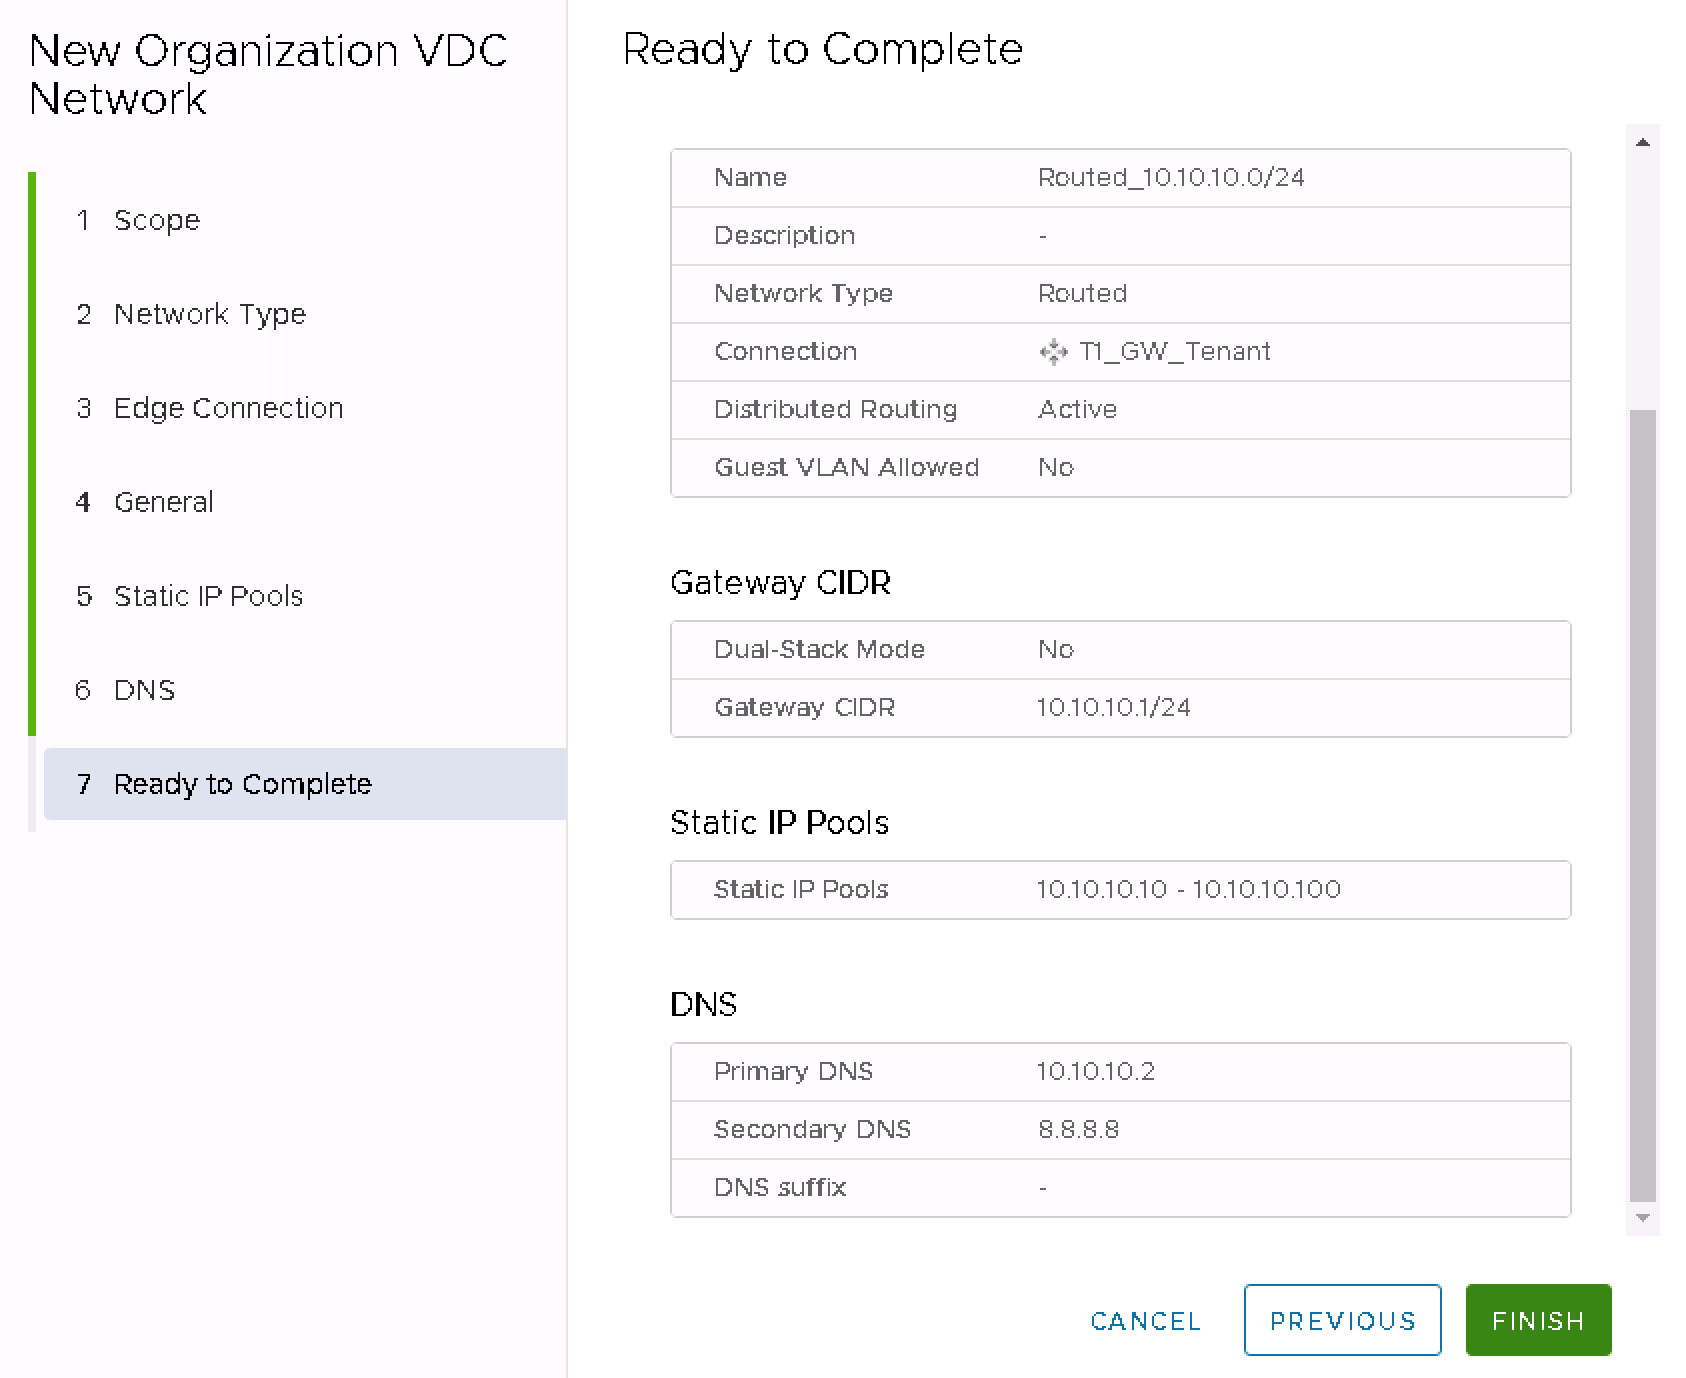
- The network is created and connected to the T1 router.
