Creation and editing of applications (Virtual Applications)
The Virtual Application (vApp) is an object that allows virtual machines to be grouped into complete applications with start-up priority setting and the ability to start/shut down groups of virtual machines.
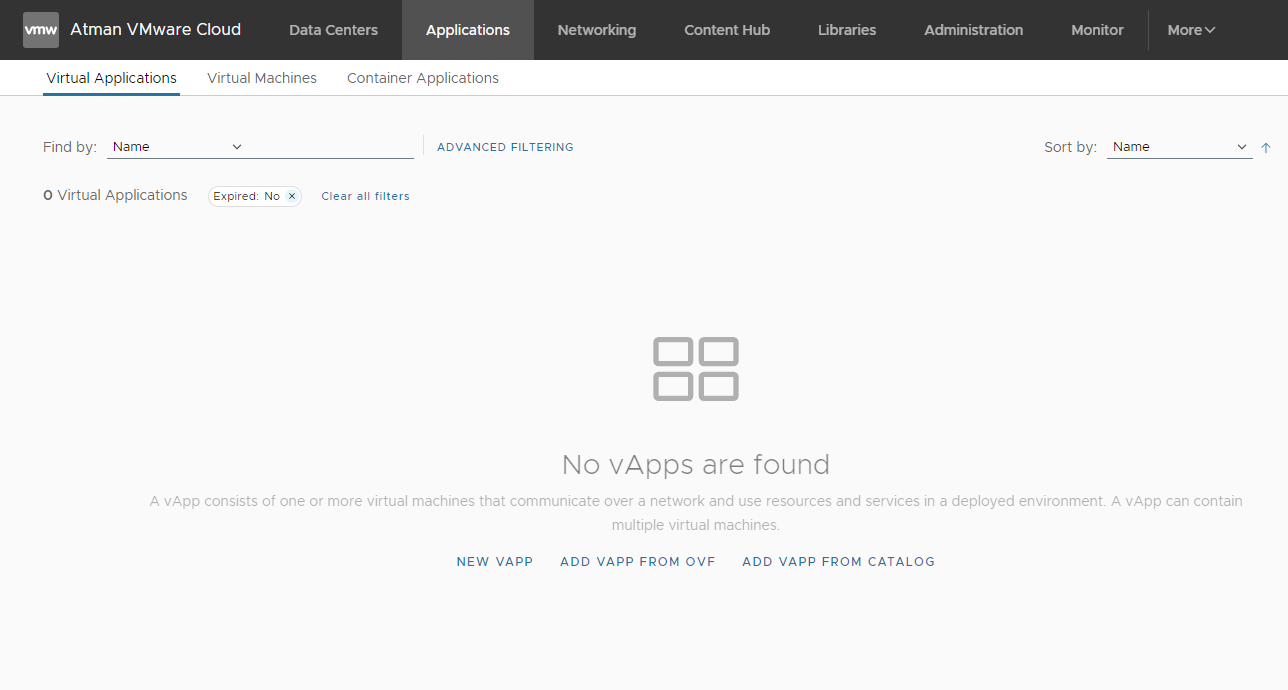
From the Applications -> Virtual Applications tab, select NEW VAPP and OrgVDC in which to run.
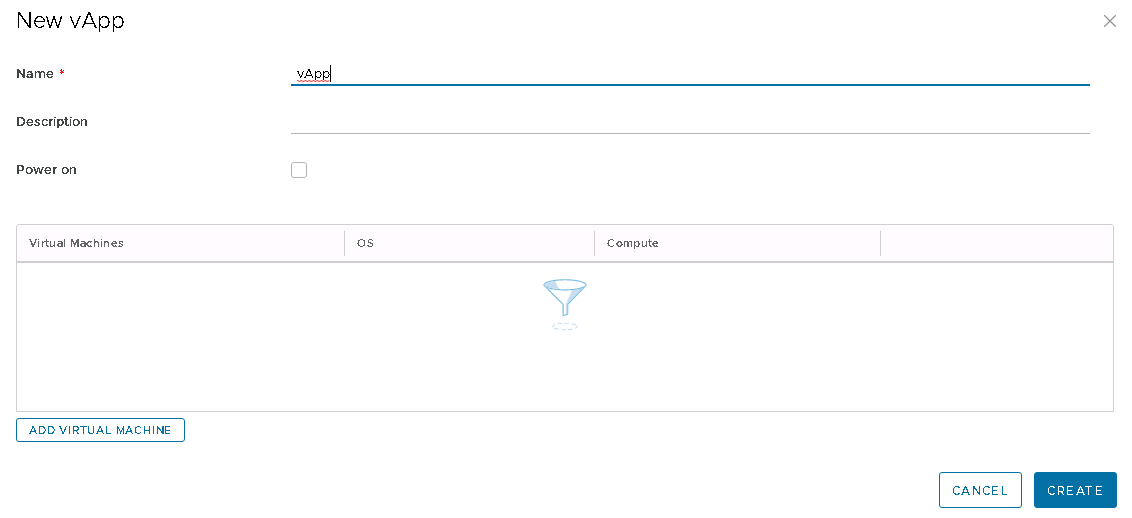
Enter the name of the vApp and select whether it should be started after creation. Use the ADD VIRTUAL MACHINE button to start the process of adding the virtual machine to the vApp.
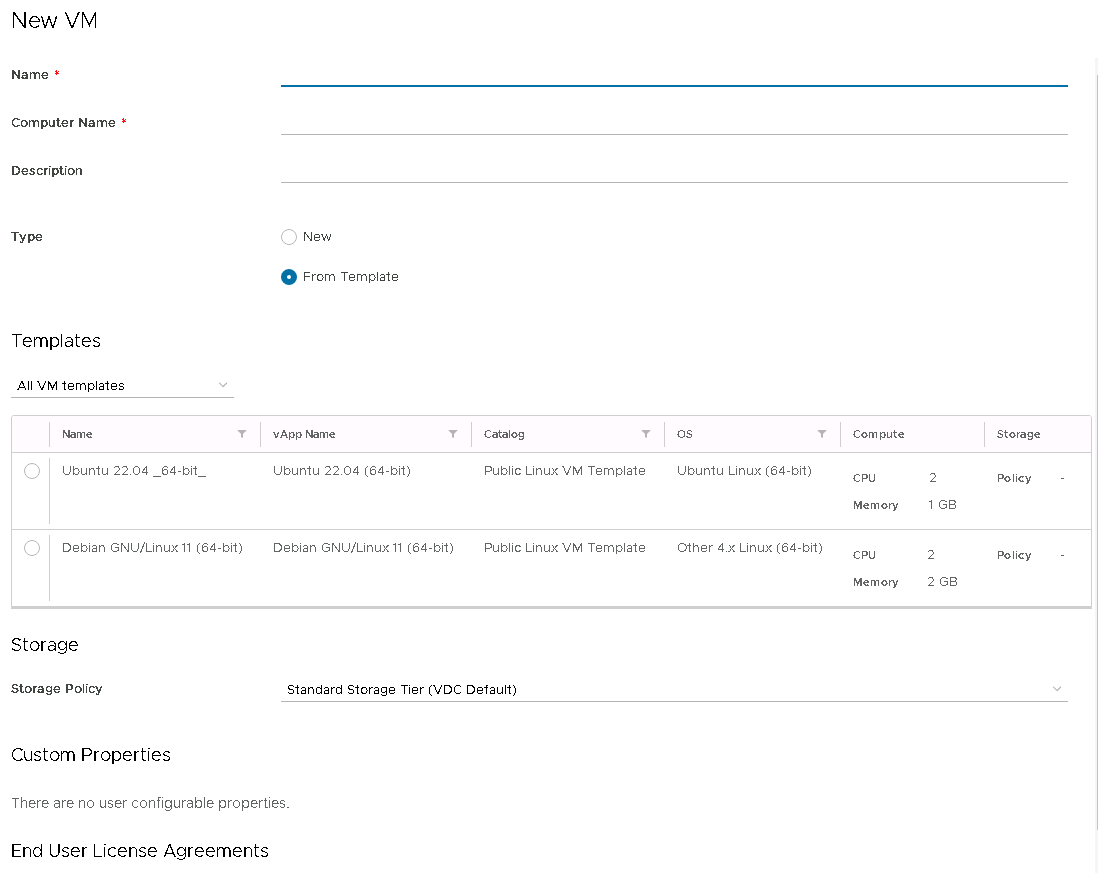
Create a virtual machine according to the instructions for creating a virtual machine.
Validate the creation of the vApp once the virtual machine has been added. The Virtual Application will appear in the Applications -> Virtual Applications tab. Select the DETAILS option for vAPP.
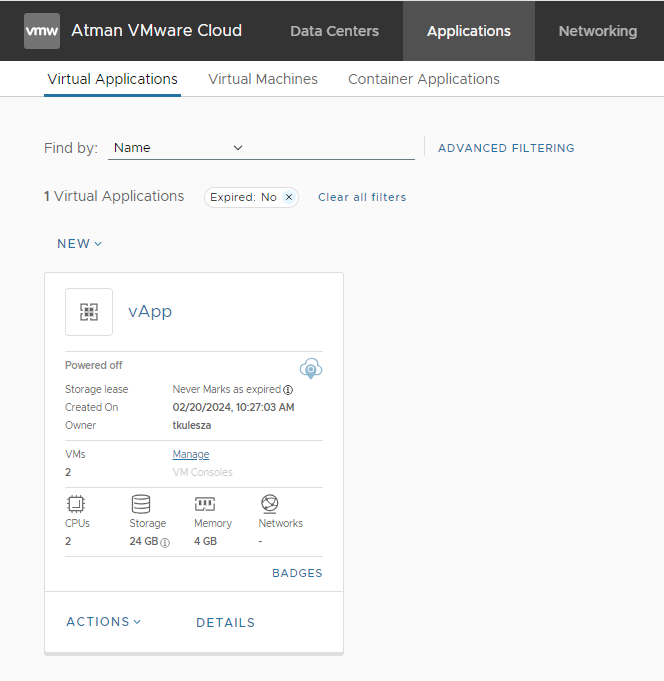
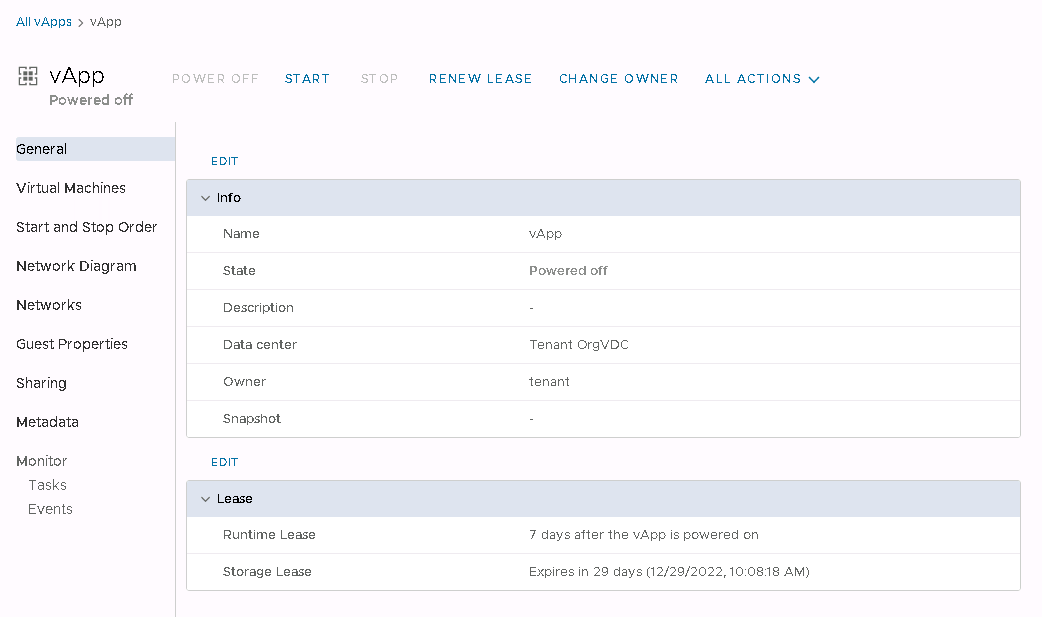
The General tab allows you to change the name of the vApp.
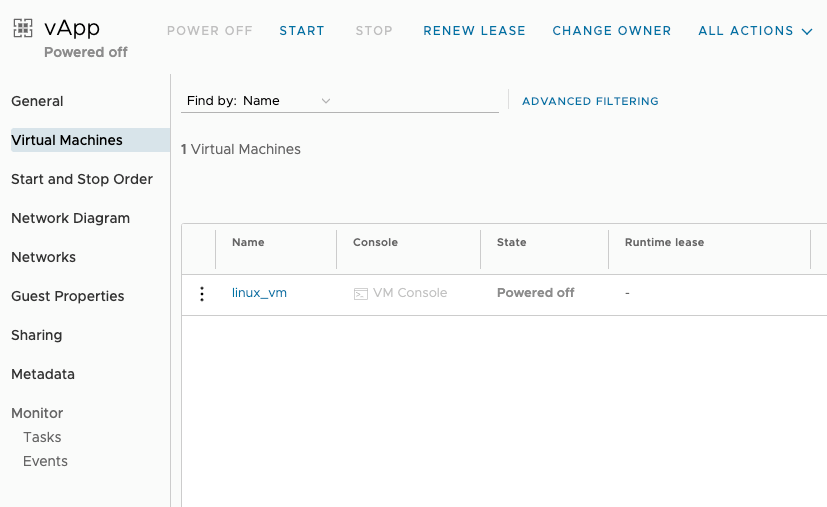
The Virtual Machines tab shows the virtual machines in the vApp.
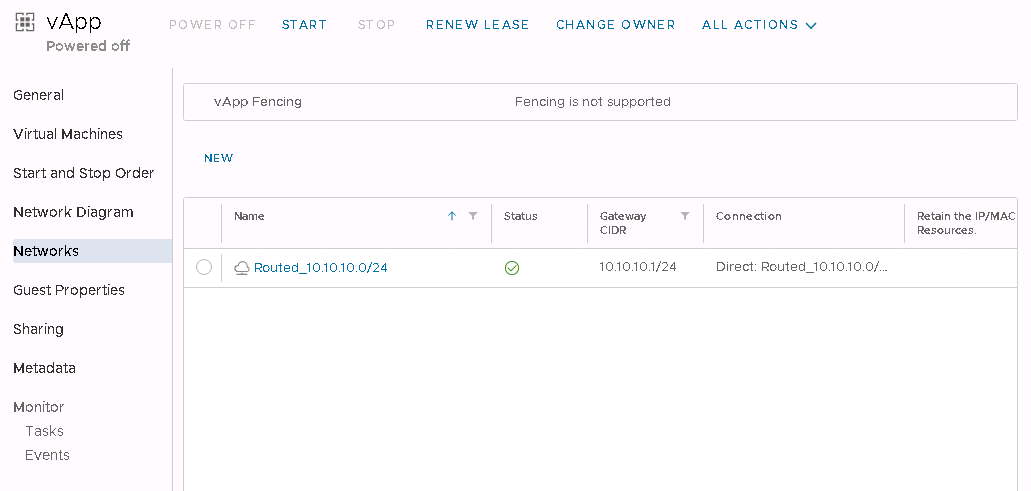
The Networks tab shows the networks used within the vApp. If you wish to add a VM interface in the vApp on another network, you must first add this network to the vApp with the NEW button.
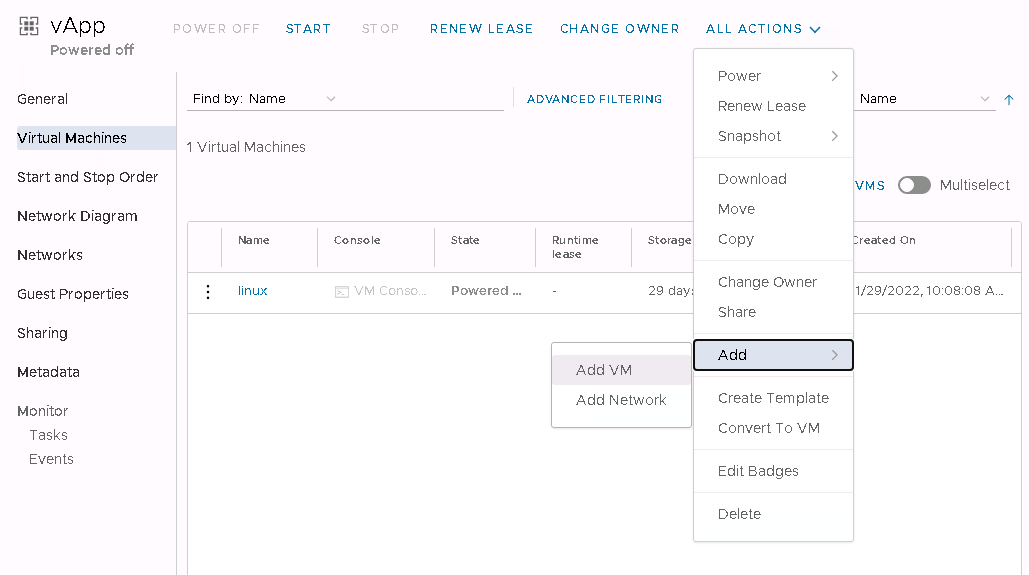
Use the ALL ACTIONS -> ADD -> ADD VM button to add a new VM to an existing vApp.
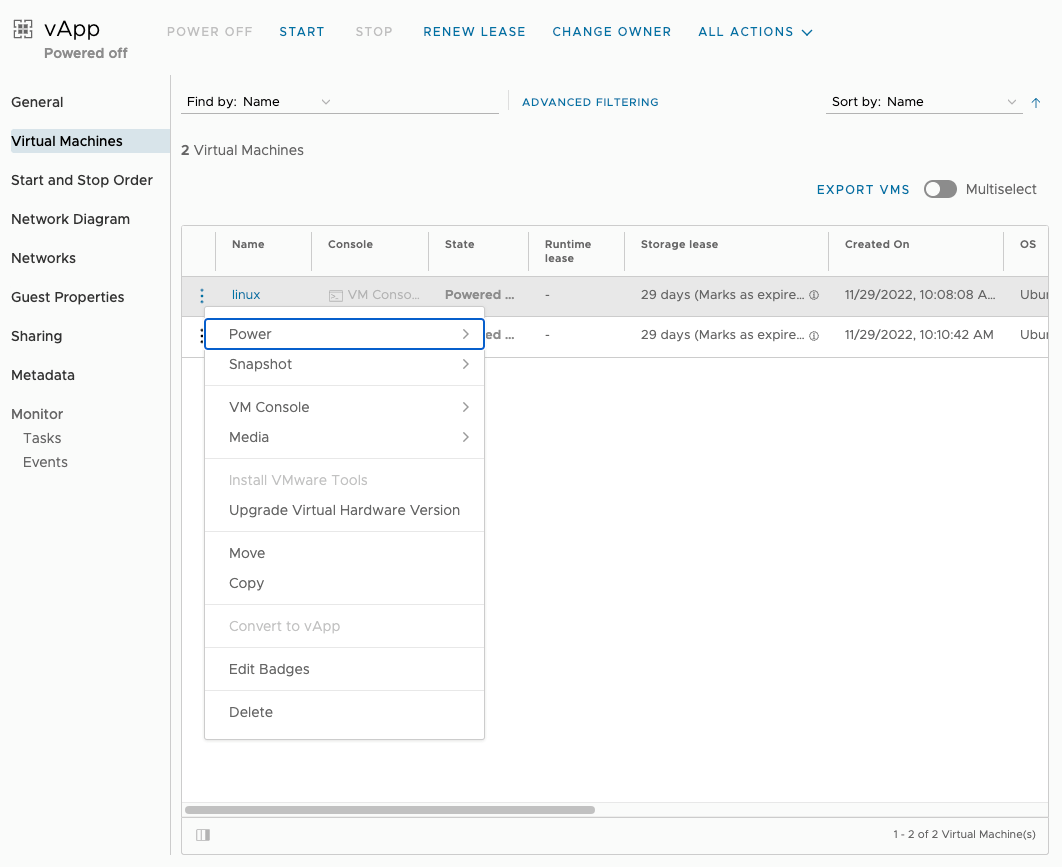
Once the virtual machine has been created, both machines will be visible in the vApp.

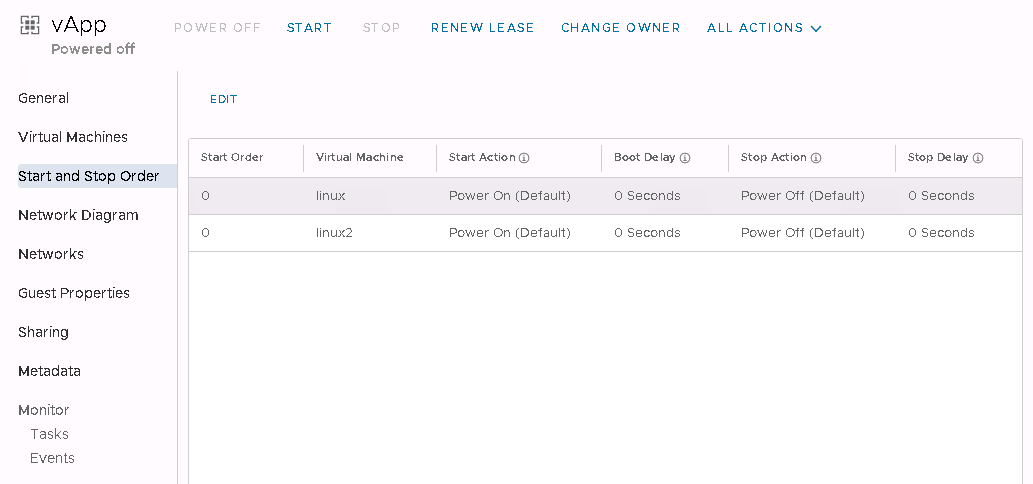
In the Start and Stop Order tab, it is possible to change the start-up priority of the virtual machines in the vApp or to delay the start-up/shutdown of the virtual machines.
From within the vApp, it is possible to perform actions on individual virtual machines.
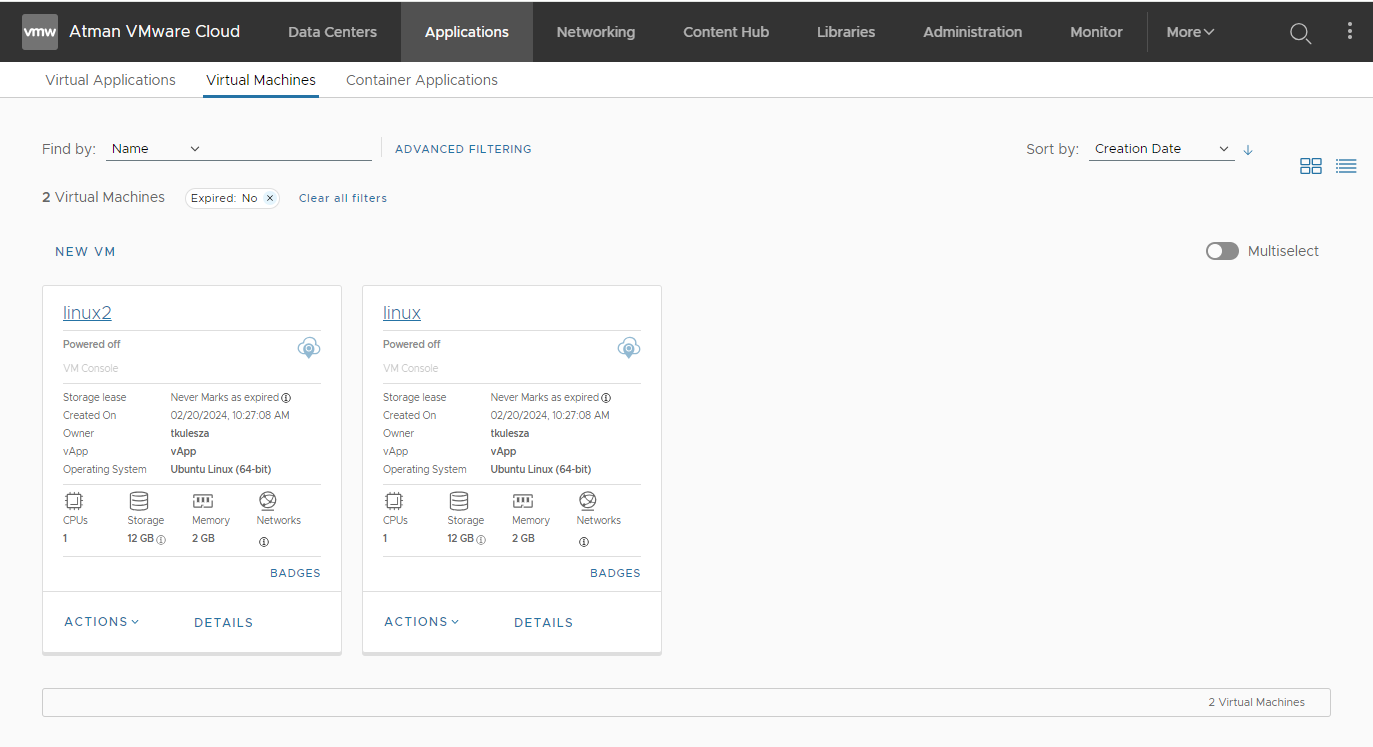
The virtual machines from the created vApp appear in the Virtual Machines tab. Each has information on which vApp it belongs to.