SSH keys
Key generation in Linux
In line with good practice, we recommend generating keys in the operating system.
To generate a key pair on Linux, we call the command:
ssh-keygen -t rsa -b 4096 -f cloud.key
The command will generate the keys and create two files: cloud.key with the private key and cloud.key.pub with the public key.
Windows key generation
We can use the PuTTYgen program to generate a key pair on Windows.
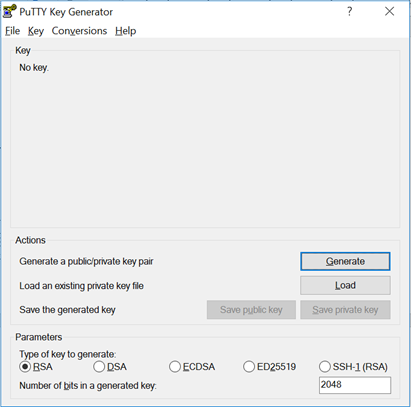
We are launching PuTTYgen.
We indicate the key type SSH-2 RSA.
Click the Generate button and then start moving the mouse until the progress indicator reaches the end - the mouse will act as a random number generator.
We enter and confirm the password to access the private key. We can leave the password blank, but this is not recommended.
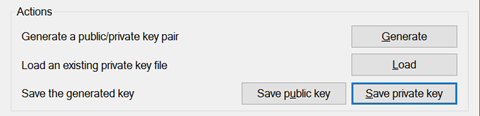
Click on the Save private key button. The private key will be required to establish the connection.
We save or copy the public key - we can import it into the list of public keys in the Atman Cloud user panel.
Key conversion to *.ppk format under Windows
PuTTY requires a private key in *.ppk format. To convert the private key from PEM to *.ppk format, we can use the PuTTYgen program.
We are launching PuTTYgen.
We click on the Load button.
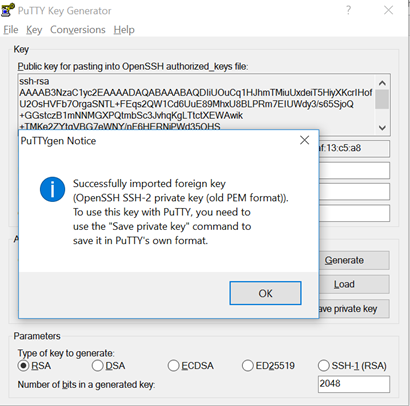
In the file selection window that opens, set the filter to . and indicate the key file in PEM format.
PuTTYgen will detect the format automatically. Save the converted private key by clicking on the Save private key button
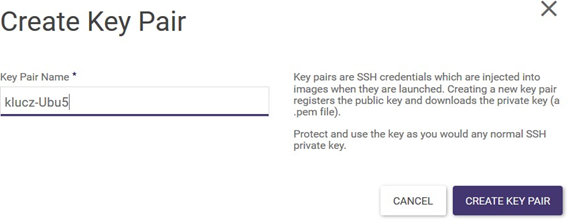
Creating an SSH key pair in the Horizon console
STEP 1
On the Project -> Compute -> Key Pairs screen, click the CREATE KEY PAIR button (alternatively: you can import a public key you have created locally - IMPORT KEY PAIR button):
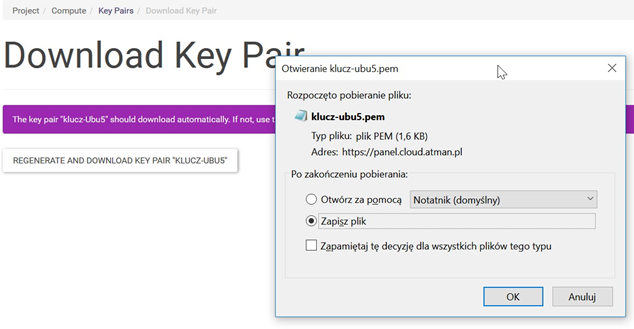
STEP 2
After confirming with the CREATE KEY PAIR button, a window for downloading the private key which must be saved on the local machine will appear:
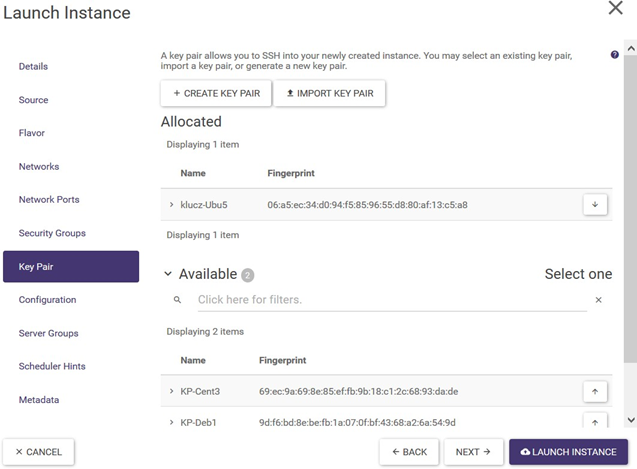
Preparing an instance to use an SSH key
In the instance creation wizard, on the Key Pair tab, select the key you want to use for this machine - using the buttons with the arrow symbol. You can also see that the previously performed step can also be performed in the wizard:
Using the login key
STEP 1
In the list of instances of the Project -> Compute -> Instances screen, information on the key used will also appear next to the instance created:

STEP 2
For Linux systems:
Navigate to the .ssh directory of the local machine and save/create/copy the private key to it (here the file name is key-Ubu5-priv.pem)
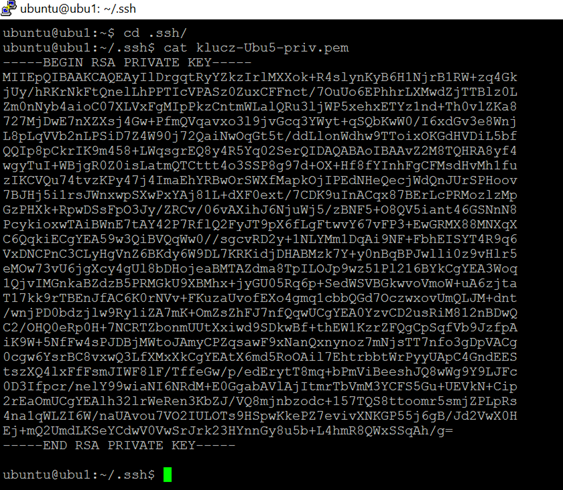
Then change the entitlements:

For Windows:
The most popular tool is Puttym, in which the file must first be converted from *.pem format to *.ppk format.
Run the program PUTTYGEN.EXE
Load (Load button -> private key selection - in this example: klucz-Ubu5-priv.pem)
From the same PUTTYGEN window, save the key as *.ppk with the “Save private key” button
STEP 3
For Linux systems:
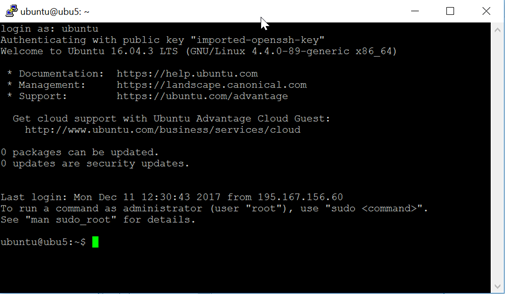
Logging in Linux
Using the command ssh -i <plik-klucza> <użytkownik>@<adres ip> we log into the machine
For Windows:
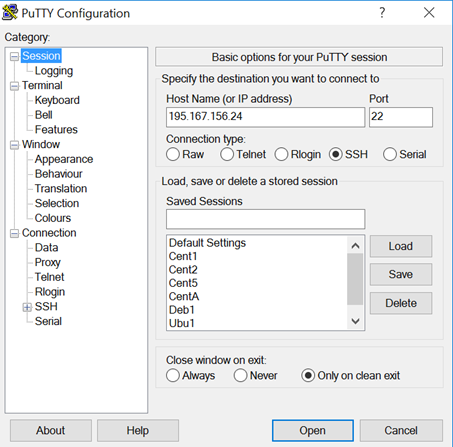
Using the PUTTY.EXE software, configure the connection by entering the IP address and *.ppk key generated in the previous step.
IP address:
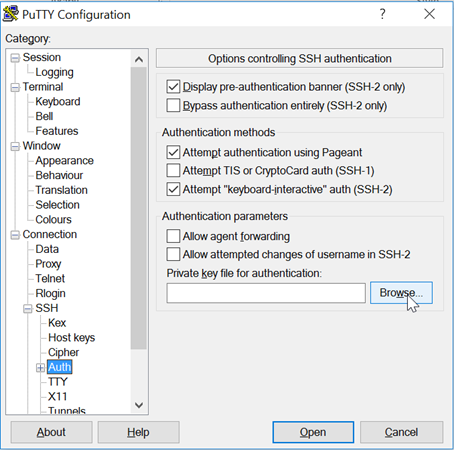
In the category Connection -> SSH -> Auth after clicking on the Browse button, enter the private key *.ppk:
After clicking the Open button in the PuTTY Configuration window, the session is opened. Enter the user (here, by default for Linux Ubuntu: ubuntu):