Security Groups
The Security Group is a type of firewall that we can manage from the Atman Cloud panel.

The diagram above shows a standard network diagram in a cloud environment. The two instances are connected to a single internal network, which in turn is connected to the Internet via a virtual router.
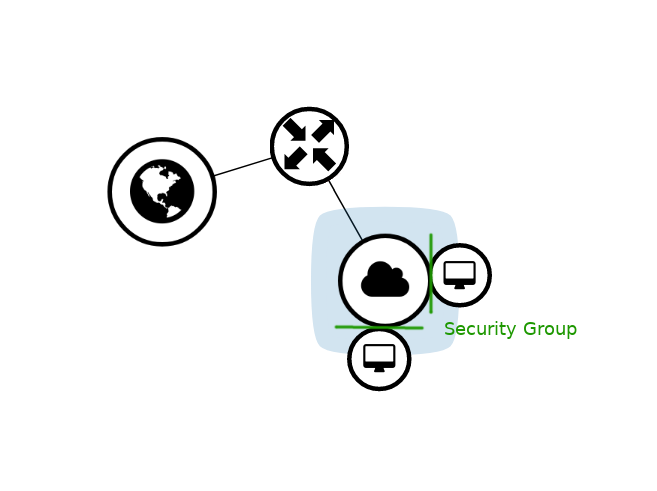
The Security Group is a firewall running on all network interfaces of the instance, and is configured separately for each instance.
Group formation
A security group (Security Group) is a very convenient tool for defining security rules in detail. The rules define what traffic is allowed within the security group.
One security group can be assigned to multiple virtual machines.
Multiple security groups can be assigned to a single virtual machine.
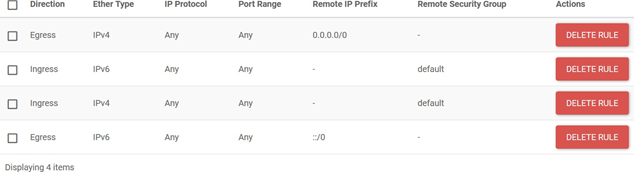
The default security group applied to all virtual machines (which have no other security group assigned) rejects all incoming traffic, but allows outgoing traffic from the machine. It also allows traffic from within the same security group (i.e. all machines that have this group assigned):
If there is a need for external communication, e.g. to manage a virtual machine via ssh, a rule should be added to allow this. The most convenient way is to create another security group - independent of the default group - and define the required rules in it.
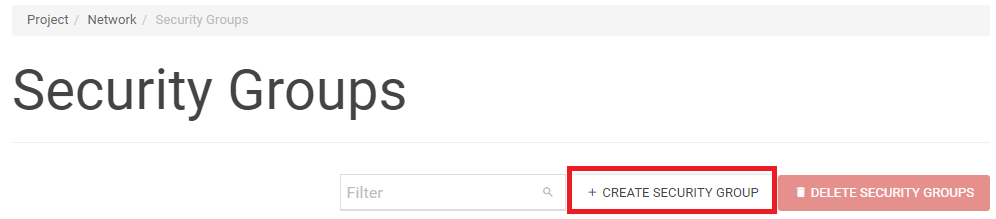
STEP 1
In the menu on the left-hand side of the Horizon panel under Project -> Network, click Security Groups and then run Create Security Group in the main part of the screen:
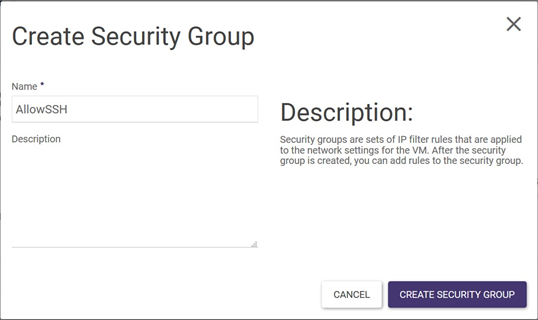
STEP 2
A wizard will appear, where you need to name the security group (here: AllowSSH) and then click Create Security Group:
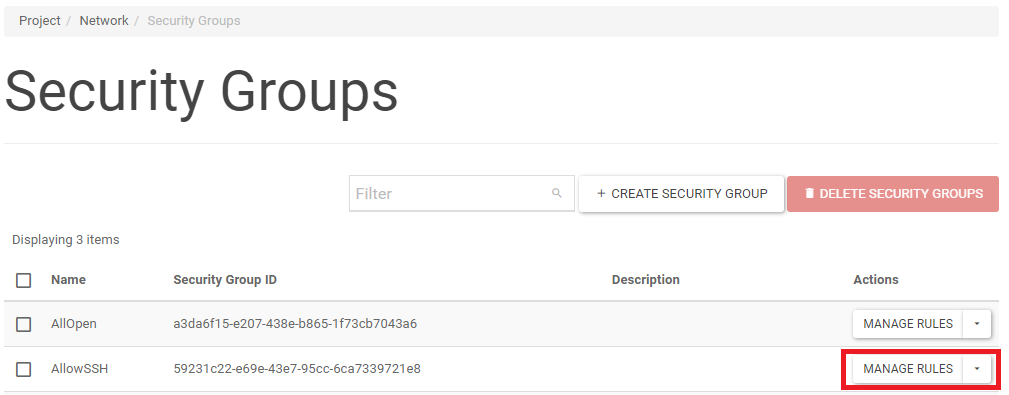
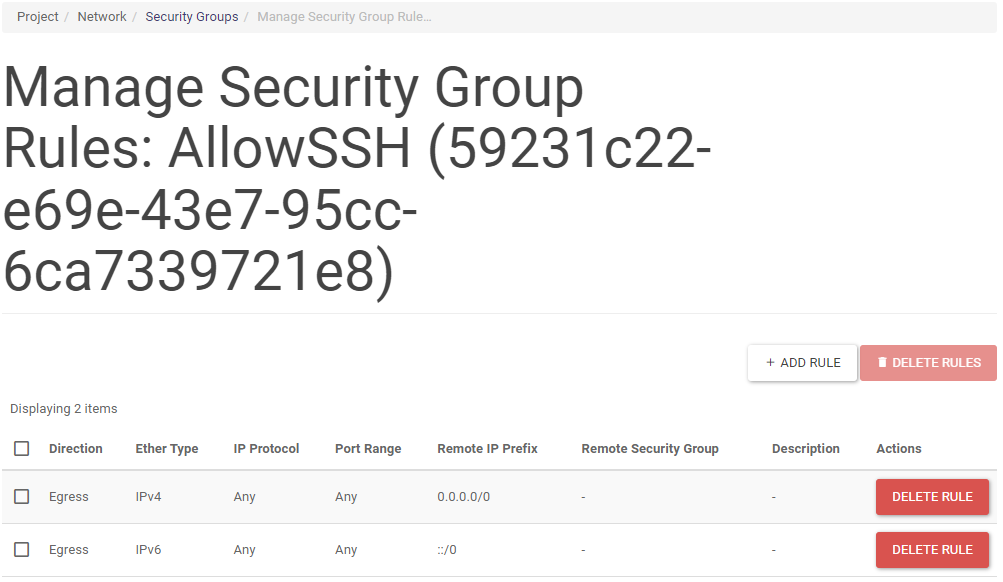
STEP 3
Once the group appears in the list in the main screen window, click the Manage Rules button on the right-hand side of the screen for that group. A new screen will appear with two default rules, allowing outgoing traffic from the machine:
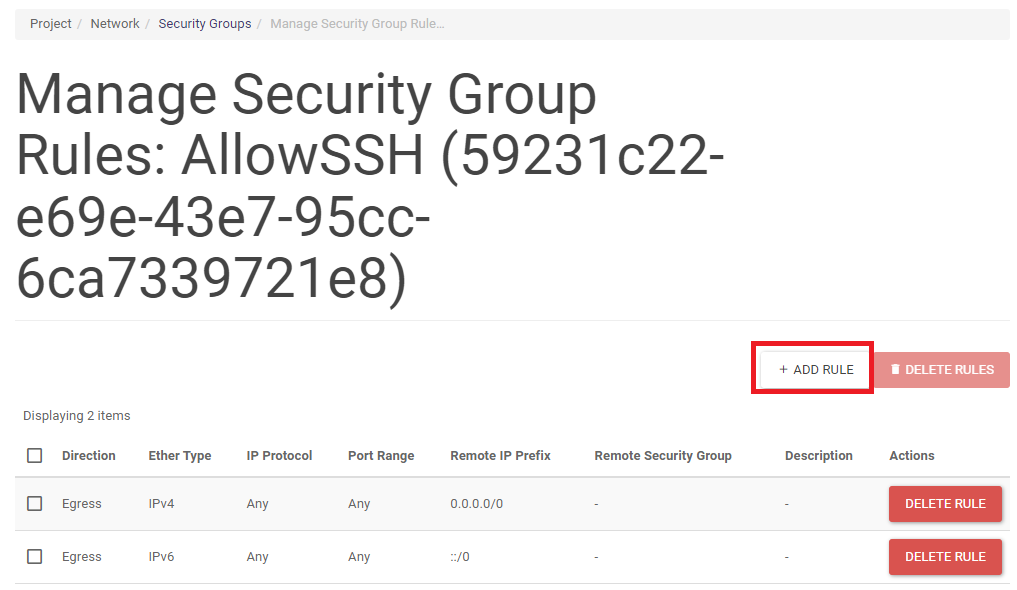
STEP 4
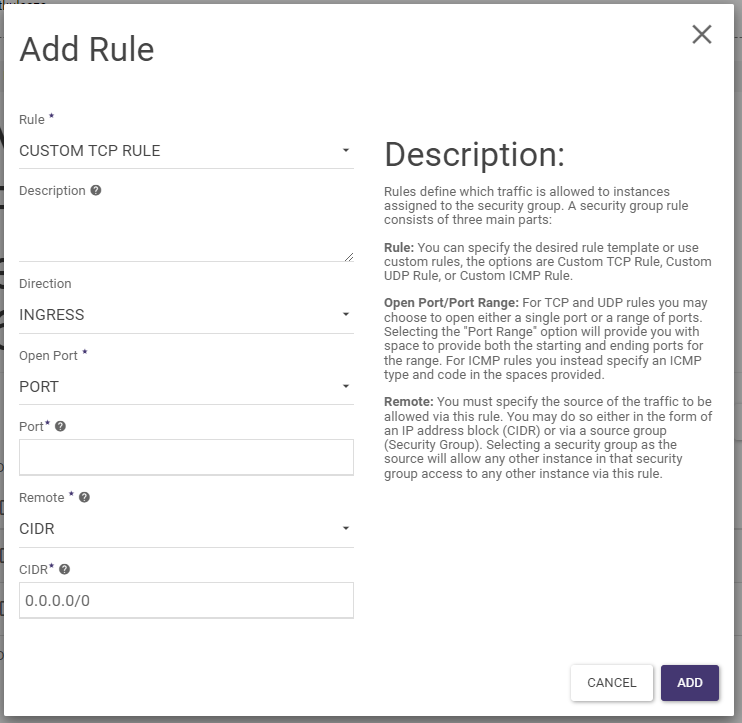
A new rule is added by clicking Add Rule. The screenshot below shows which values should be selected to allow SSH from any source IP address. Once the rules have been defined, they must be validated in the wizard by clicking Add.
STEP 5
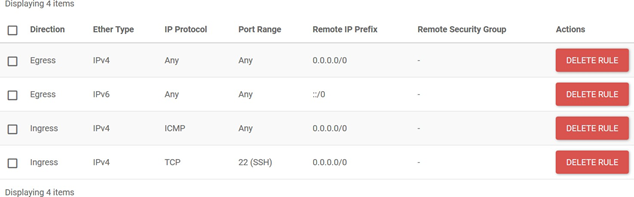
More rules can be added in this way, in this example a rule has been added in the same way as in step 4 to allow ICMP (ping) through. Full list of rules of the created security group:
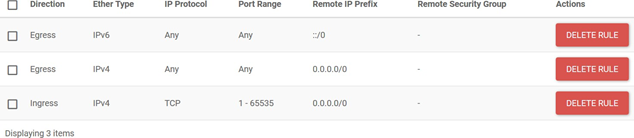
Here is an example of the rules of another security group that allows TCP traffic through completely openly:
Security groups allow the management of allowed traffic in a virtual server environment. They enable the organisation of easily manageable and transparent security policies for different groups of machines.
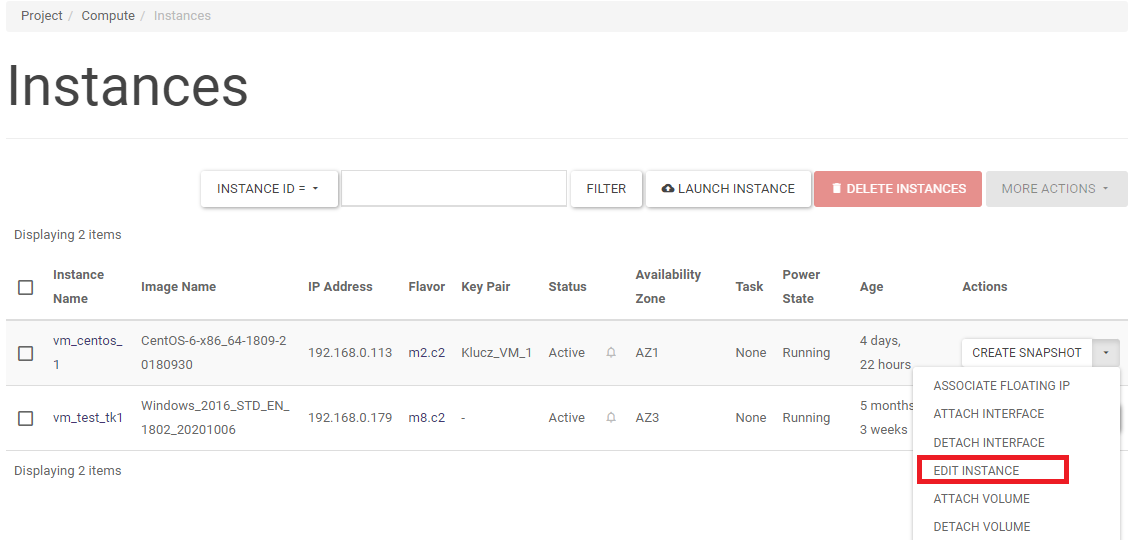
Reassigning a group to an instance
Once a security group assigned to an instance (virtual machine) can be changed, the changes are automatically applied to all instances having an assignment to this group. You can also reassign a group to an instance. This is done by running the EDIT INSTANCE action on the Project -> Compute -> Instances screen. A wizard will appear which you can use to add and remove instance-group security assignments.