Internal networks
The user has the option of creating internal networks themselves.
Video instruction available at bottom of page
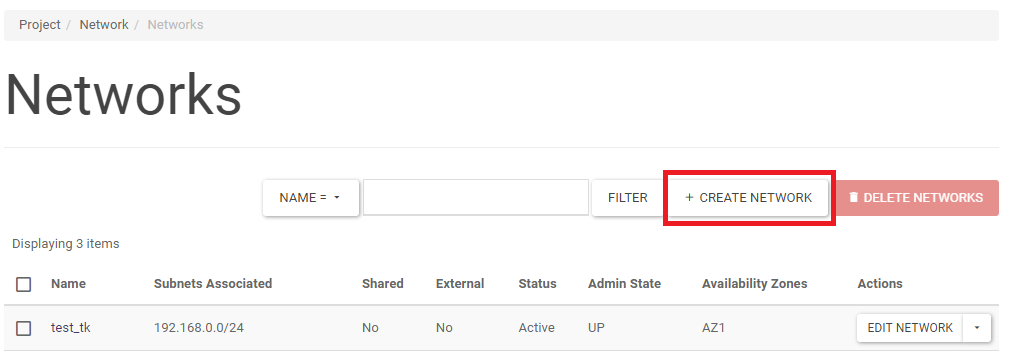
Creating an internal network
STEP 1
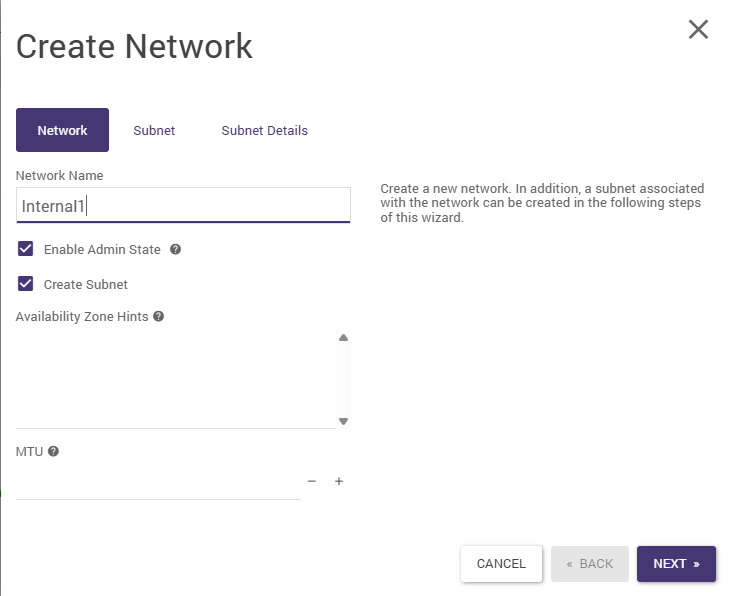
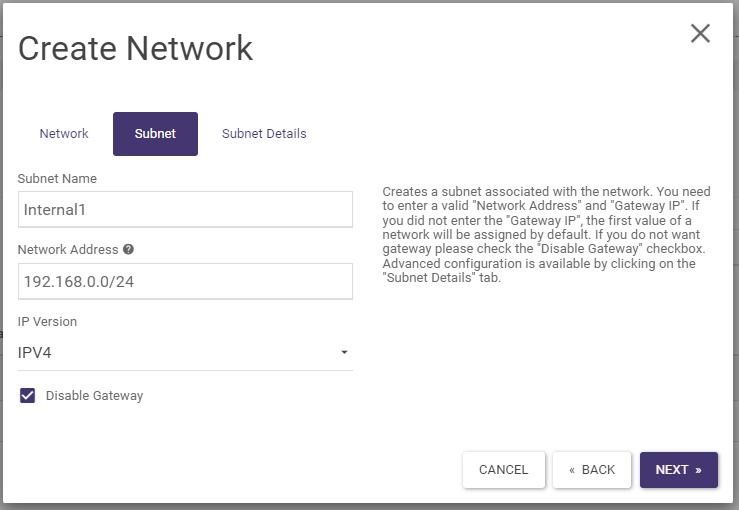
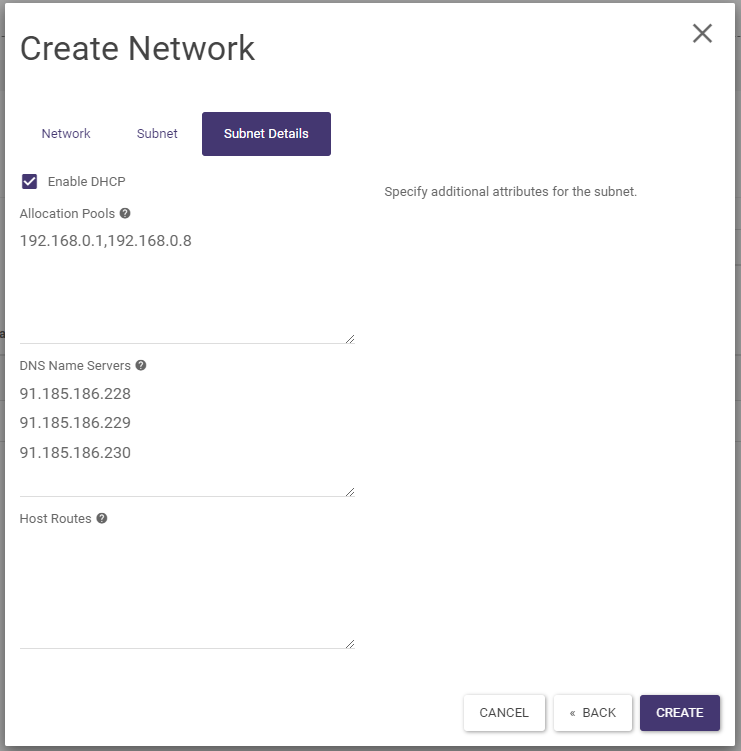
Once on the Project -> Network -> Networks screen, click CREATE NETWORK and then go through the 3 tabs of the wizard. The following three screens show examples of completed fields.
After clicking CREATE, the list of networks will expand to include the newly created internal network:
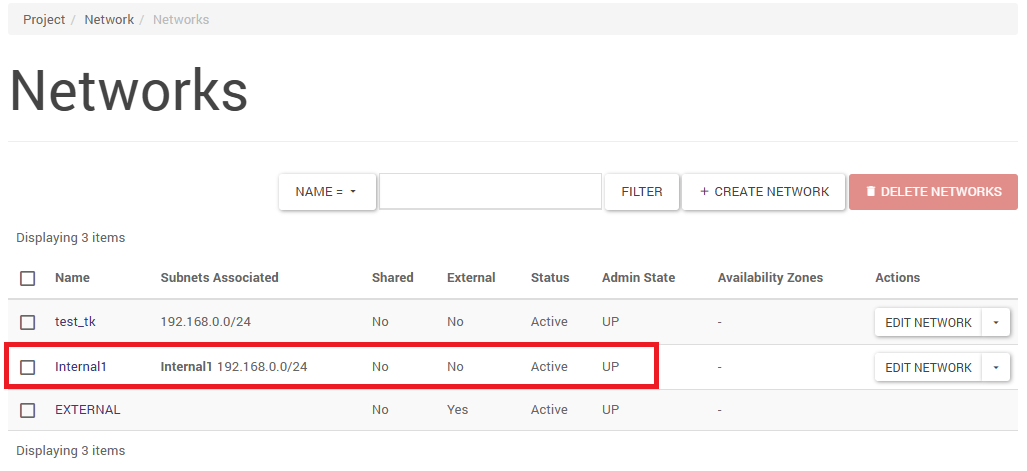
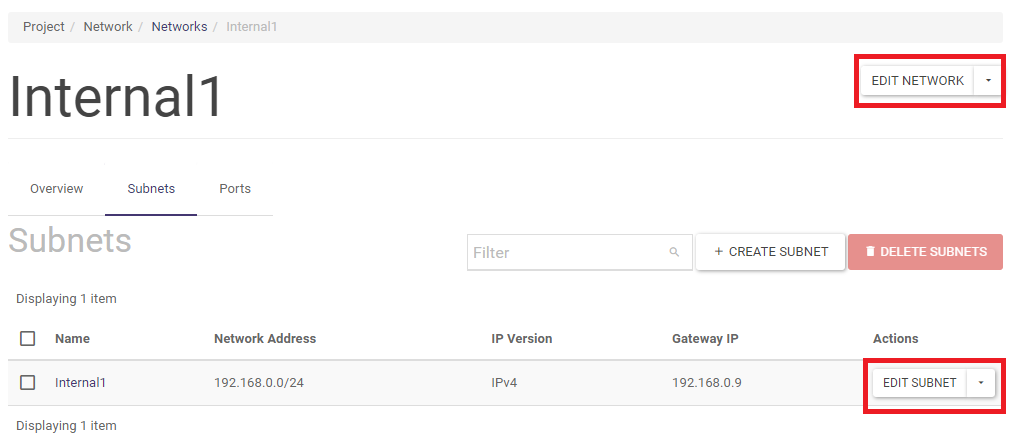
Editing networks and subnetworks
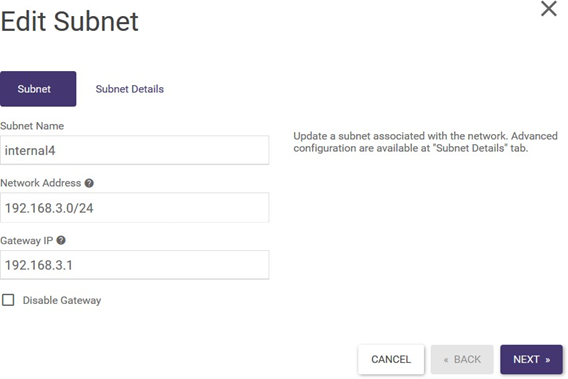
It is possible to edit the network and subnetwork parameters by clicking on the network name. A screen will appear from which two actions can be used: EDIT NETWORK and EDIT SUBNET.
Static private IP addresses, manual address assignment
Manual assignment of a private IP address is possible using API. The following steps must be followed:
STEP 1
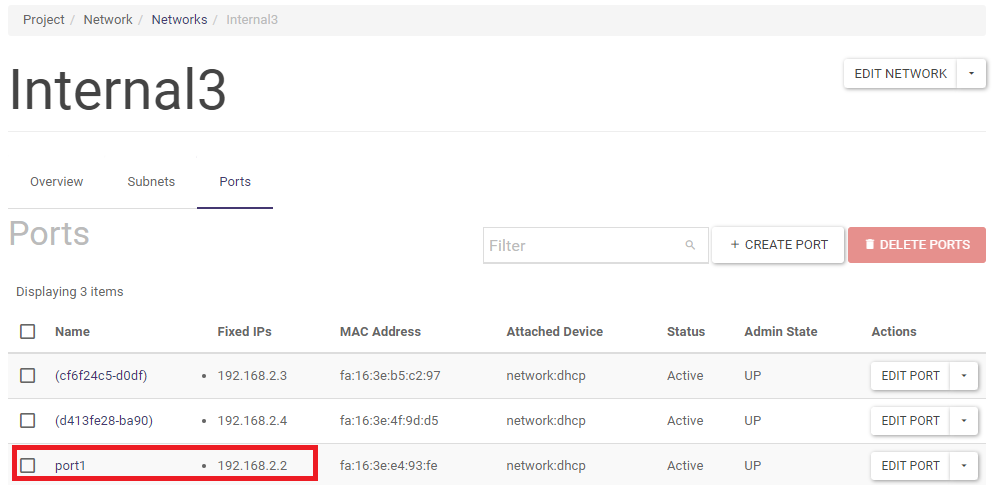
Create a port using the command
(openstack) port create --network Internal3 --fixed-ip ip-address=192.168.2.2 port1
Where: Internal3 is the name of the internal network previously created, port1 the assigned port name, and 192.168.2.2 is the IP address you want to assign.

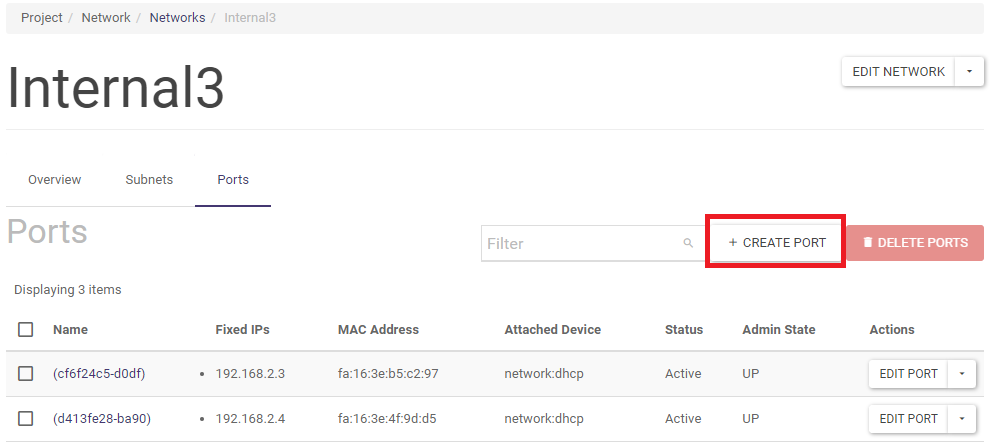
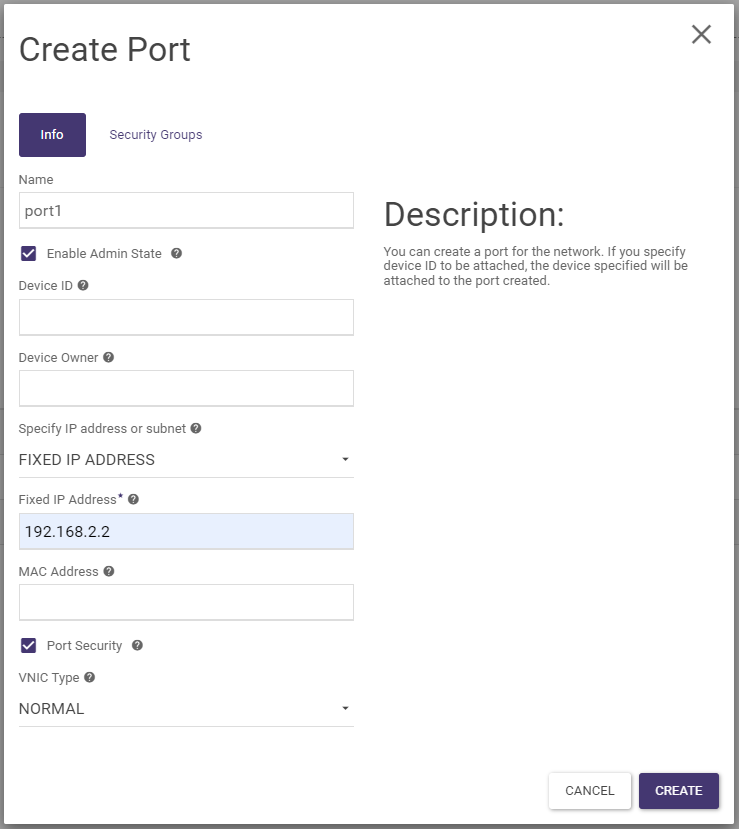
Create a port using the port wizard
The port can also be created by clicking on the network name in the Project -> Network -> Networks screen and selecting CREATE PORT
And then by typing in the port name and selecting FIXED IP ADDRESS and entering the desired IP address
STEP 2
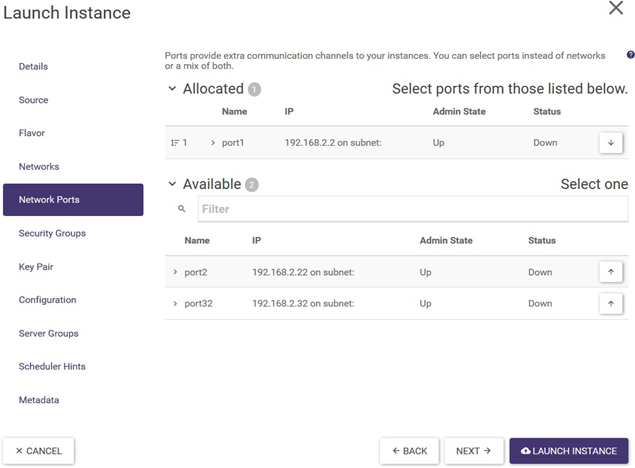
Assigning a port to an instance When creating a machine in the wizard under Network Ports, select the port with the IP address you want to assign to the instance. Refer to the screenshot from Practical Notes in the Practical Notes section.
Practical remarks
NOTE 1 Internal networks vs. root password
Autogeneration of the root password when creating a machine only takes place over the network with DHCP enabled. If you need to create an internal network with machines with static IP addresses, use the following operating procedure:
Creation of an internal network with DHCP enabled. Atman recommends creating internal networks with DHCP always enabled.
Create ports as described in the subsection above ** “Static private IP addresses “**
When creating a machine from the wizard, assign a port to the machine in the Network Ports tab. The Networks tab should then remain unfilled.
NOTE 2. Gateway
When creating a standalone internal network, select the Disable Gateway option in the wizard. If the network needs to be connected to a router, enable this option which will allow the interface of this network to be added to the router. The network should be plugged into the router before starting the machine. Edit/create network wizard screen:
Video instructions