New SSO in Atman Cloud
The SSO system has been set up to improve the security of logging into the Atman Cloud Panel. In order to log in to the Atman Cloud Panel via SSO, you must first access your account at https://auth.atman.pl.
Access to login
The account name for the above panel can be found in the Atman Cloud server management panel. The password will be sent to you in the email informing you of the account creation. The account is currently being created by Atman staff at the customer’s request. You will need to change your password the first time you log in.
Description of auth.atman.pl panel functionality
The https://auth.atman.pl panel is the central point for managing the accounts that will be used to log in to the Atman Cloud https://waw1-b.cloud.atman.pl panel. Ultimately, it will be used to access other Atman Sp. z o.o. services.
The panel is based on the OAuth solution in combination with OpenID Connect, which is an open standard when it comes to authorisation and SSO (Single Sign On) systems.
The panel allows double and, for customers focused on maximum security, even triple authorisation to be enabled, as TOTP and OTP can be enabled simultaneously.
Password requirements are:
minimum password length 10 characters
password validity: 30 days
one special character
single digit
one capital letter
the password cannot be the same as 5 passwords backwards
login and password must not be similar (Levenshtein distance) for login and password is set to 4)
The password is valid for 30 days, 7, 5 and 2 days before expiry the user will receive an email notification to change the password.
The account is blocked after 30 days of inactivity (you must log in at least once in the 30-day period).
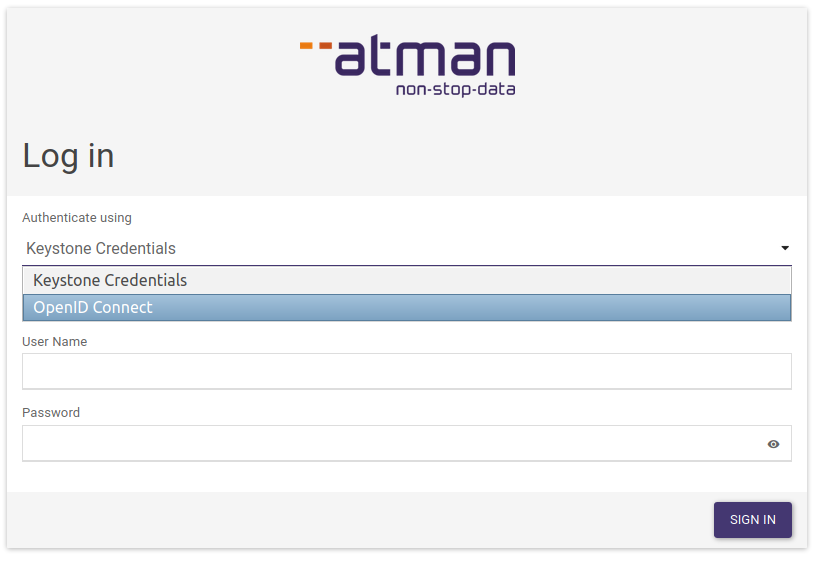
Logging into the Atman Cloud Panel via SSO
To do this, select OpenID Connect on https://waw1-b.cloud.atman.pl and click Sign in.
The user will be redirected to: https://auth.atman.pl/oauth/password/xxxxxxxxxxxxxxxxxxxxxxxxx and the SSO login details must be entered there.
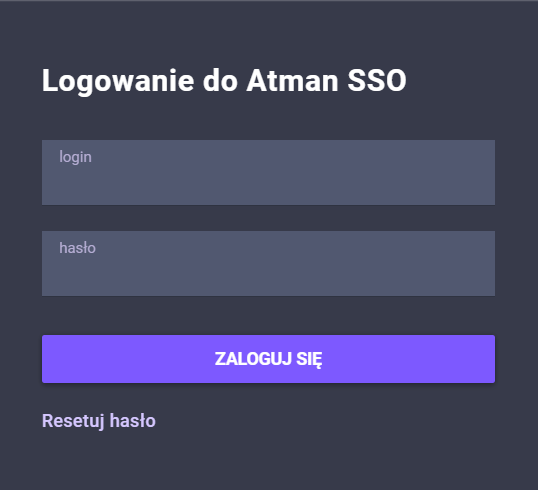
The user will then be redirected to the Atman Cloud panel, where they can manage their cloud resources.

Creation of user accounts in SSO
The superadmin account can also be used to log in to the cloud panel, however, we recommend creating accounts (in the previous version of Atman SSO these were called “sub-accounts”) for company users in order to assign them access to the relevant projects. To do this, click on the Users and contacts menu from the superadmin level.

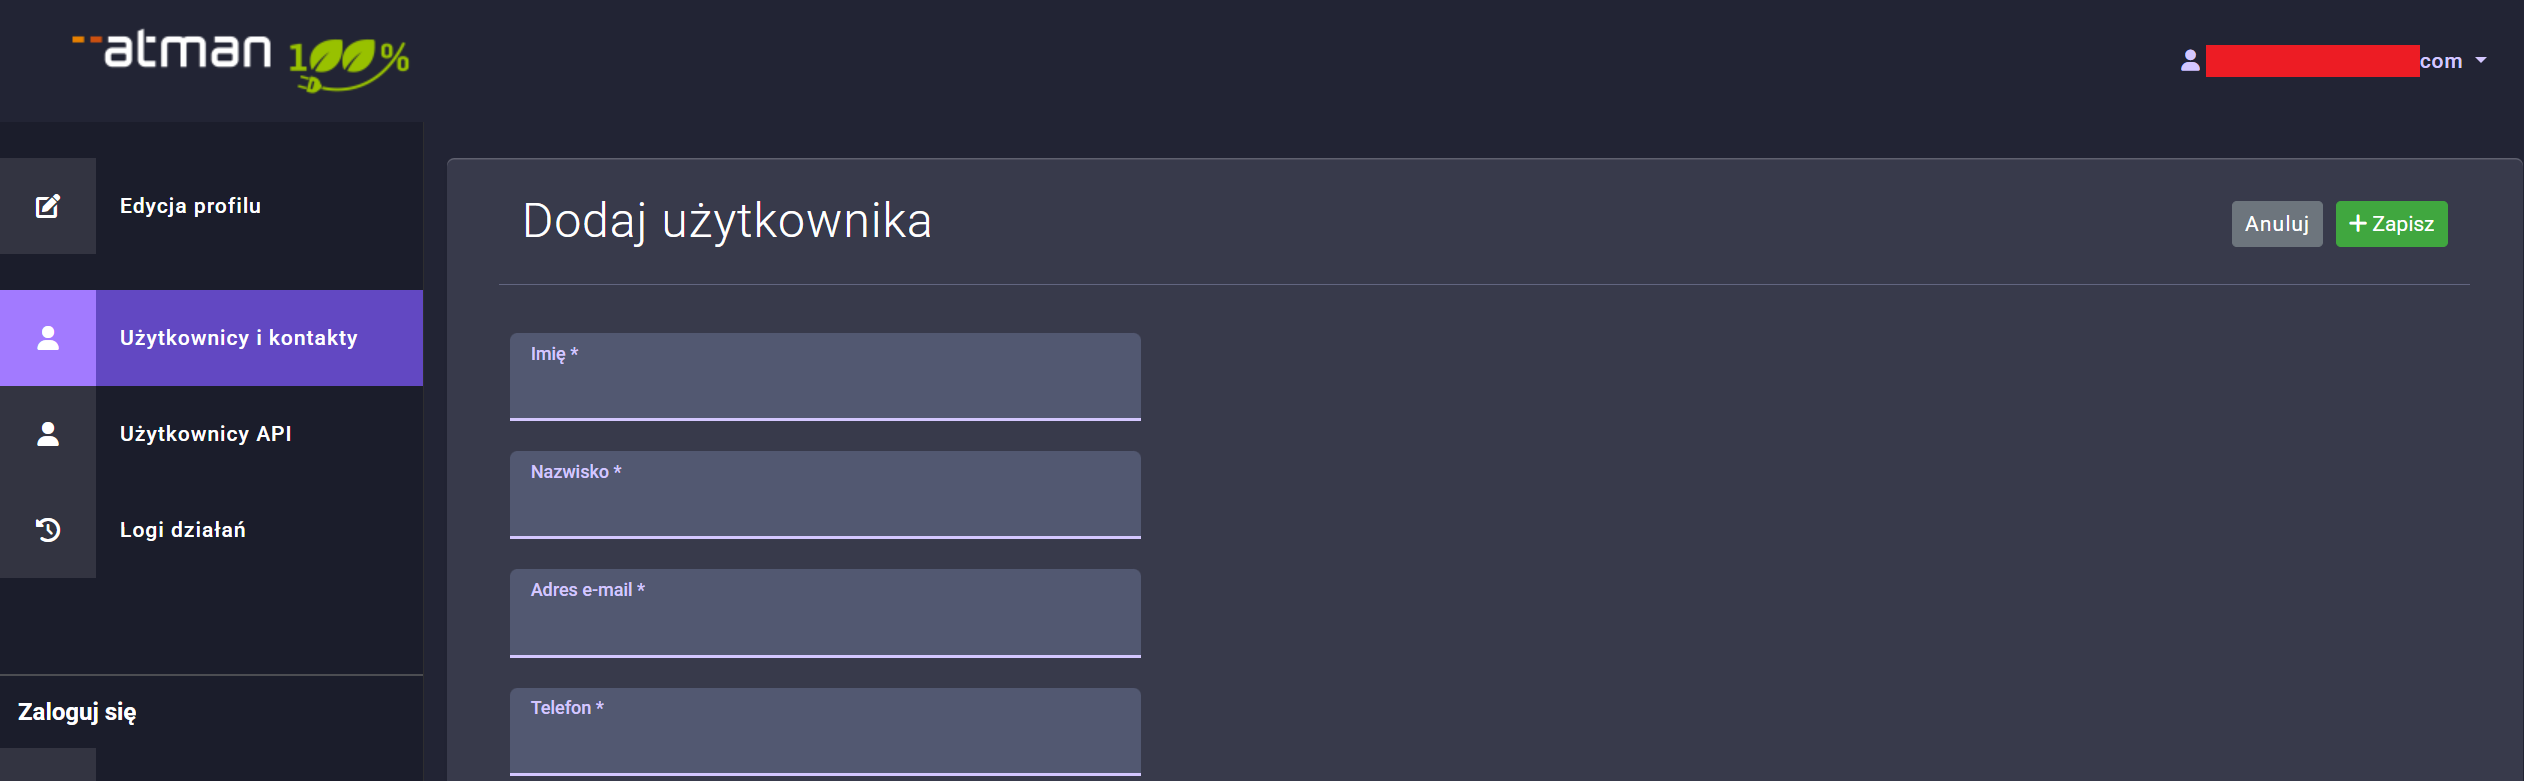
On this site, users can be added in two ways:
Use Add User for a new user. In the form that appears, all fields must be filled in correctly, in particular the email and phone number, as the email will be sent with the initial password information for the user, while the phone number will be used for OTP authorisation.
In the section below, you should also assign powers:
The Permissions section contains the permissions that are given to the customer and can apply to all of their services,
The Service Entitlements section contains the entitlements that are allocated to specific services held by the customer.
For an existing contact that does not yet have a user account it is possible to create a user. In the table Users and contacts, in the right-hand menu displayed for each record, there is an option Add user. If you click on this, an email will be sent to the email address you have provided with a temporary password for the portal. Once you have logged into the portal using this, your user account will be activated.
In the next step, you need to grant the user project permissions in Atman Cloud by going to the Permissions section. The following view will appear, in which you can select the permissions and to which projects they will be granted.


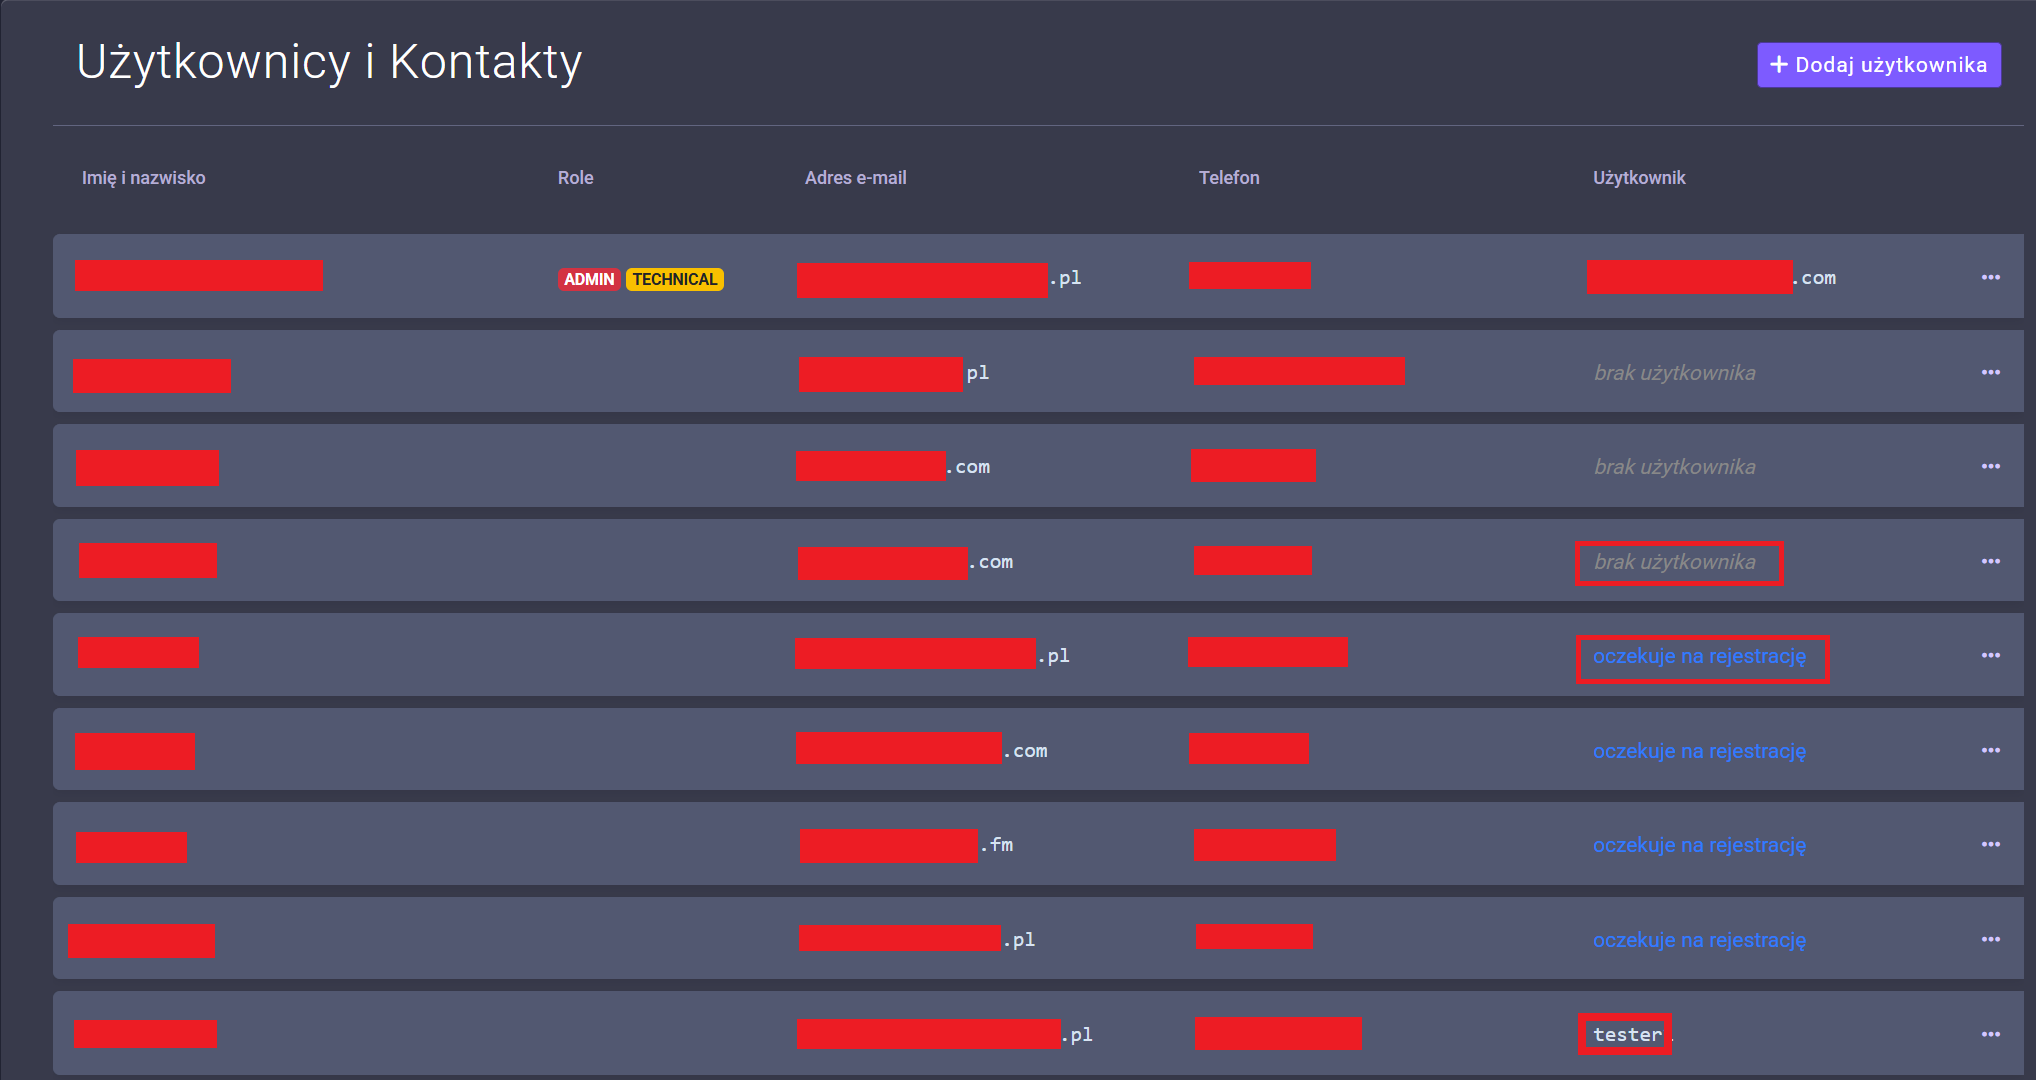
In the Users and contacts section, each record can have values in the User column:
no user - contact does not have an assigned user account,
waiting for registration - value presented if the user account is in the process of being created. An email was sent to the contact’s email address with a temporary password for the account. This status will change when you log in.
[username] - there is a user account to which you can log in (described below as “tester”).
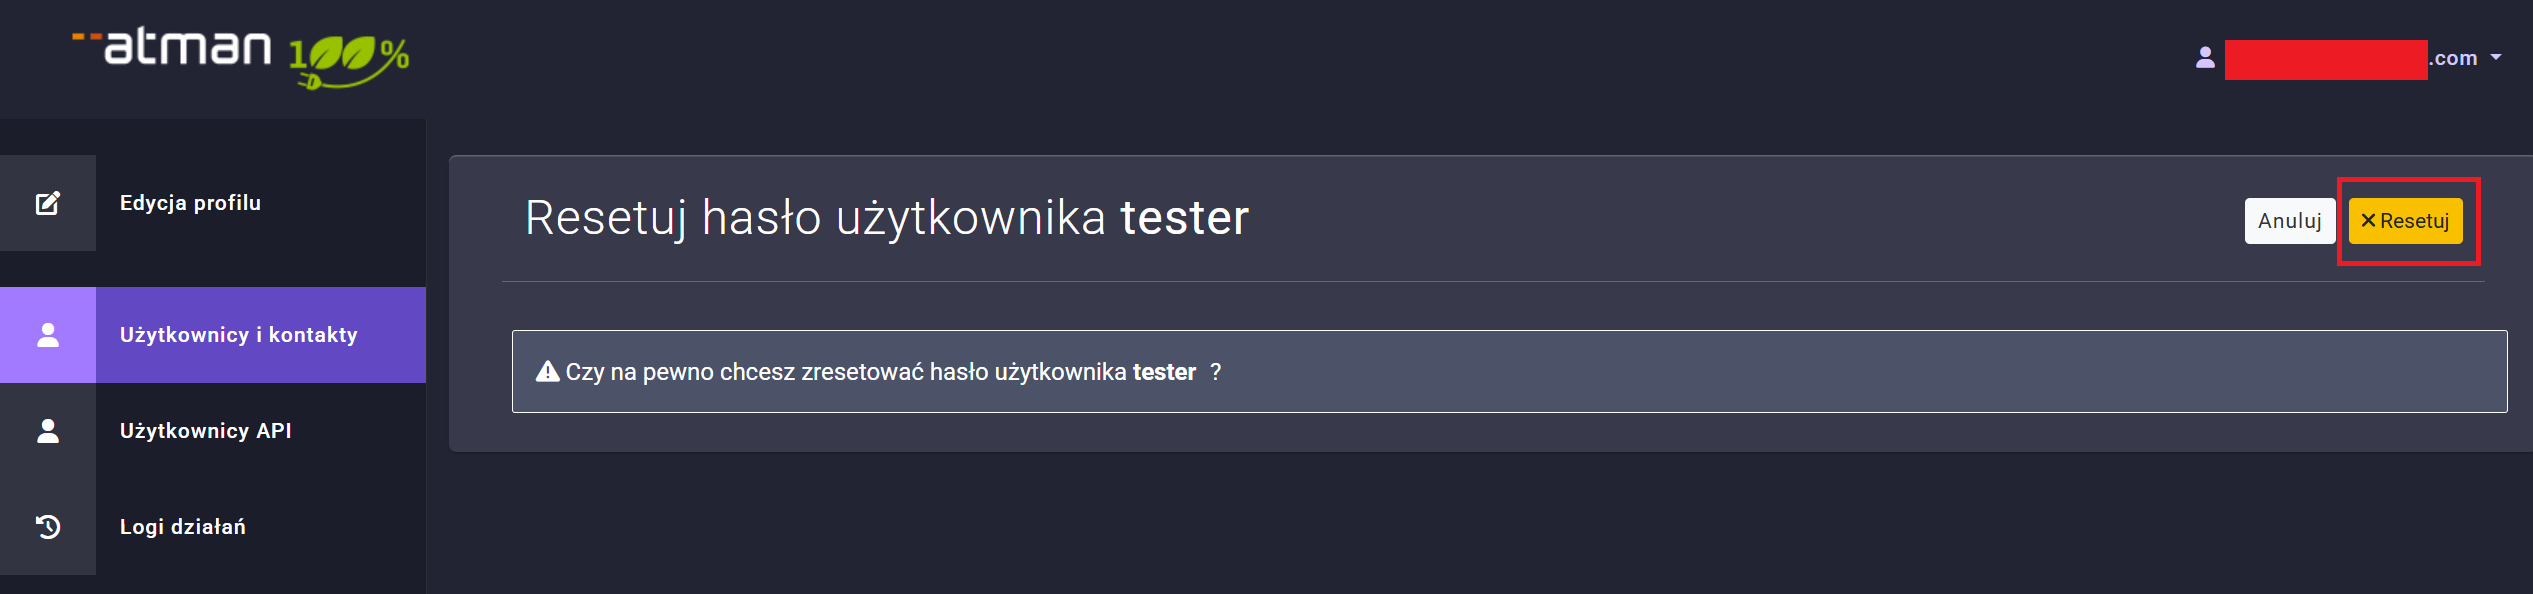
Once a new user has been added, it is possible to reset their password. To do this, expand the menu next to the Permissions button and select reset password.

and confirm in the next step by clicking Reset.
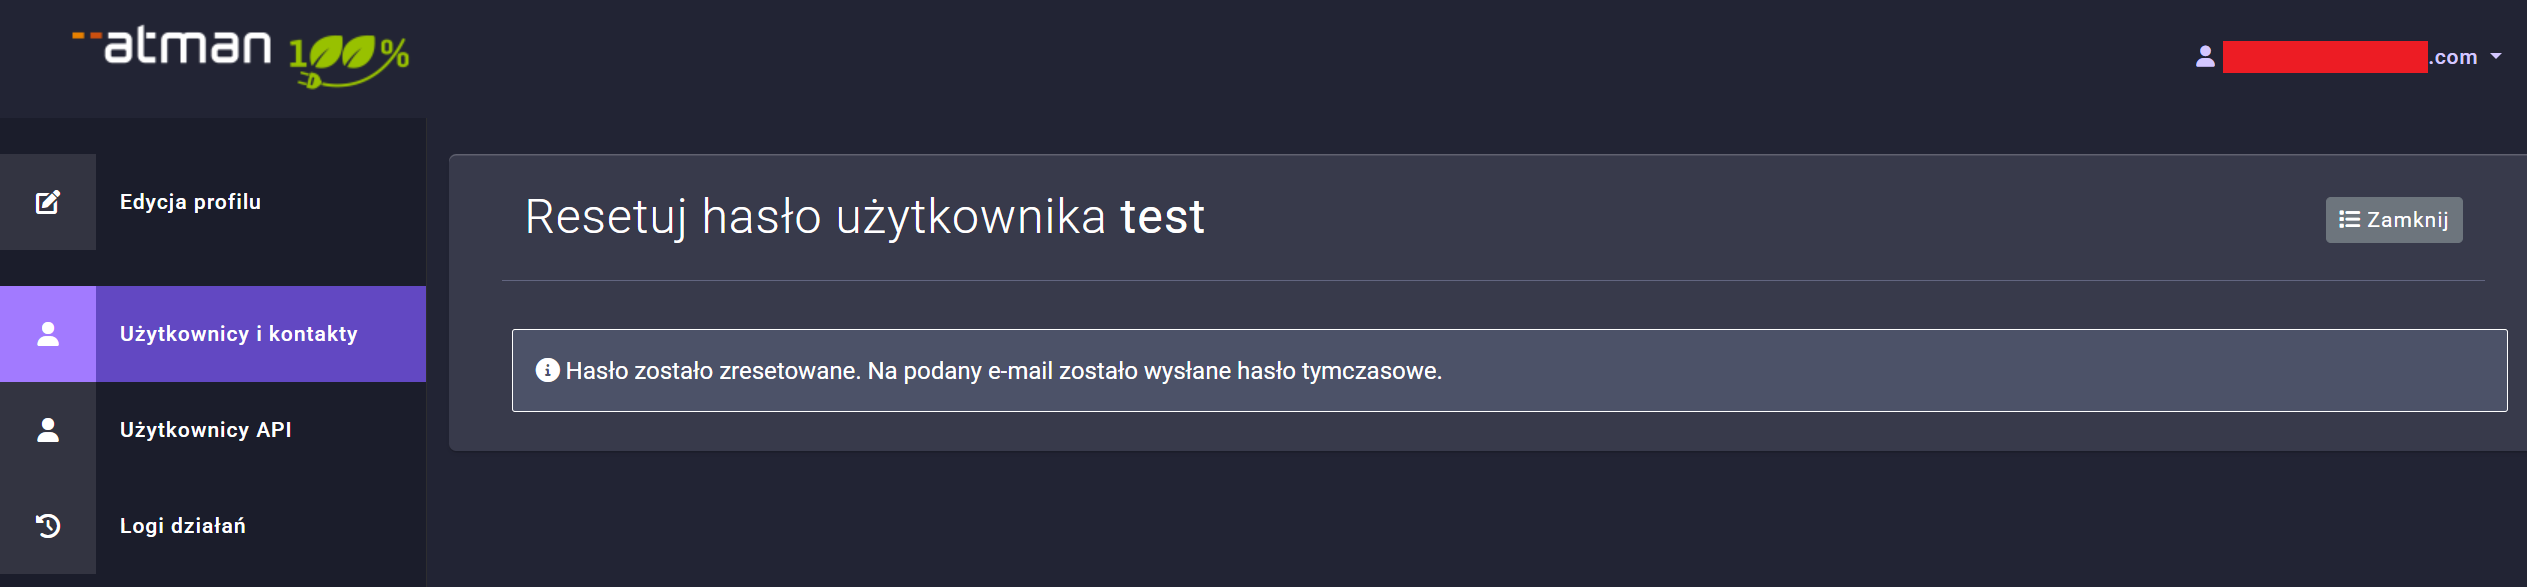
Once clicked, an email with the generated password will be sent to the email address specified in the user profile.
Operation of the OTP
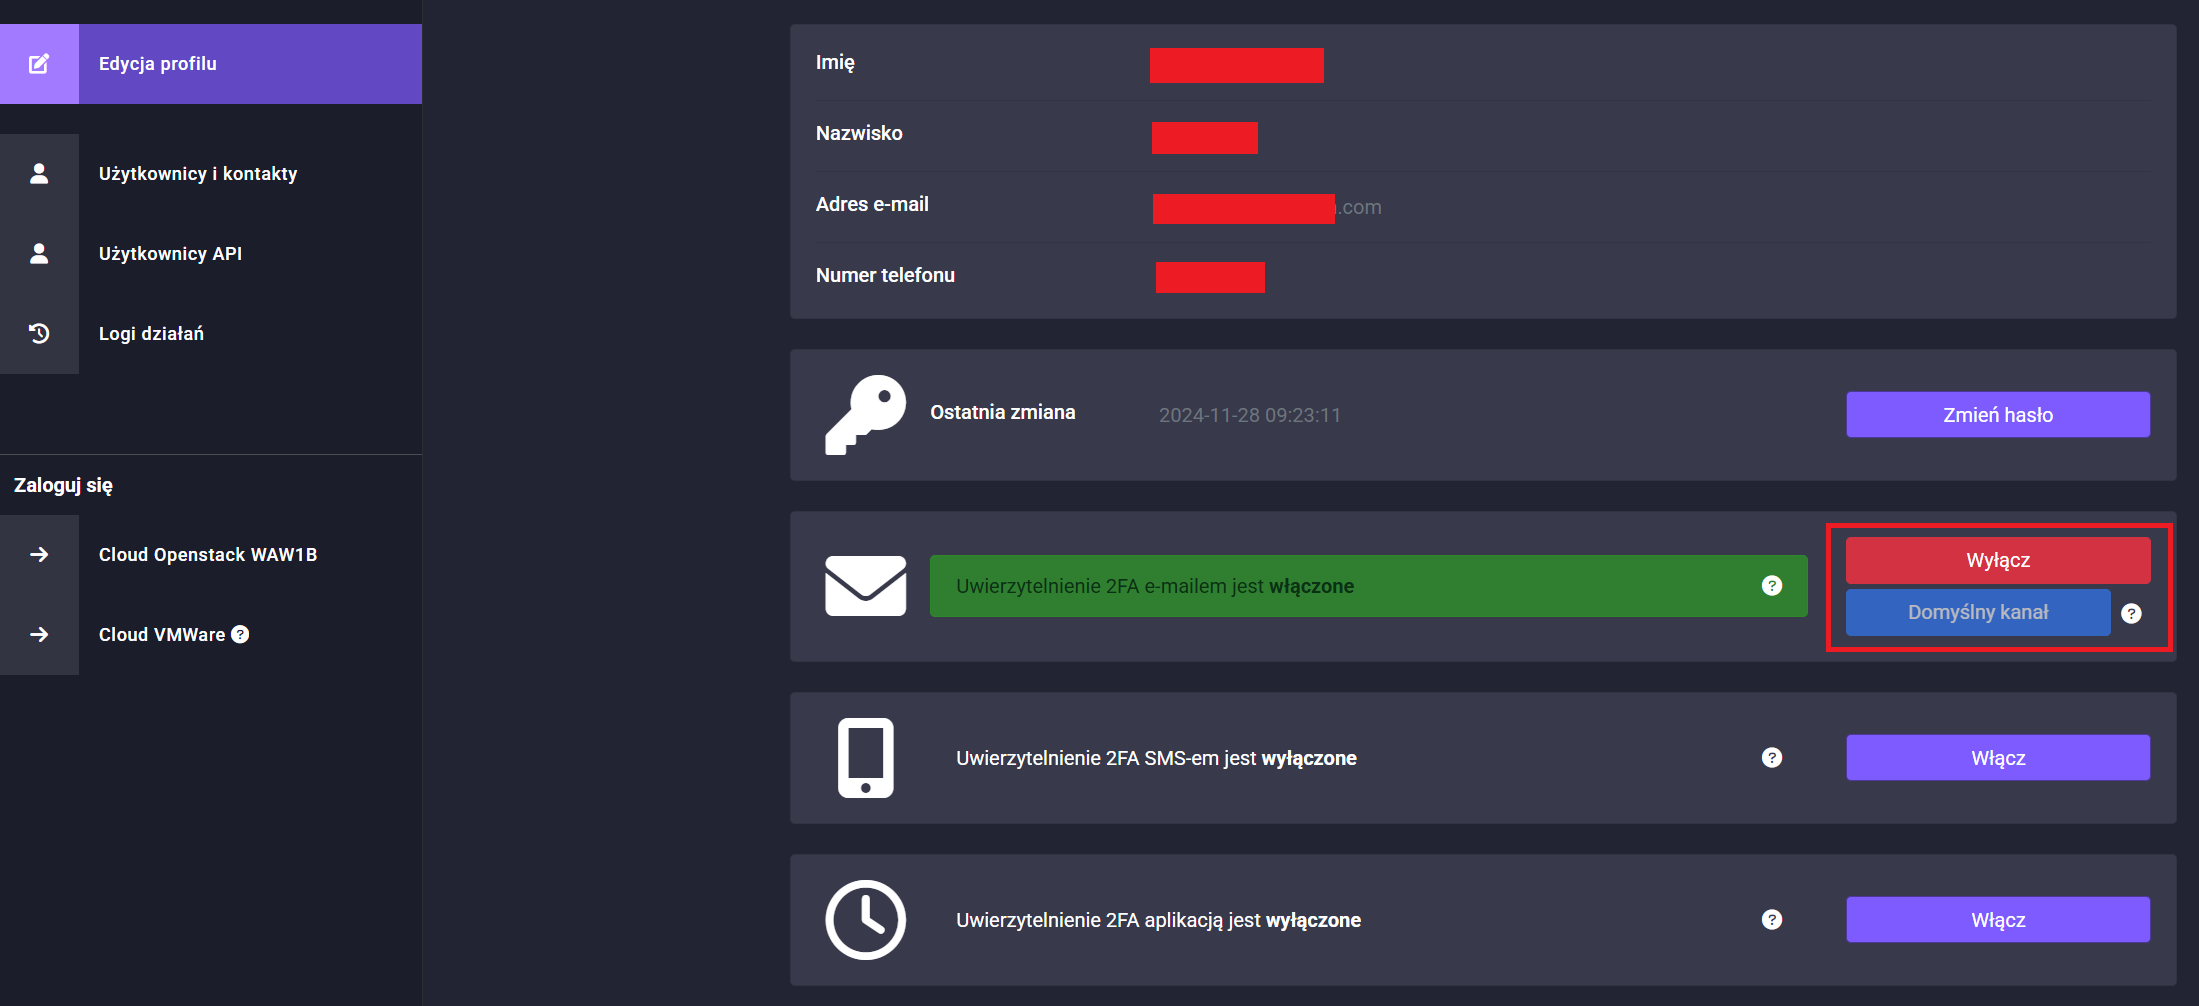
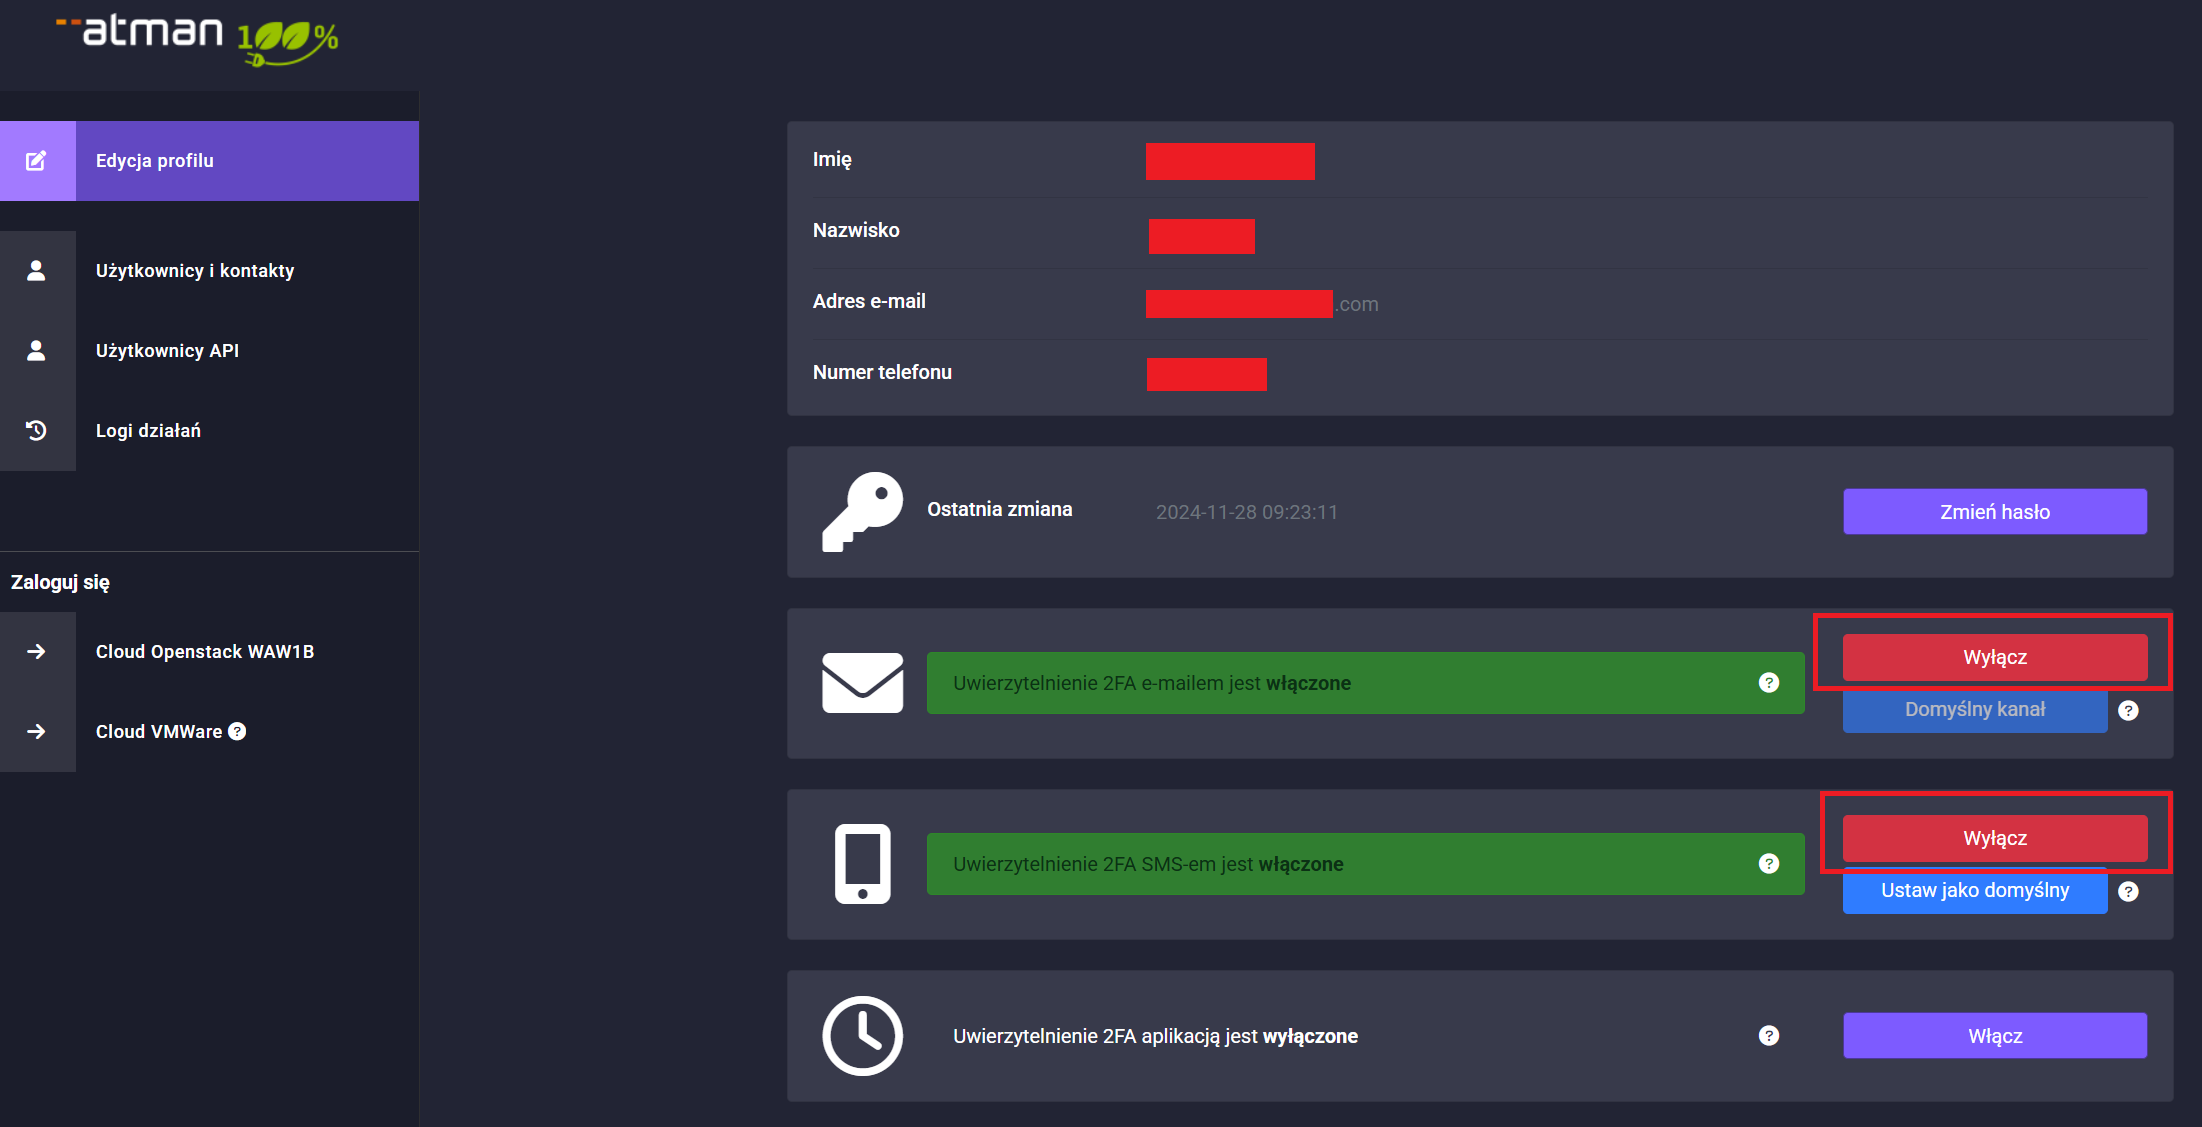
To enable OTP (One Time Password) support, please go to Edit Profile -> 2FA authentication by email or 2FA authentication by SMS depending on your preferred authentication channel.
The default option 2FA email authentication is activated, but there is the possibility of enabling further channels with one of the active channels must be set as the default.
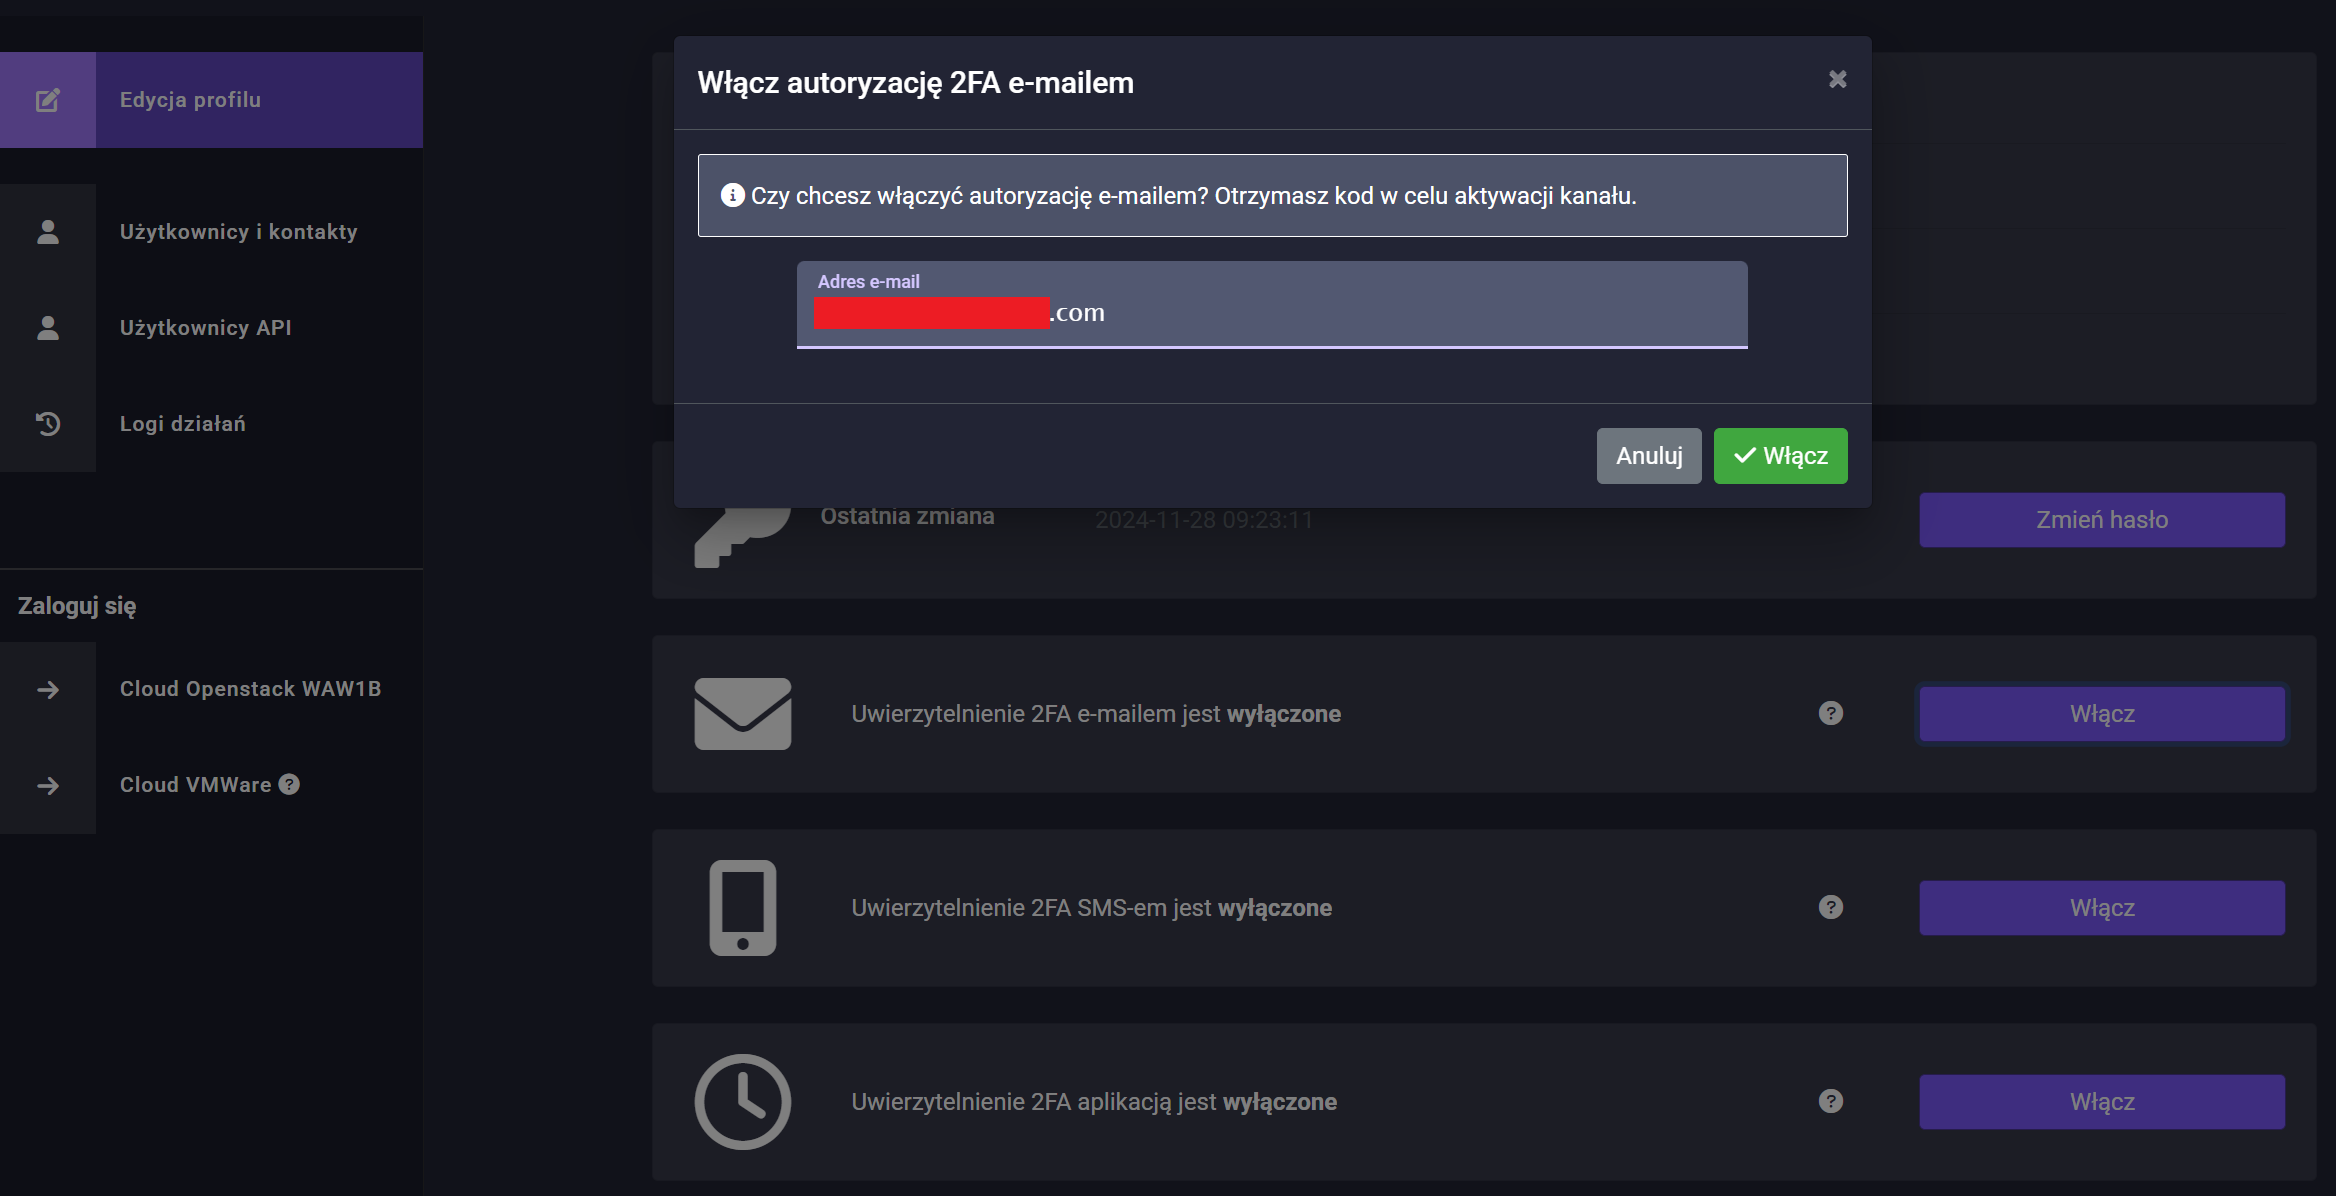
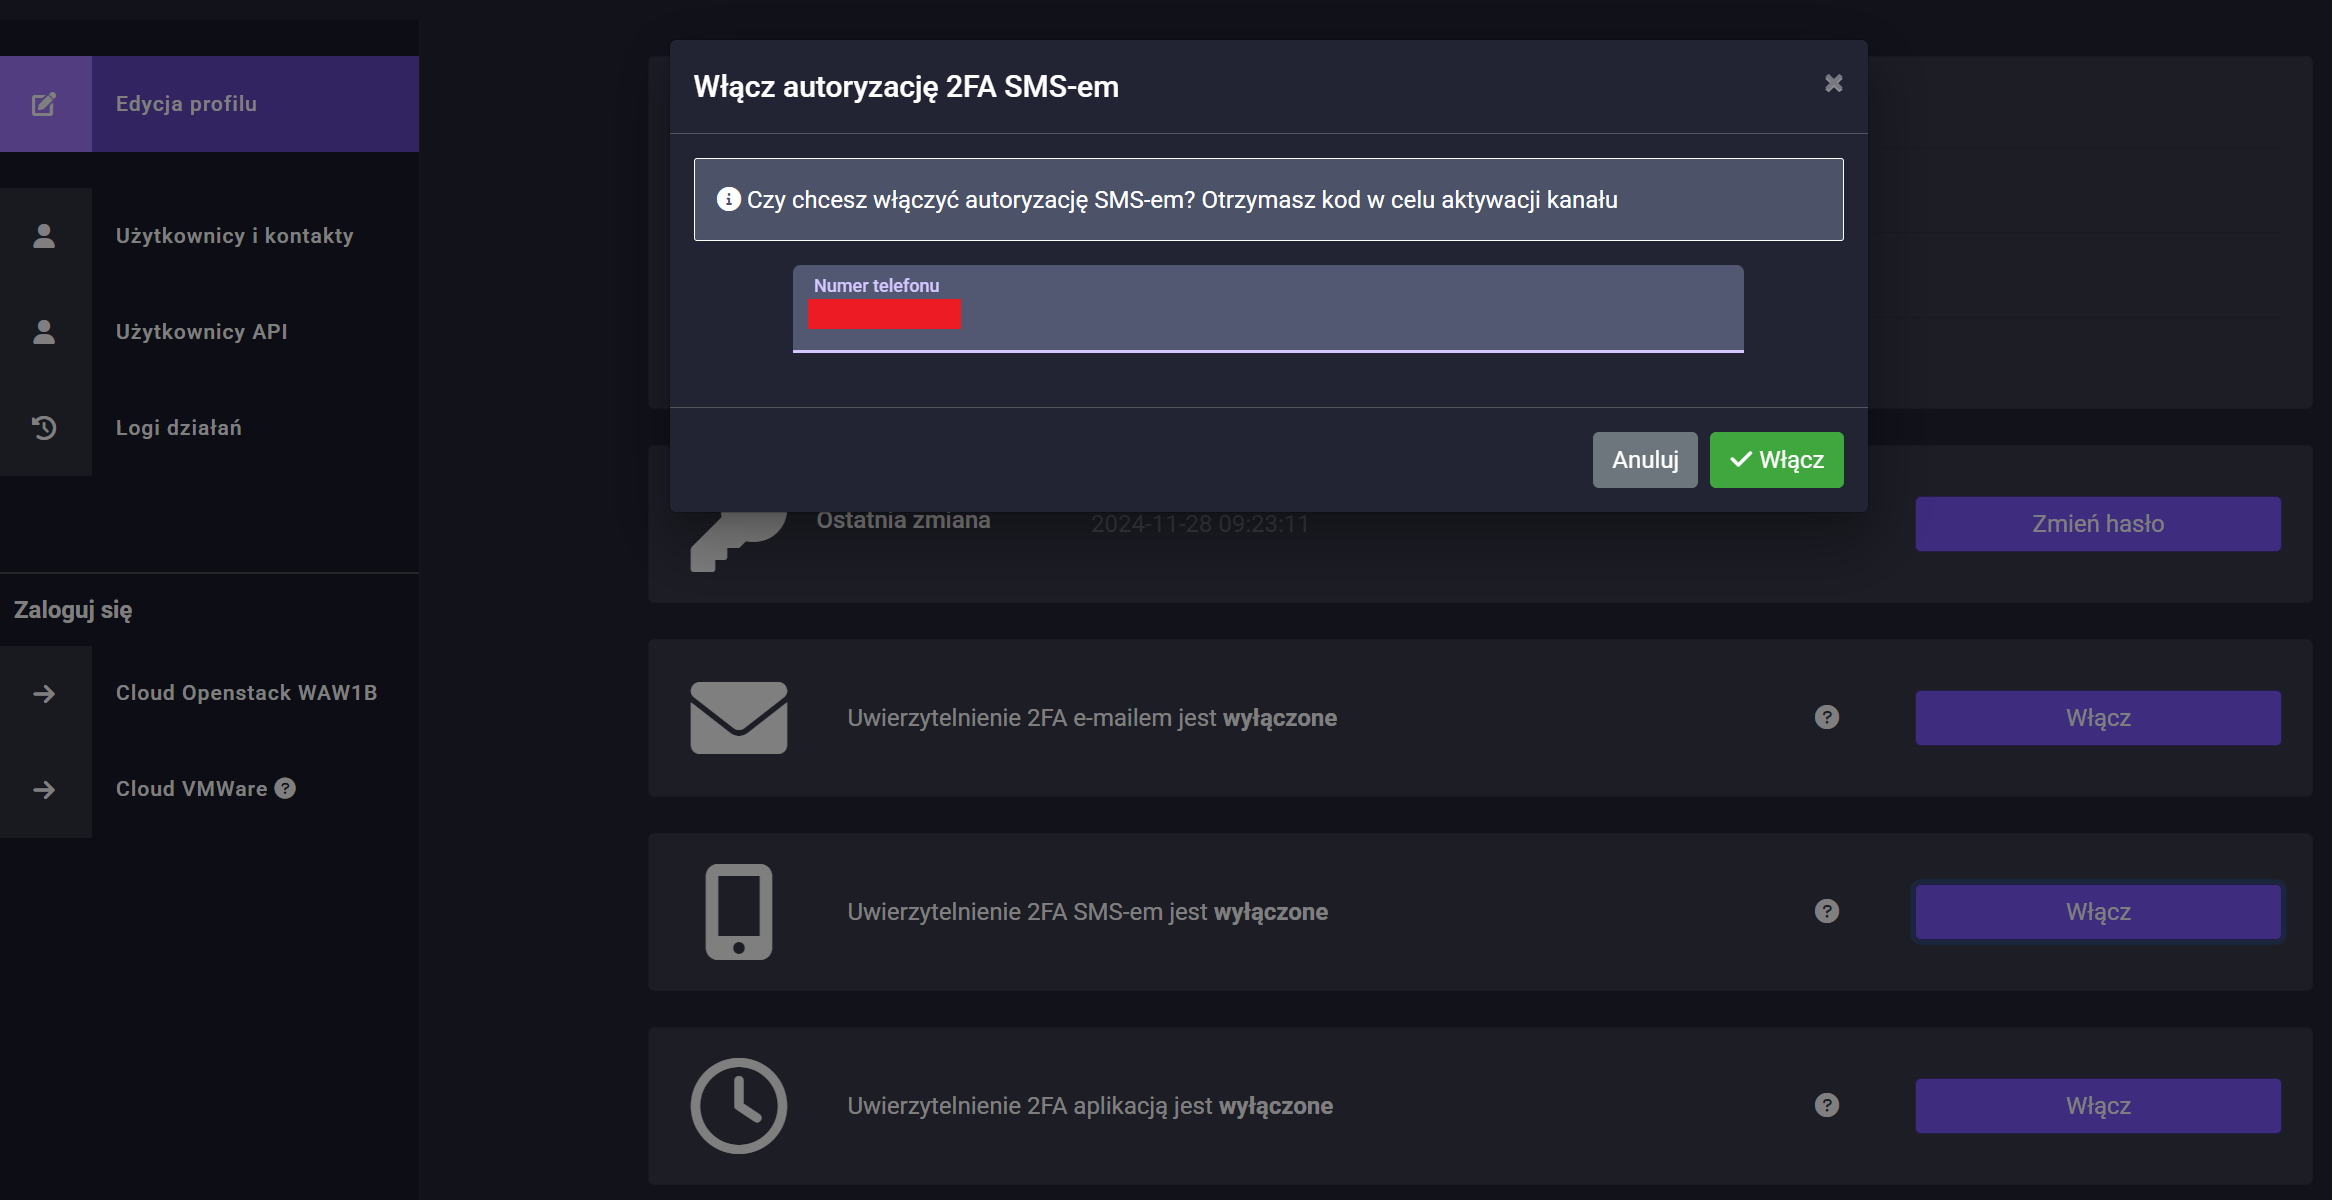
and then click On.
In the next step, enter the correct code received by SMS and click On again.
To disable OTP support, click on the disable button in the menu: Edit Profile and click on the Disable option of the selected authentication channel.
Please note that OTP codes apply both when logging into the account management panel and when logging into the Atman Cloud management panel.
TOTP support
In order to enable TOTP support, go to Edit Profile -> 2FA Authorisation with App and click Enable, a window with a QR code will appear, which must be scanned in an app such as Google Authenticator (Google Authenticator on Google Play, Google Authenticator on App Store and enter the activation code from the app in the form below the QR code.
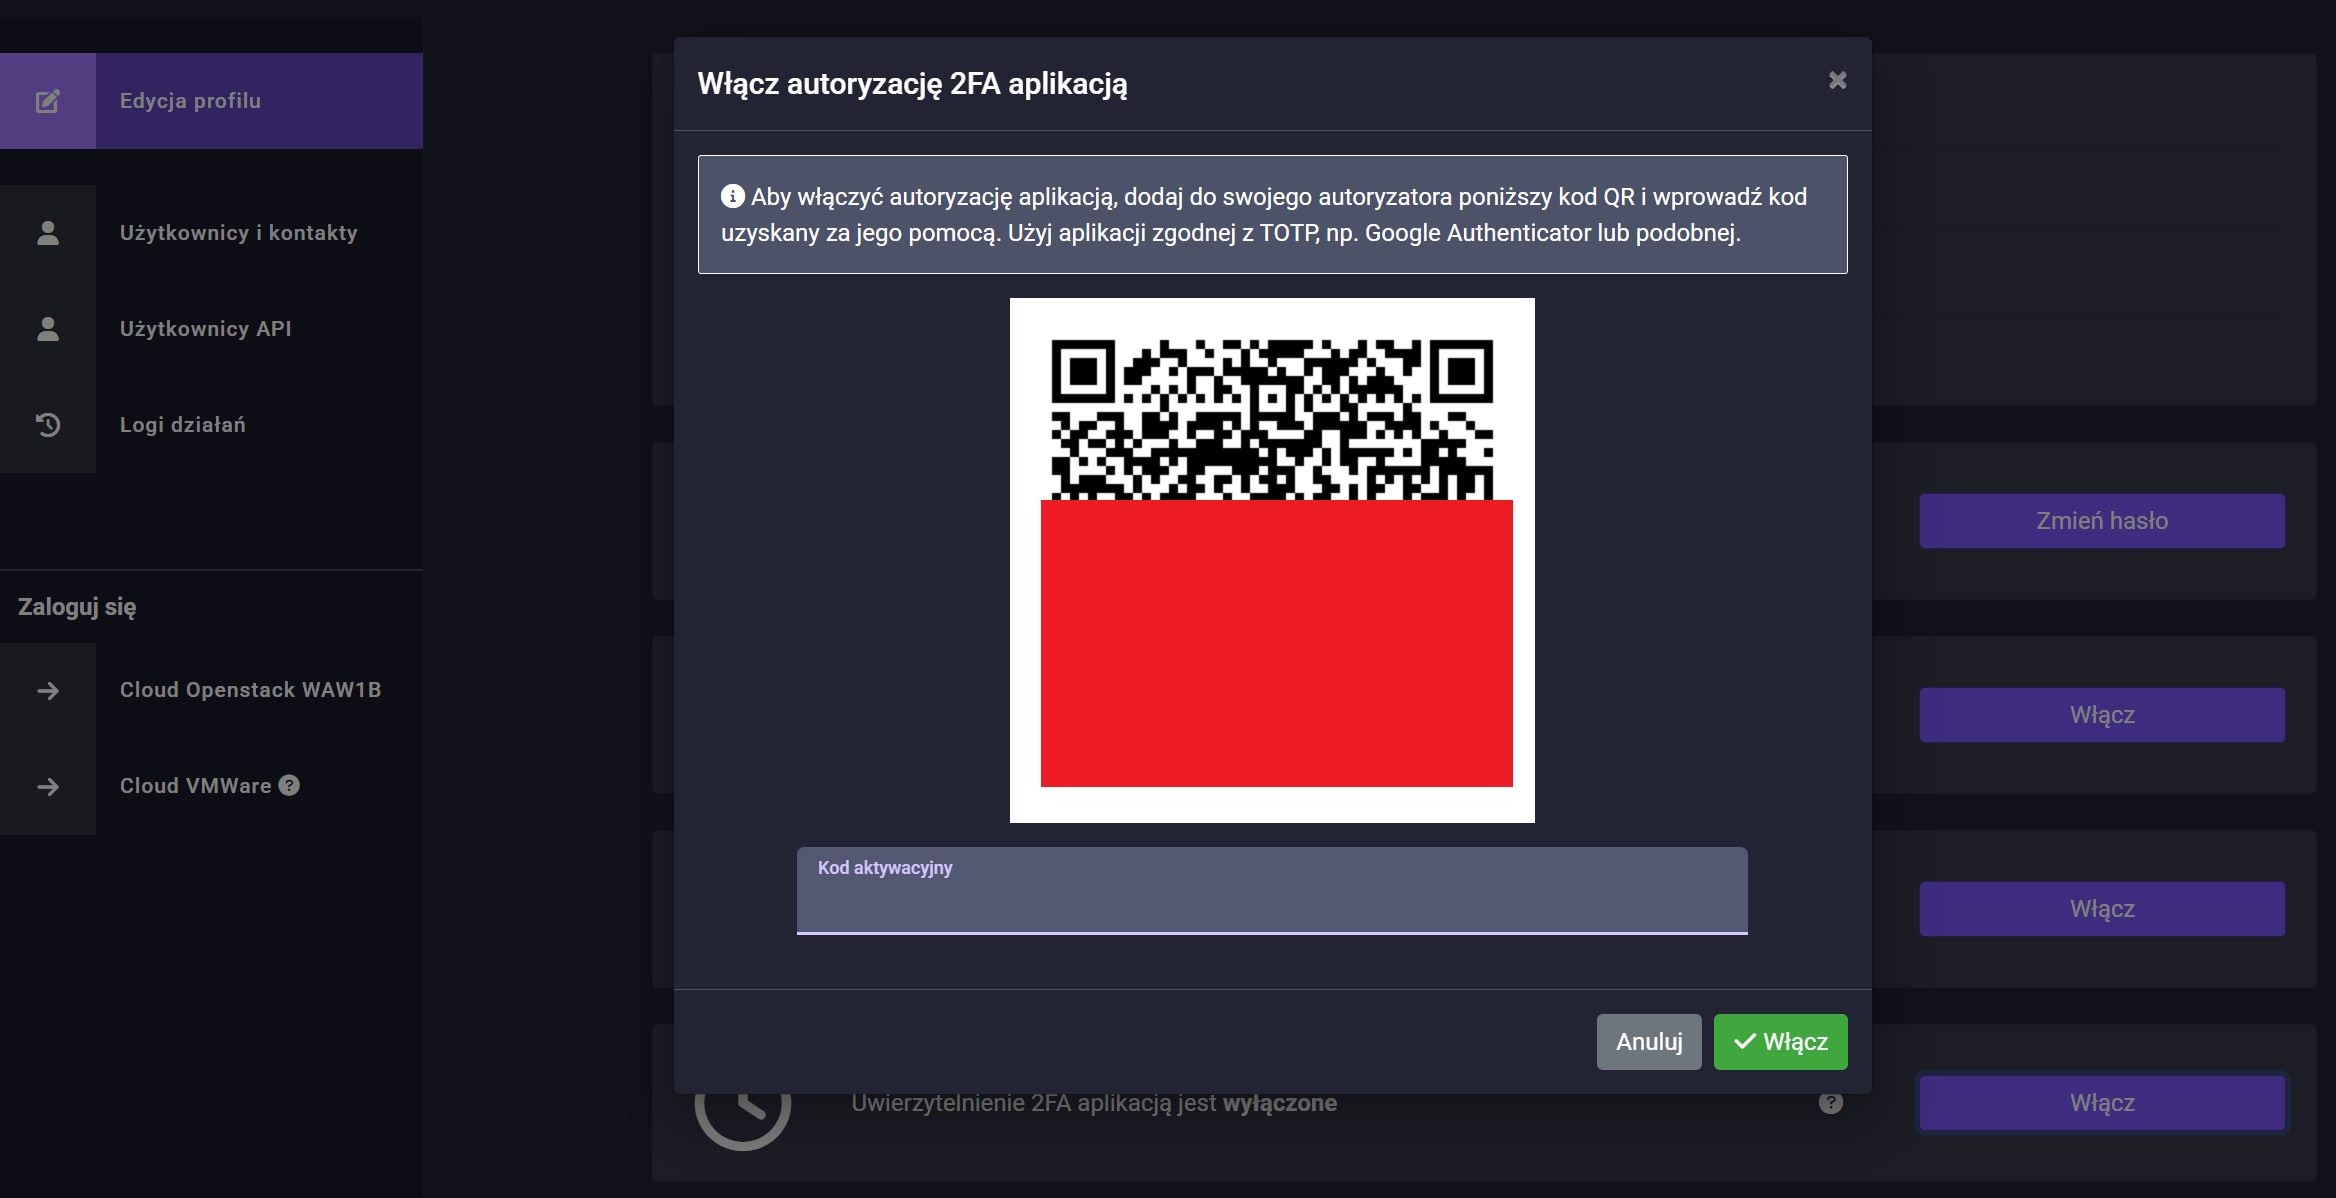
The QR code will also be visible for use at a later date in the Profile Edit -> 2FA Authorisation with Application menu.
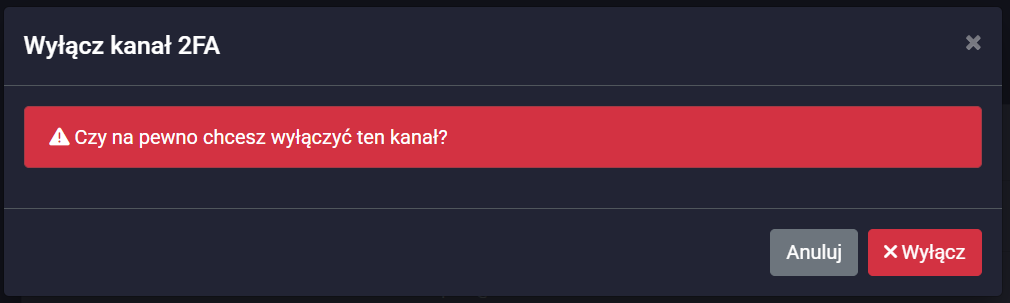
To disable TOTP authorisation, in the Edit Profile menu, click the Disable button and confirm in the next step:
Please note that TOTP codes apply both when logging into the account management panel and when logging into the Atman Cloud management panel.
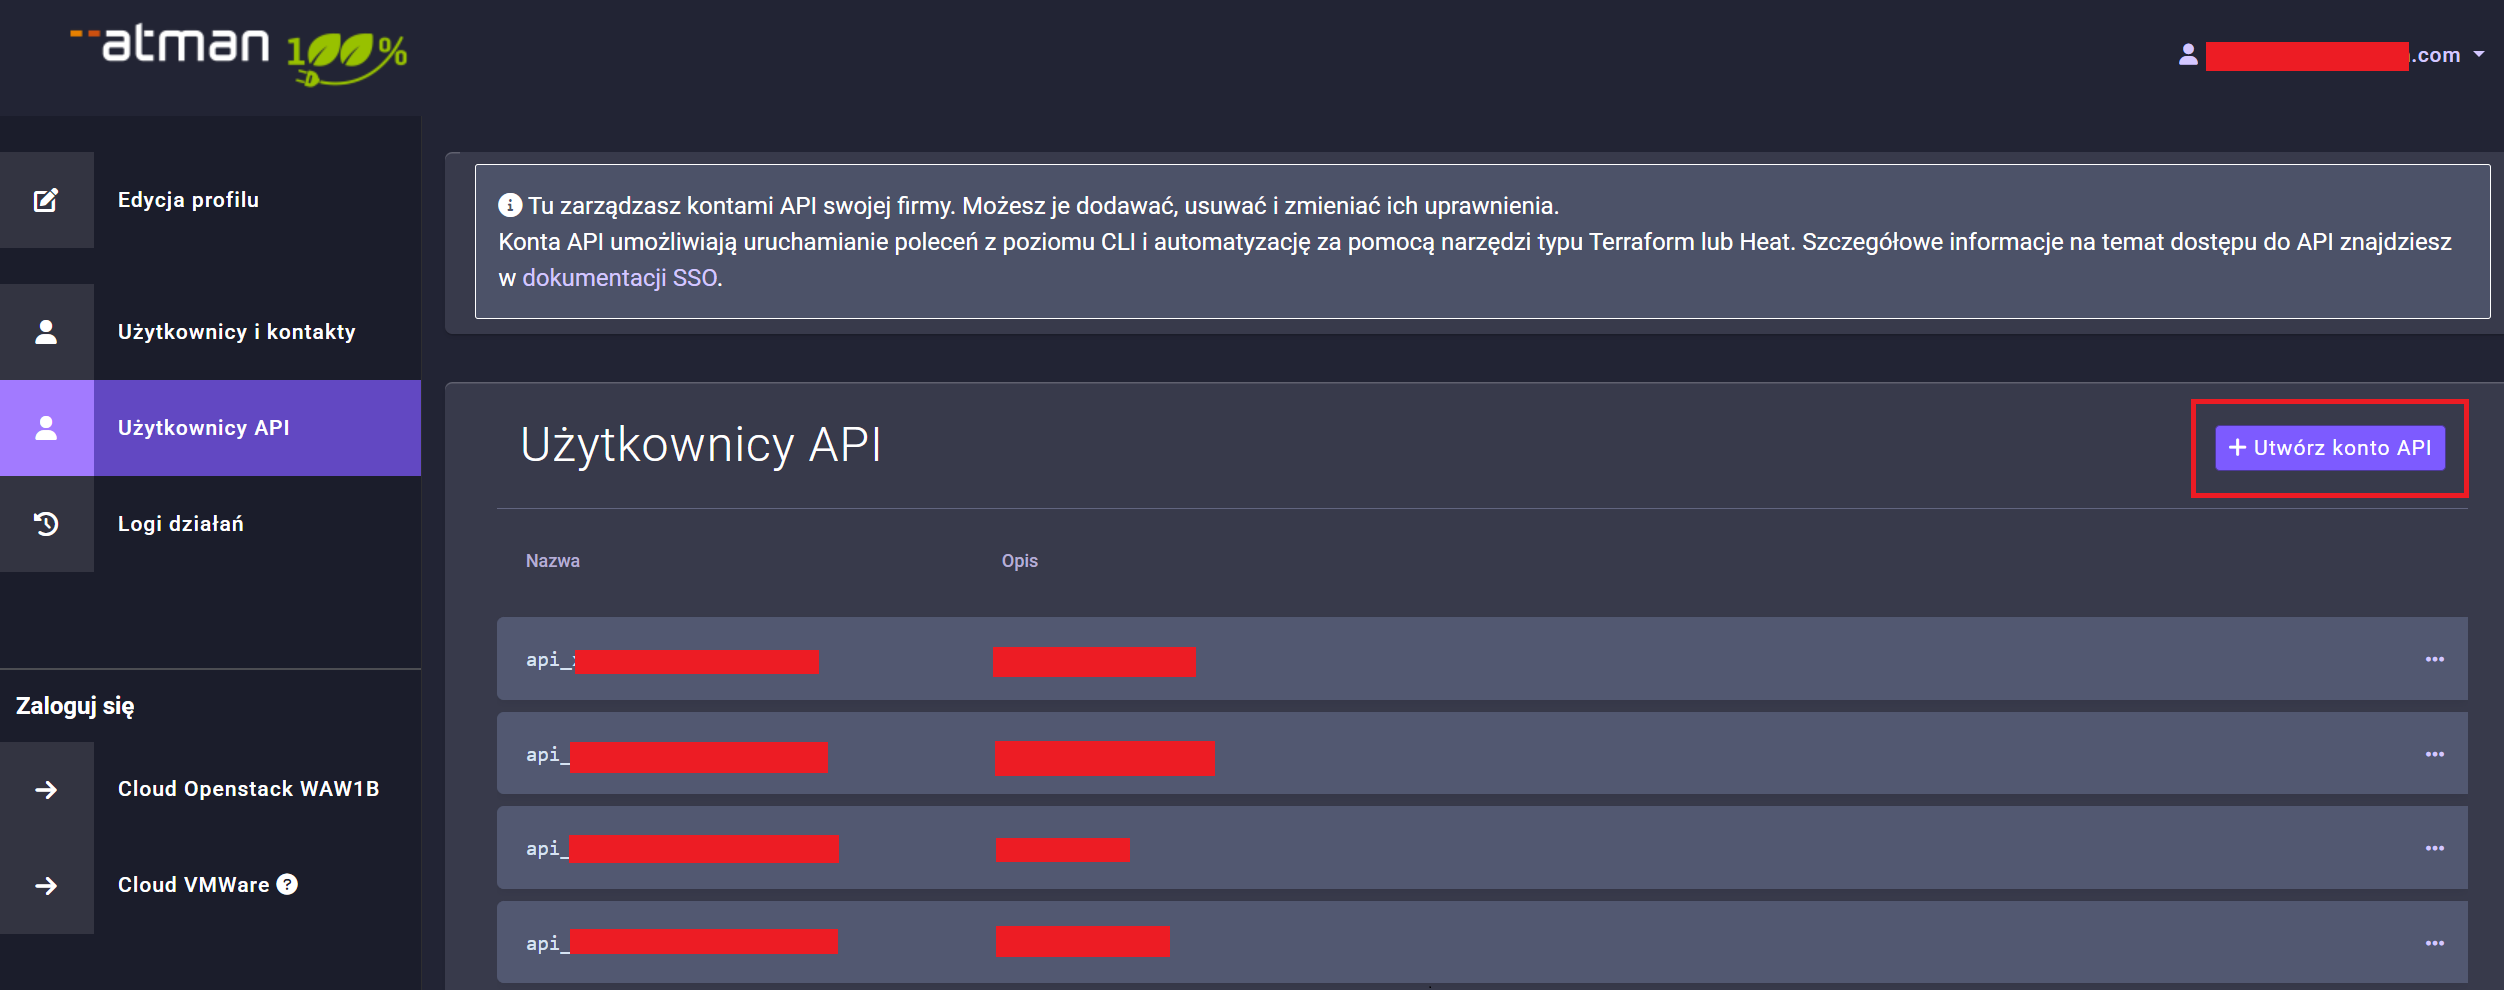
API accounts
API accounts are used to manage the cloud environment via CLI or from automation systems such as Terraform or Heat.
To create an API account, from the company admin level click in the API Users section and then click Create API Account.
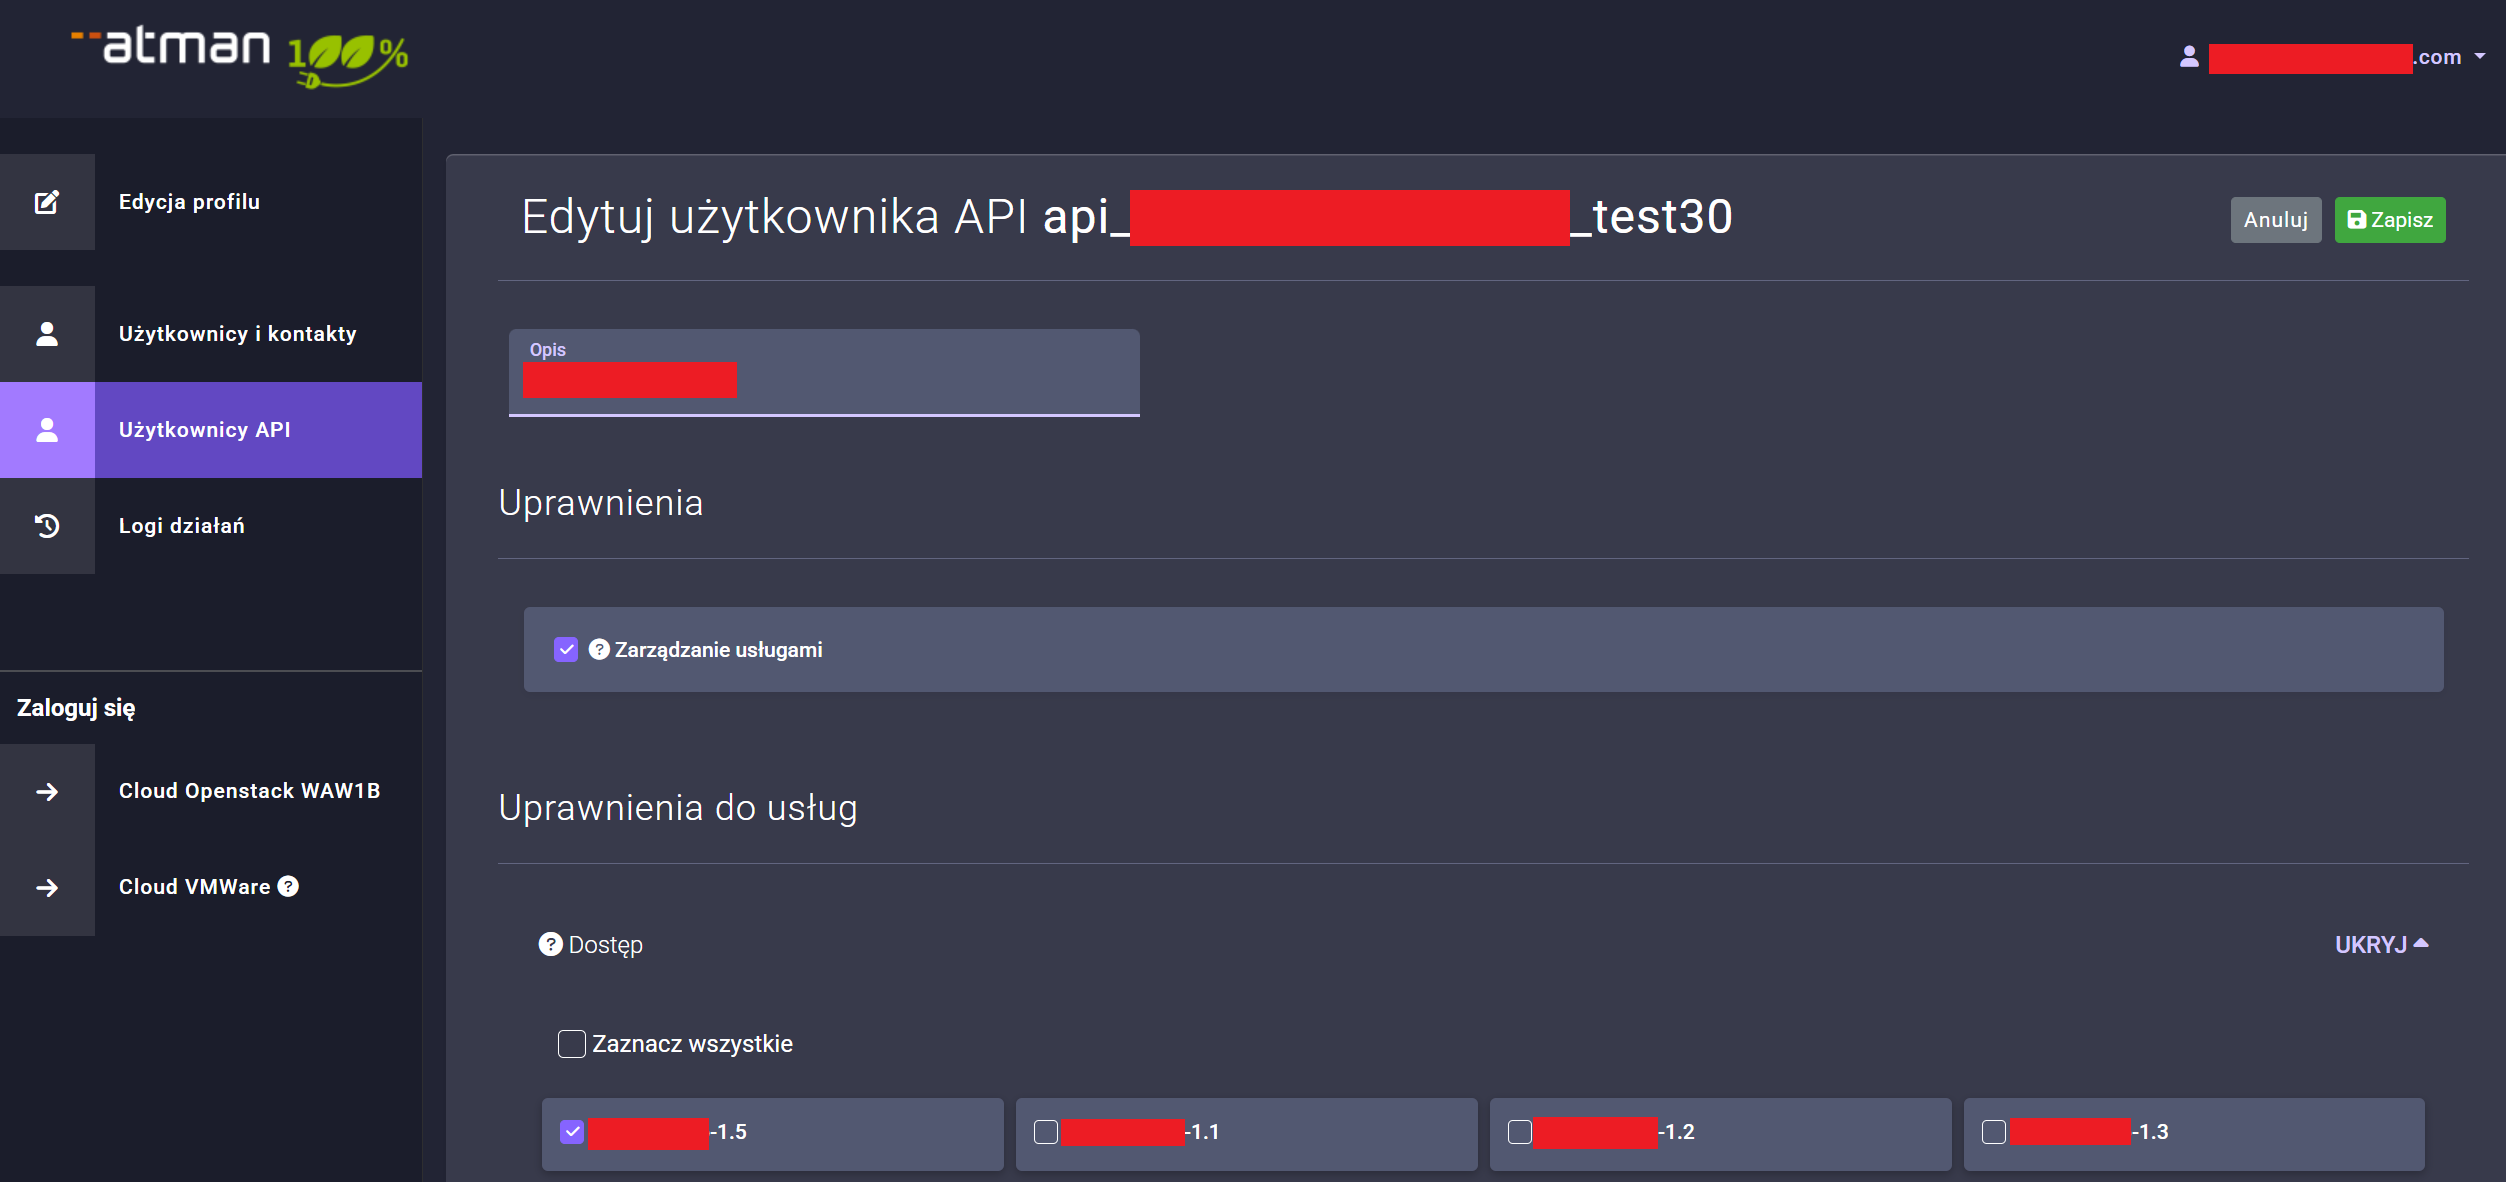
Complete the Suffix and Description fields and press Save.

The data filled in in the “Suffix” field will appear at the end of the API user name, and the “Description” is used to help identify the API users being created.
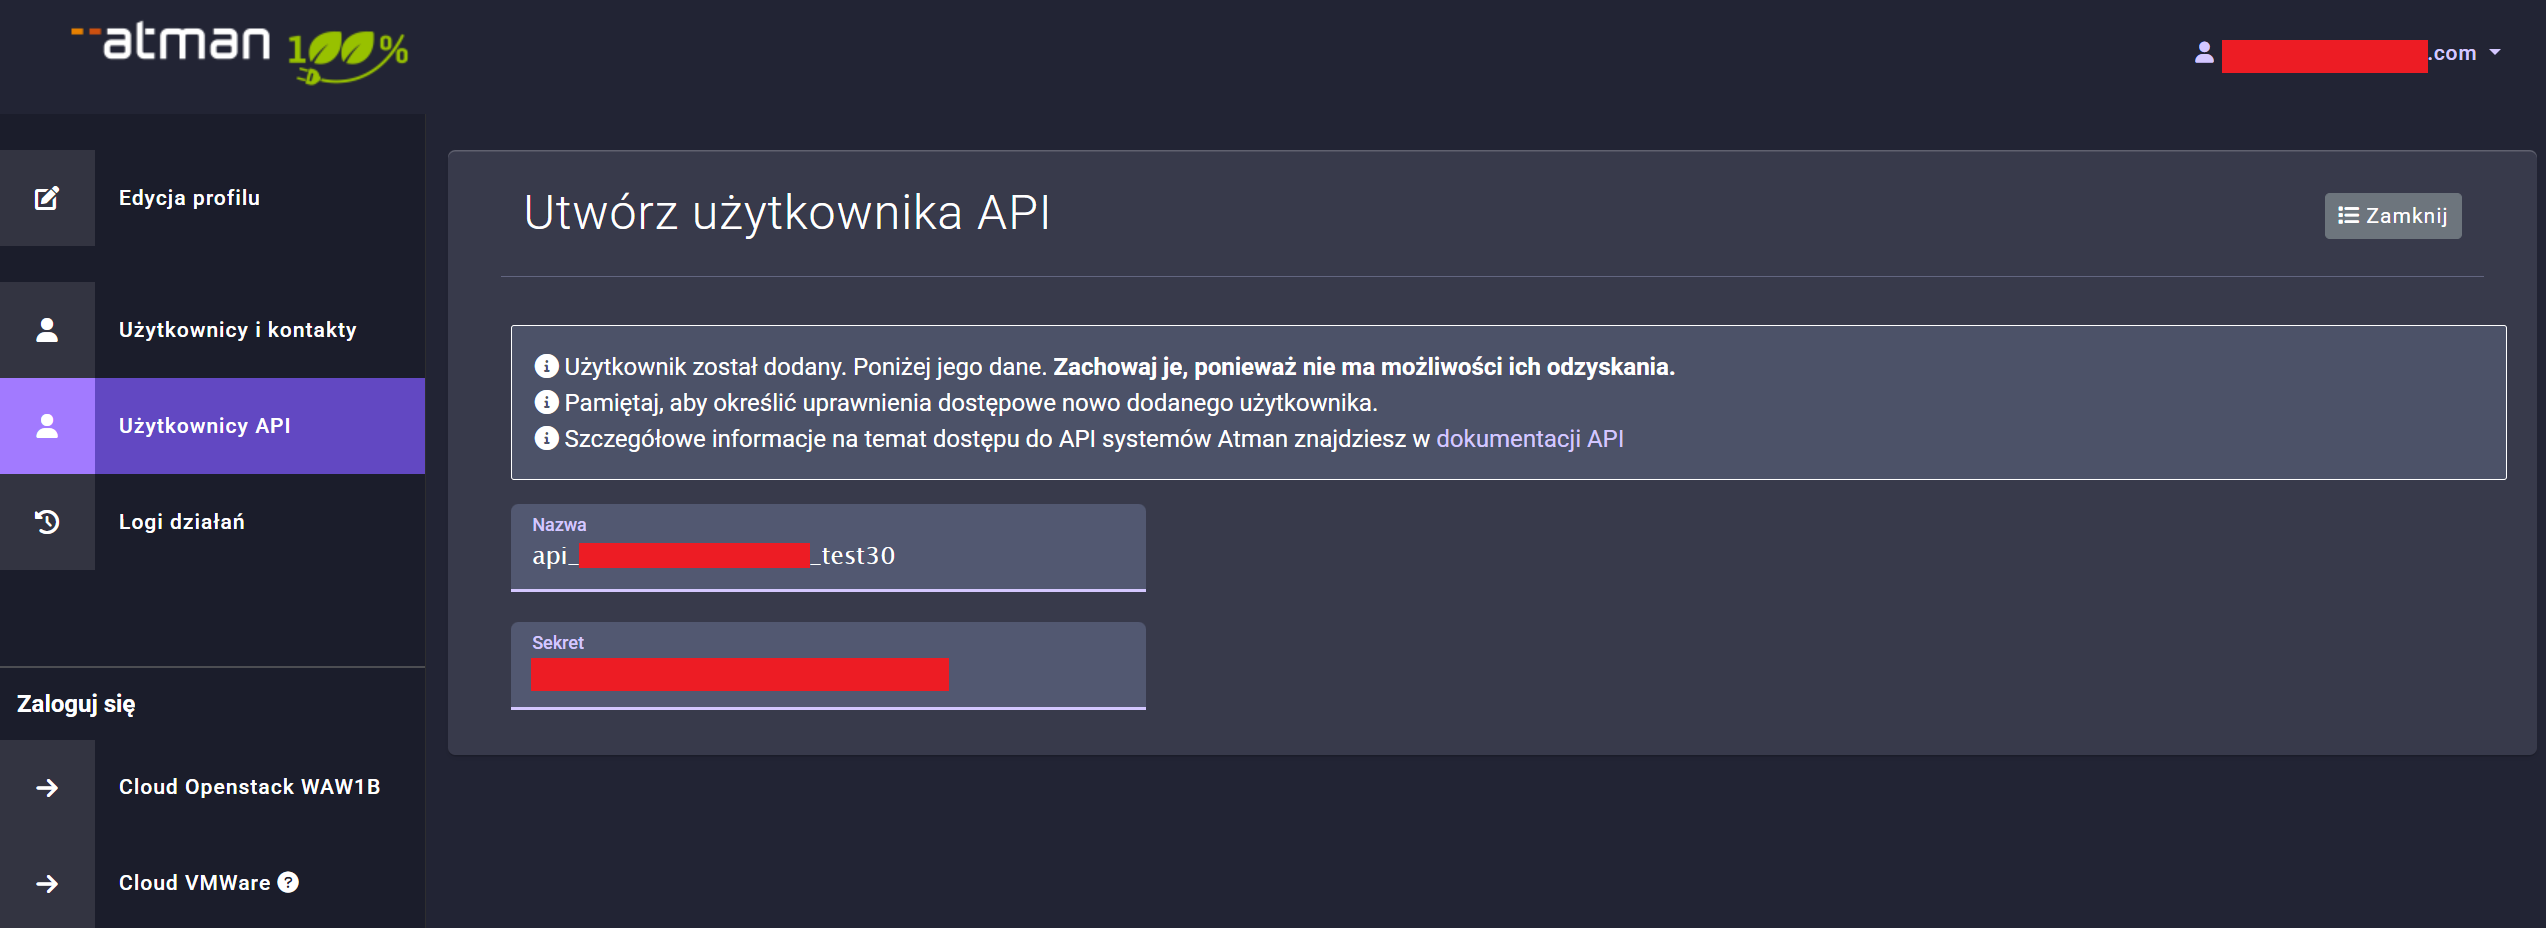
After clicking Save, a window will appear with the data (Secret and Key), which should be saved as they will not be visible anywhere else but in this view.
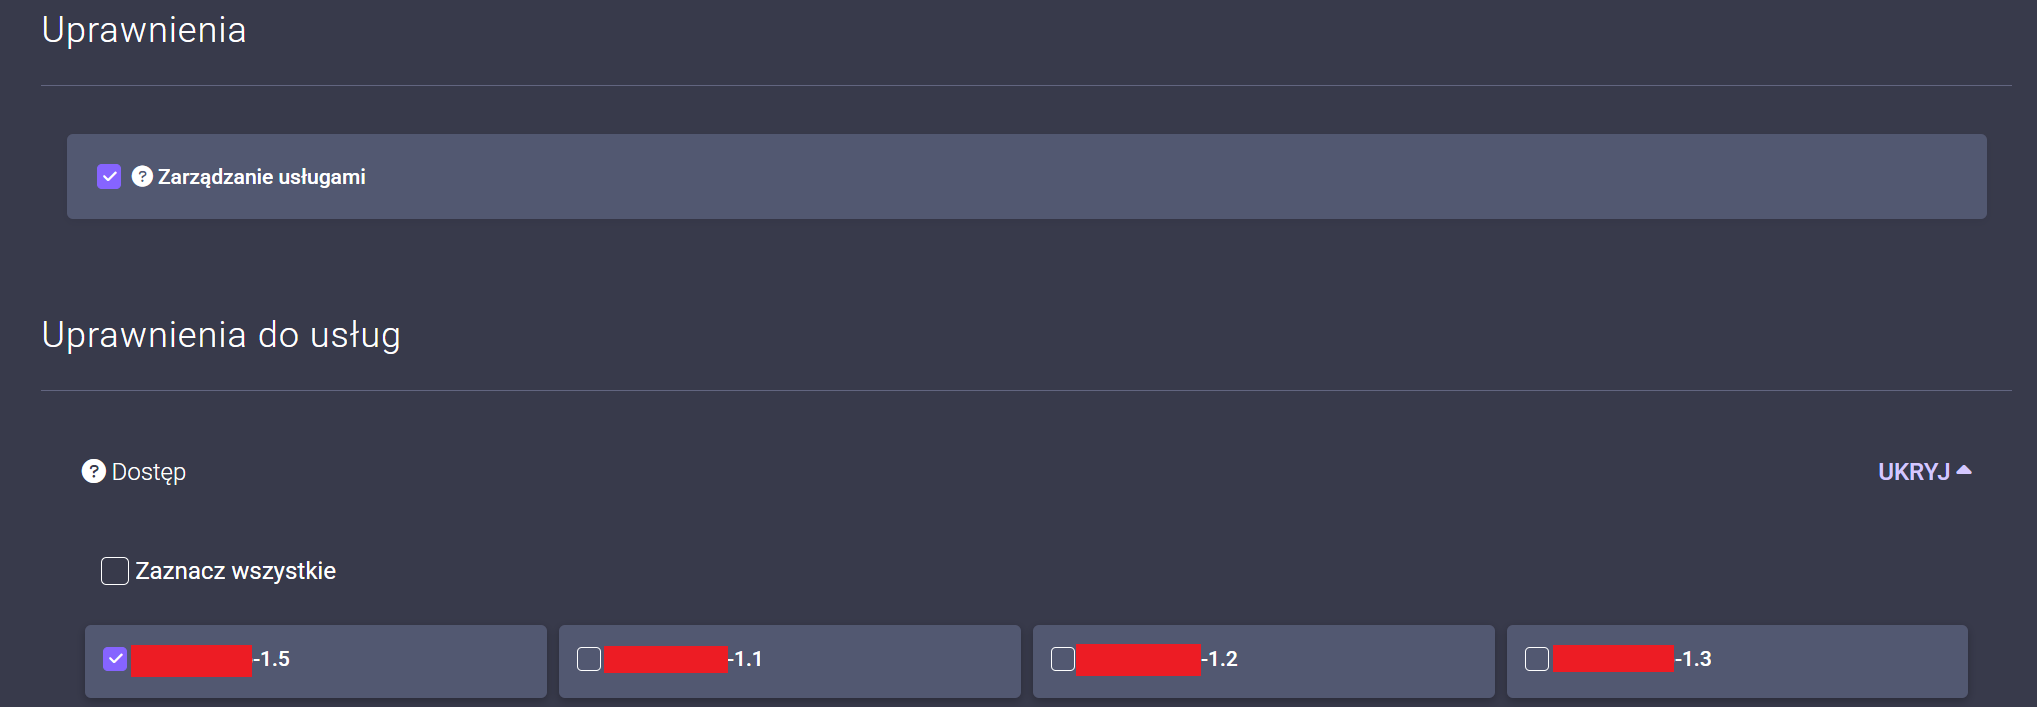
In the next step, add project permissions in Atman Cloud for the API account as for any other user by clicking on the washed out items in the Permissions section for the selected projects under Service Permissions.
Configuration of the openrc file for the API account
In order to be able to use the account created in the above step, the environment variables in the openrc file that we will use in the source command must be set as follows``
export OS_AUTH_URL=https://waw1-b.cloud.atman.pl:5000/v3
export OS_IDENTITY_PROVIDER="sso_idp"
export OS_PROTOCOL="jwt_token"
export OS_AUTH_TYPE="v3oidcclientcredentials"
export OS_ACCESS_TOKEN_ENDPOINT="https://auth.atman.pl/api/oauth/token"
export OS_PROJECT_DOMAIN_ID="ceab97173f4e43fab1078f2615bcd15c"
export OS_REGION_NAME="ATMAN_WAW1_B"
export OS_INTERFACE=public
export OS_IDENTITY_API_VERSION=3

#poniższe ustawienia są zmienne

export OS_CLIENT_ID="api_xxxxxxxxx"
export OS_CLIENT_SECRET="xxxxxxxxxxxxxxxxxxxxxxx"
export OS_PROJECT_ID="3f12xxxxxxxxxxxxxxx"
export OS_PROJECT_NAME="test-xxxxxxxxxx-1"
export OS_USERNAME="sub.xxxxxx"
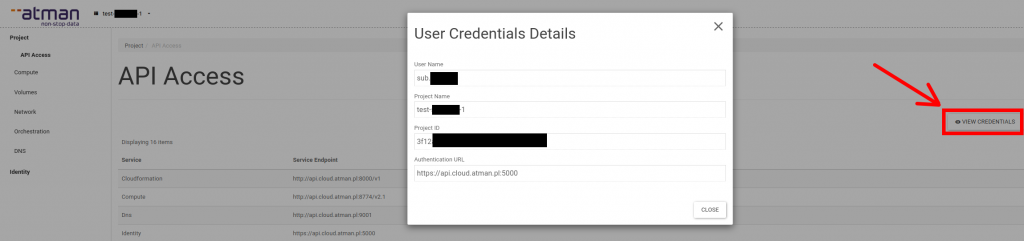
The OS_CLIENT_IDandOS_CLIENT_SECRETwere obtained when the API account was set up, while theOS_PROJECT_ID, OS_USERNAMEandOS_PROJECT_NAME`` are obtained from the Horizon panel, after clicking on the Project -> API Access menu, then on the View Credentials button.
We can then use the file prepared in this way to call openstack commands, for example:
$ source ~/openrc
$ openstack server list
+--------------------------------------+------------+--------+--------------------------+-------+--------+
| ID                                   | Name       | Status | Networks                 | Image | Flavor |
+--------------------------------------+------------+--------+--------------------------+-------+--------+
| b837a3fe-XXXX-XXXX-XXXX-XXXXXXXXXXXX | sso-ubu-20 | ACTIVE | int-sso=x.x.x.x, y.y.y.y |       | m1.c1  |
+--------------------------------------+------------+--------+--------------------------+-------+--------+
$
The CLI client python-openstackclient (openstack tool) on Linux systems can be installed via pip or from system package repositories e.g. via apt (Ubuntu and similar) or dnf (RedHat and similar).
Using your Terraform API account
In order to use the api user in terraform when configuring the provider, replace the auth_url with the one given in the example below. In the user_name field, enter in the api user name and in the password field the key generated when creating this user.
provider "openstack" {
tenant_name = "project-name"
user_name = "api-user"
password = "api-key"
auth_url = "https://waw1-b.cloud.atman.pl:5000/keystone-auth-proxy/v3"
region = "ATMAN_WAW1_B"
}