Images
Image formation
Video instructions available at bottom of page.
STEP 1
From the Project -> Volumes -> Volumes screen, select UPLOAD TO IMAGE: from the action for the selected volume.
STEP 2
Enter a name for the image in the wizard and confirm the creation with the UPLOAD button.
Image deletion
From the Project -> Compute -> Images screen, select Delete Image on the right-hand side in the action for the selected image:
Practical remarks
NOTE 1
It is not possible to delete an image with the setting PROTECTED = YES (this value can be changed to NO by editing image -> action Edit Image).
NOTE 2
The image cannot be deleted with the setting VISIBILITY = PUBLIC.
NOTE 3
Image creation only works for volumes not attached to an instance.
Uploading an image of the operating system >=10GB
To place an operating system image larger than 10GB on Atman Cloud resources, use the OpenStack command line.
We follow the following procedure:
STEP 1
We prepare our own or download a ready-made RAW operating system image, compatible with the KVM hypervisor.
Sample images are available at the following locations:
Distribution |
The Repository. |
|---|---|
CentOS |
|
Debian. |
|
Fedora. |
|
FreeBSD |
|
SuSE. |
|
Ubuntu. |
Optionally, we can also convert the *.qcow2 image to *.raw using the qemu-img tool:
qemu-img convert <source-image-name>.qcow2 <target-image-name>.raw.
STEP 2
Further steps will require running the command line client (CLI).
The preparation of the Openstack client for the command line is described in the chapter on configuration of API accounts in SSO.
STEP 3
We use the CLI OpenStack client to host our image in the Atman Cloud using the python-openstackclient package:
openstack image create --private --disk-format raw --container-format bare --file <source-image-name>.raw <image-name-in-panel-Atman-Cloud.
STEP 4
We verify that our new image appears as available in the project:
openstack image list --private
STEP 5
The new image should appear in the Images tab
A full description of the syntax for the OpenStack version of Stein is available at https://docs.openstack.org/python-openstackclient/stein/cli/command-objects/image.html
Image conversion
In order to import a machine from an external source into the Atman Cloud virtual server environment, you must first convert it to raw format. The example below illustrates the process of converting a vmdk file to raw using the tool recommended by Atman – qemu.
STEP 1
Zapisanie obrazu maszyny
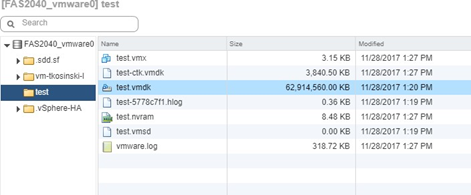
From the VMware vSphere Web Client, we download the file (here: named test-flat.vmdk)
STEP 2
Conversion. Linux:


Windows:
You need to download the qemu software:

Once unpacked, the software is ready to use – from the PowerShell terminal, run it from the directory where the qemu-img.exe file is stored.
The following command converts a vmdk file to raw format:

Upload (import) a file to the cloud
Upload using the API.

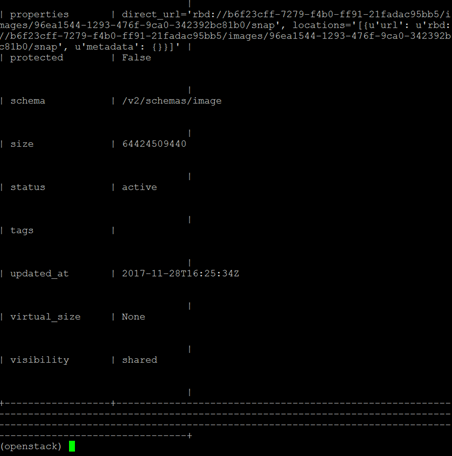
Once the process is complete, the properties of the image you have created/uploaded will appear in the terminal:
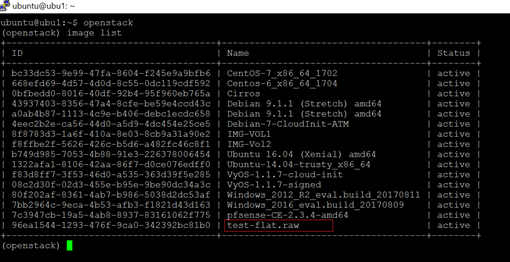
Checking whether the file has been imported to the cloud:
Upload from your local machine to the cloud using the Horizon dashboard in the Project -> Compute -> Images section:
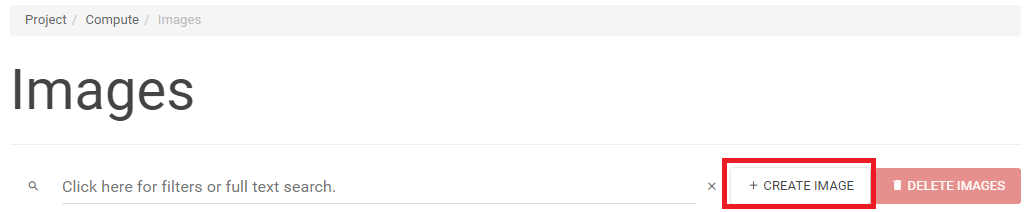
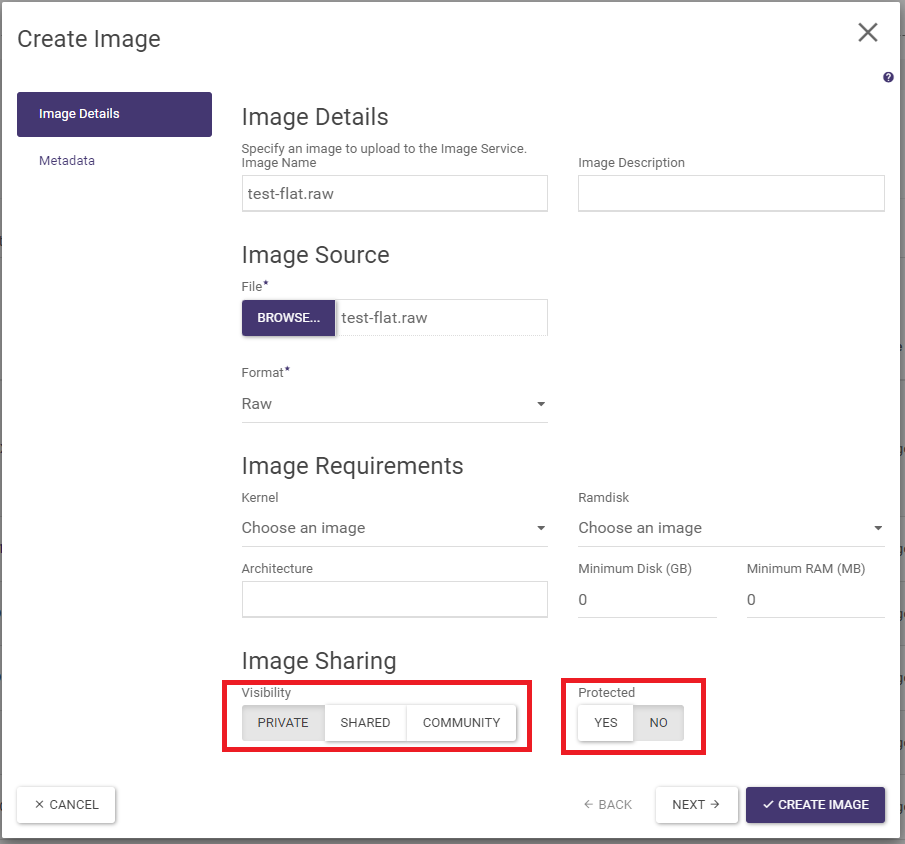
In the lower part of the wizard, you should set the following parameters:
(a) Visibility=Private
b) Protected=Yes or Protected=No.
Meaning of the parameters:
Private – the image will only be visible within the relevant environment/project; it will not be visible to others (this option must be selected)
Shared/Community – these options should not be used
Protected – you will not be able to delete such an image)
Unprotected – dozwolone jest usuwanie obrazu
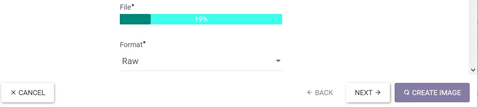
W trakcie uploadu obrazu w kreatorze pojawi się pasek stanu, na którym widać postęp pracy:
Po utworzeniu kreatorem obrazu należy odświeżyć widok…

…poprzez kliknięcie w menu na inną zakładką i ponowne kliknięcie na zakładkę Project -> Compute -> Images:
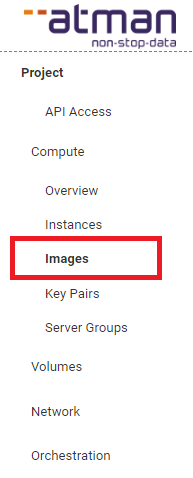
Po odświeżeniu widoku – obraz jest zaimportowany do środowiska i gotowy do użycia.

Trzecia droga:
W przypadku bardzo dużych plików, słabego łącza, zrywania sesji, itp. – alternatywną, dobrze działającą ścieżką jest skopiowanie obrazu z lokalnej maszyny na zdalną maszynę uruchomioną na Atman Cloud, a następnie użycie API do uploadu obrazu.
W kolejnym kroku przyjmujemy założenie, że na Atman Cloud znajduje się maszyna Linux Ubuntu (IP:195.167.156.60) z wystarczająco dużą przestrzenią do pomieszczenia obrazu. Do przekopiowania najłatwiej użyć komendy scp lub jej odpowiednika Windowsowego w postaci pscp (to narzędzie jest częścią standardowego pakietu oprogramowania Putty).
Linux:

Windows:
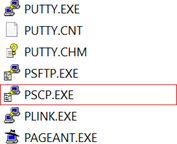
Sposób użycia z PowerShell Windowsa:

Po przekopiowaniu obrazu należy z poziomu wirtualnej maszyny, na którą obraz został skopiowany, wykonać polecenie:

Można zaobserwować, że jednocześnie w panelu Horizon w zakładce Project -> Compute -> Images pojawi się nowa pozycja na liście z informacją o zapisywaniu:

Download (export) a file from the cloud
To export an image from the cloud to a local workstation, you must first create a volume image (under the Project -> Volumes -> Volumes tab, select the ‘upload to image’ action for the selected volume):
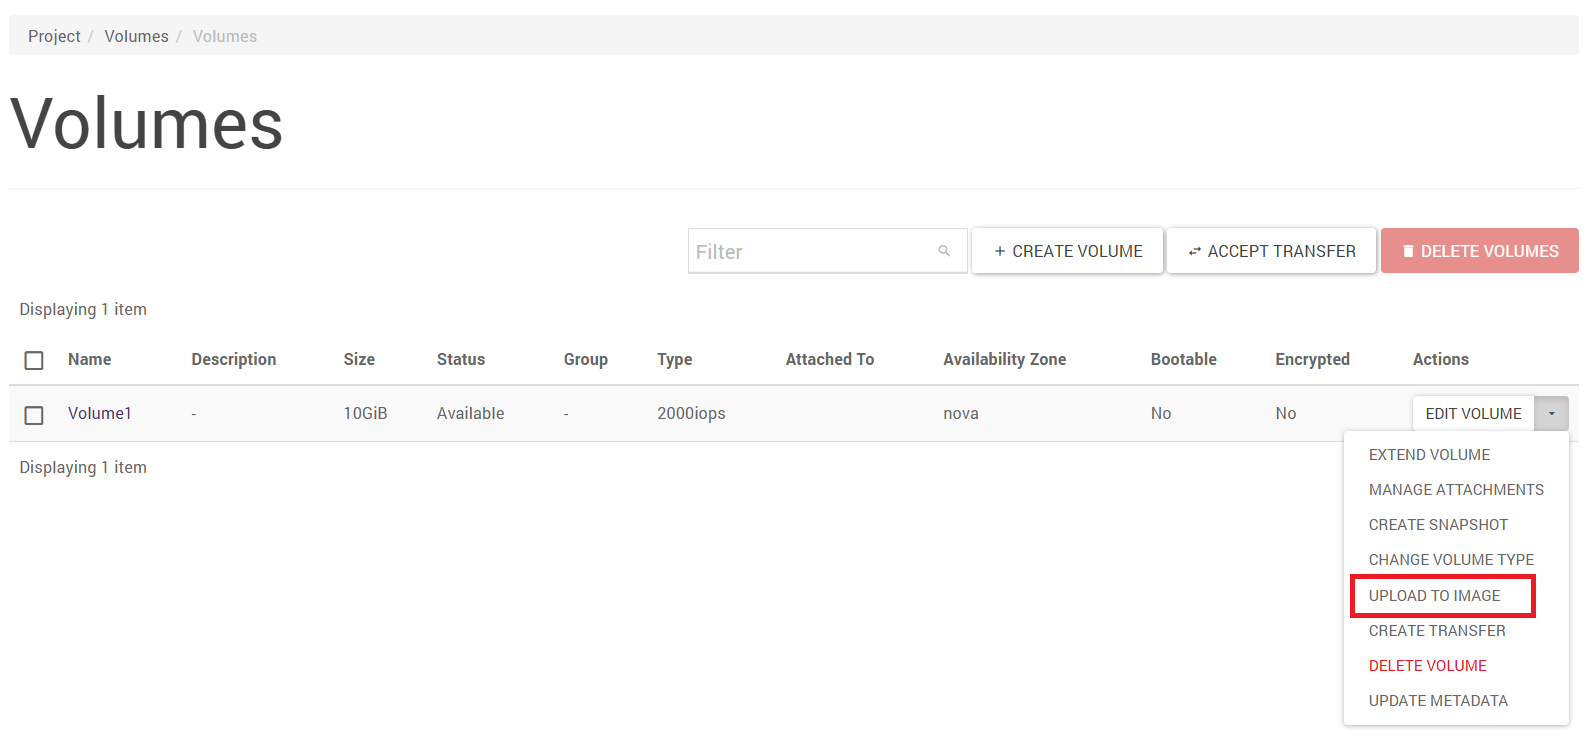
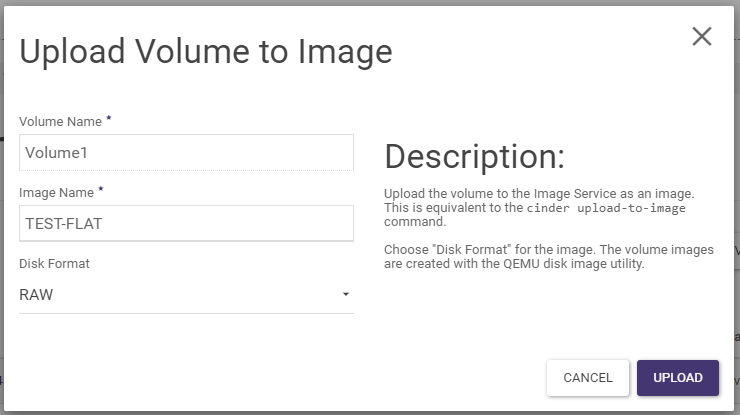
Once the image has been created, you can use the API to save it locally by running the following command:

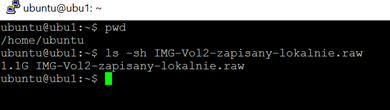
Video instructions
Virtual machine images, import into Atman Cloud.

Open this video on YouTube
Virtual machine disk archiving via images in the Atman Cloud.